Disclosure: This post may contain affiliate links. I may earn a small commission for my endorsement, recommendation, testimonial, and/or link to any products or services from this website.
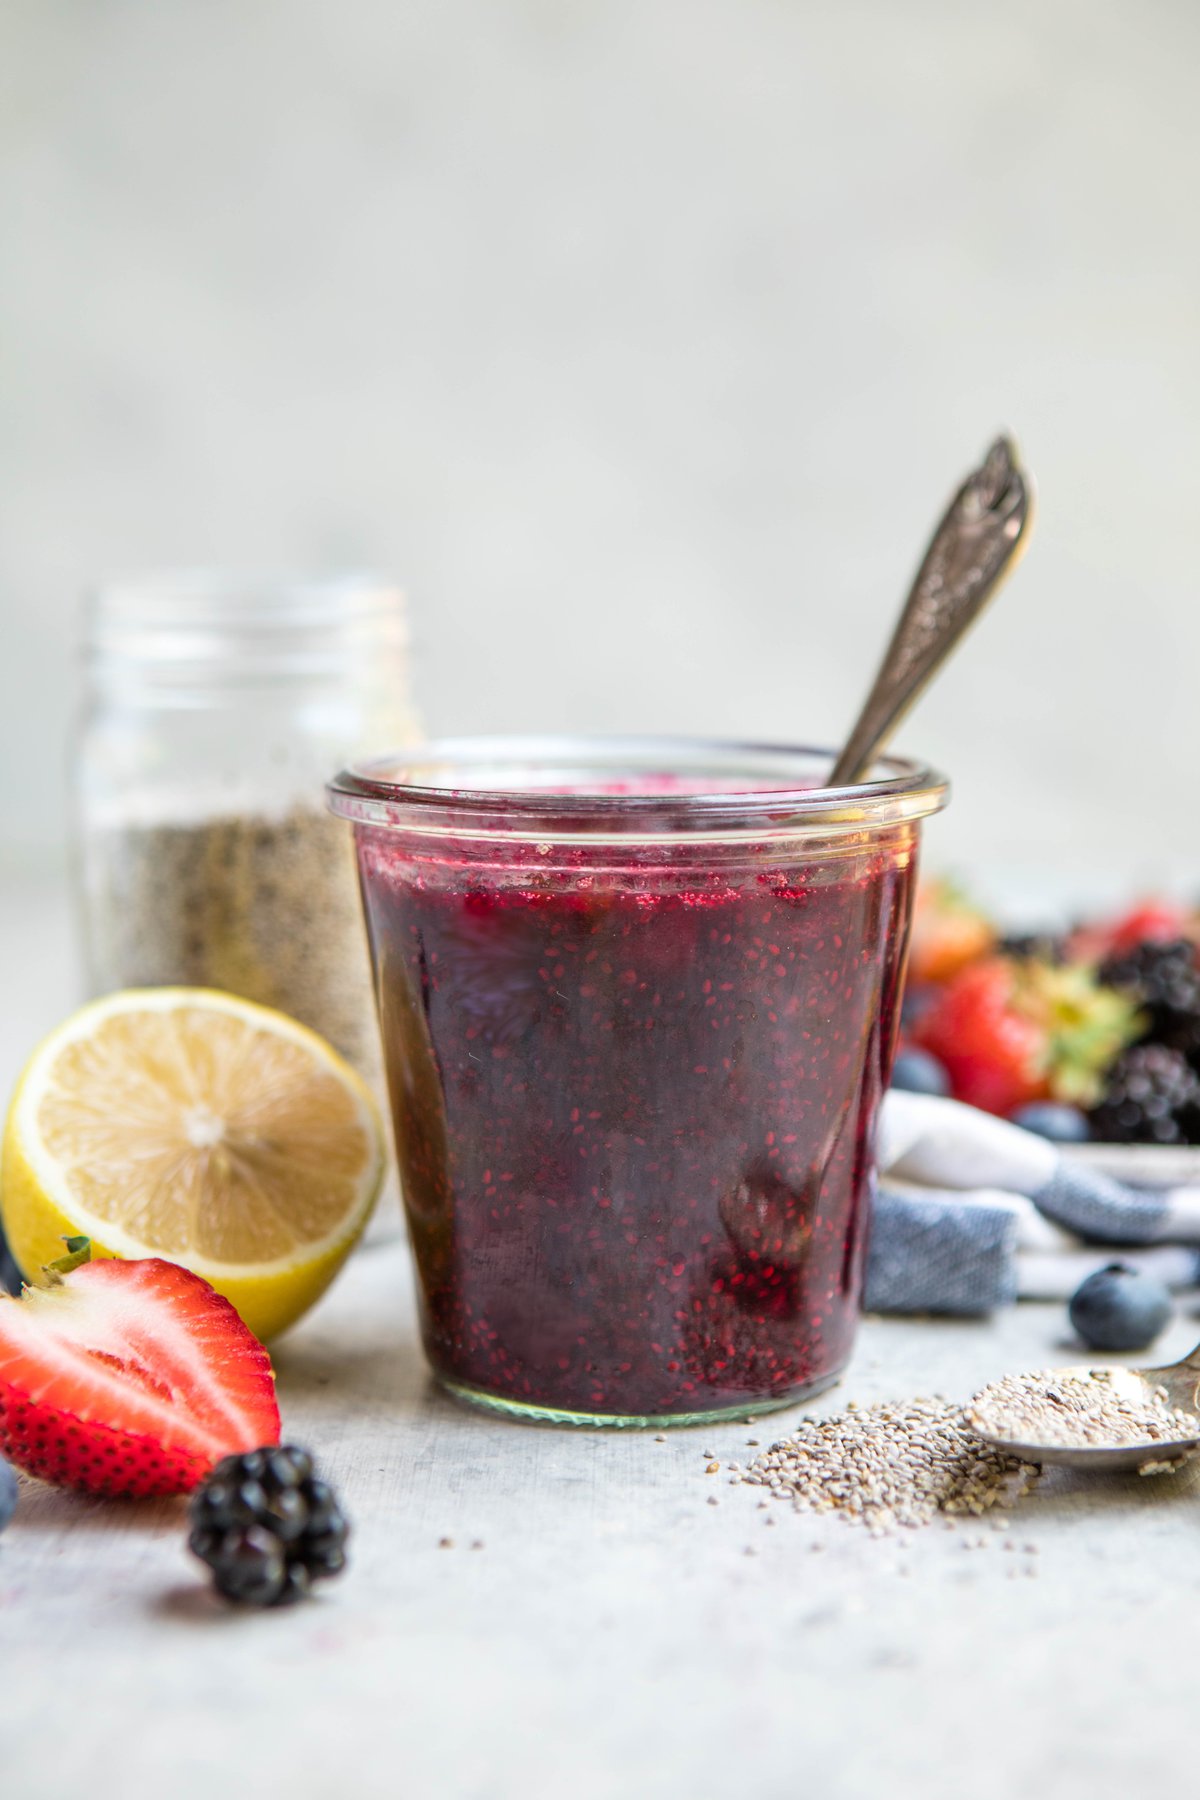
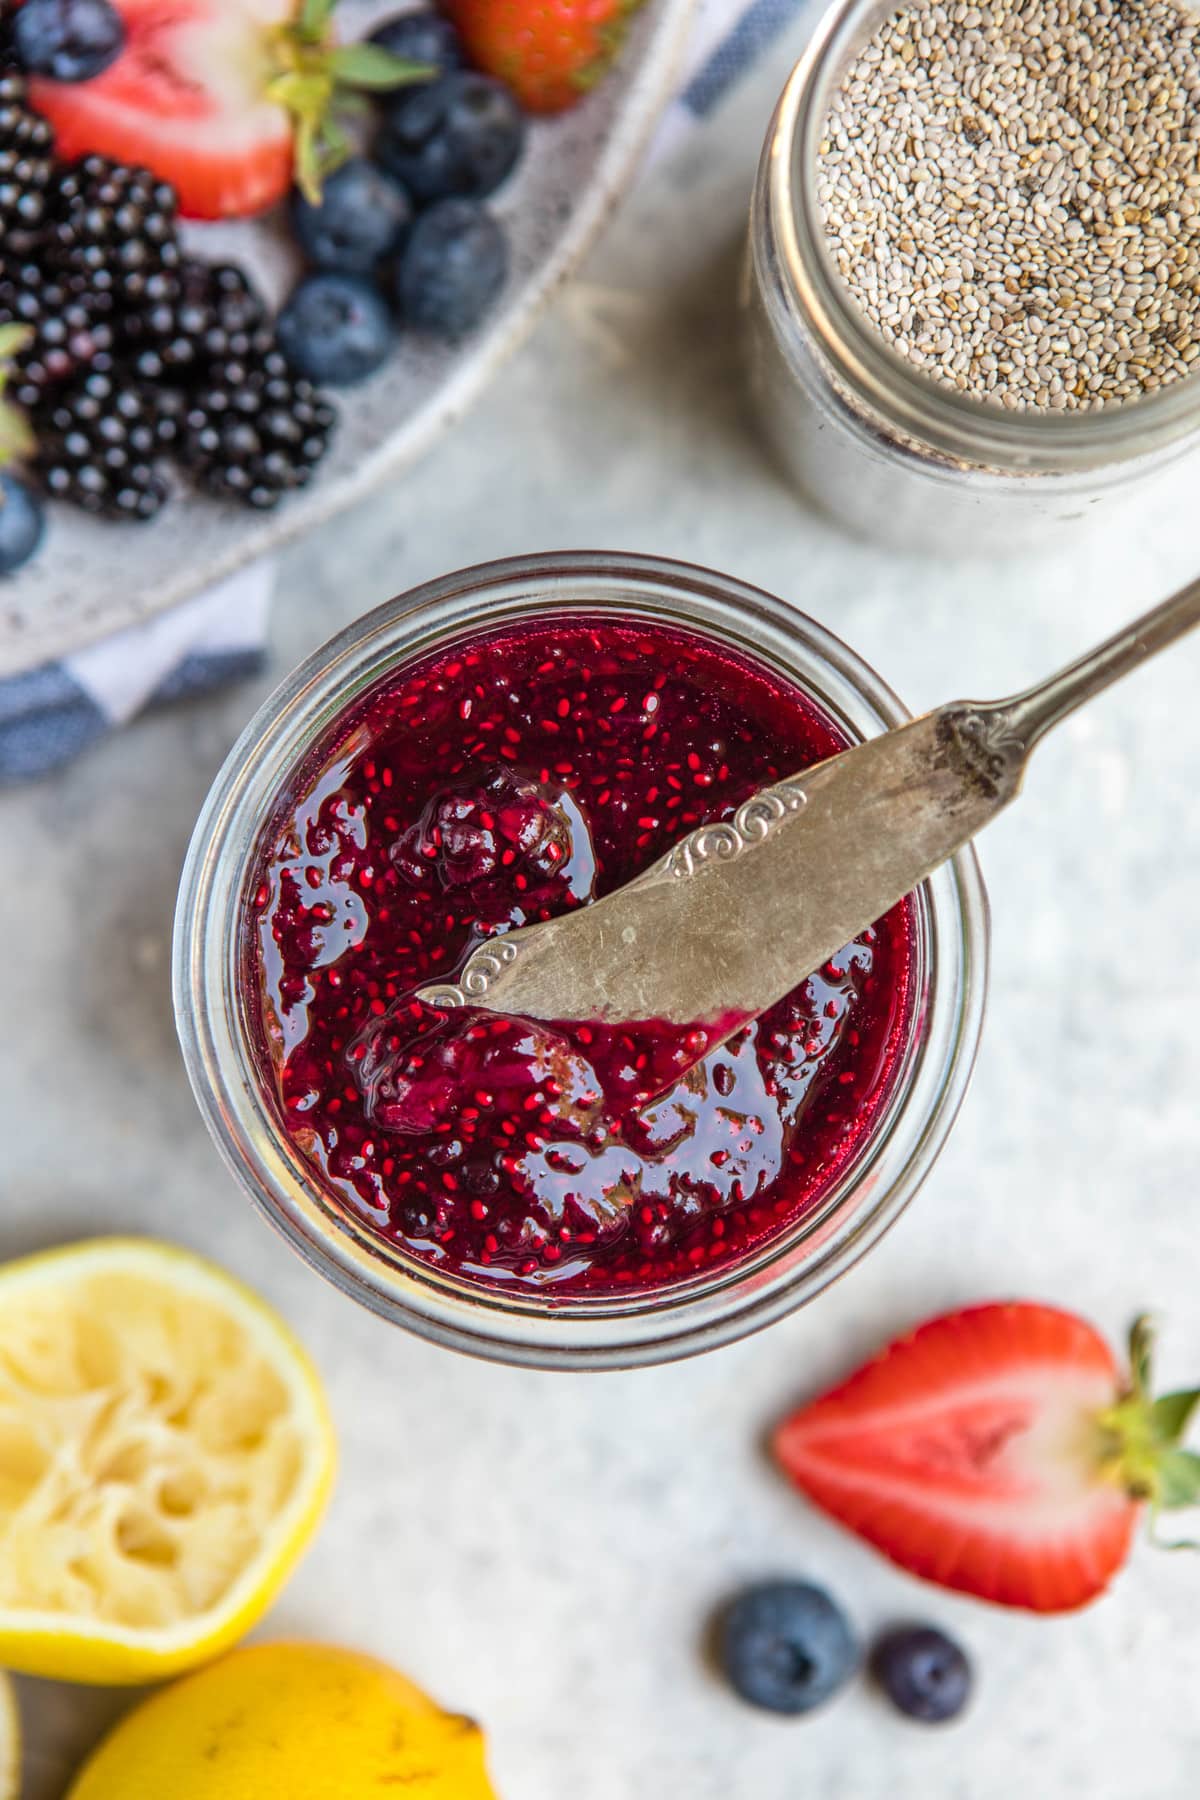
Skip the refined sugars and make your own healthy Chia Seed Jam using only 4 basic ingredients! It’s perfect on toast, in oatmeal, on sandwiches, and more.
Chia Seed Jam is an easy and healthy alternative to store-bought jams and jellies. It’s made with only 4 plant-based ingredients, comes together with only 15 minutes of work, and is incredibly customizable! Let’s get into it, shall we?
Store-bought Jams and Jellies, while tasty, are often overloaded with refined sugars and other preservatives. If you are looking to avoid these, Chia Seed Jam is a great alternative! If you are unfamiliar with the concept, it’s simply cooking down any Berry of your choice with Chia Seeds and (optional) Liquid Sweetener until it becomes a thick, jam-like consistency.
First, choose your Berries
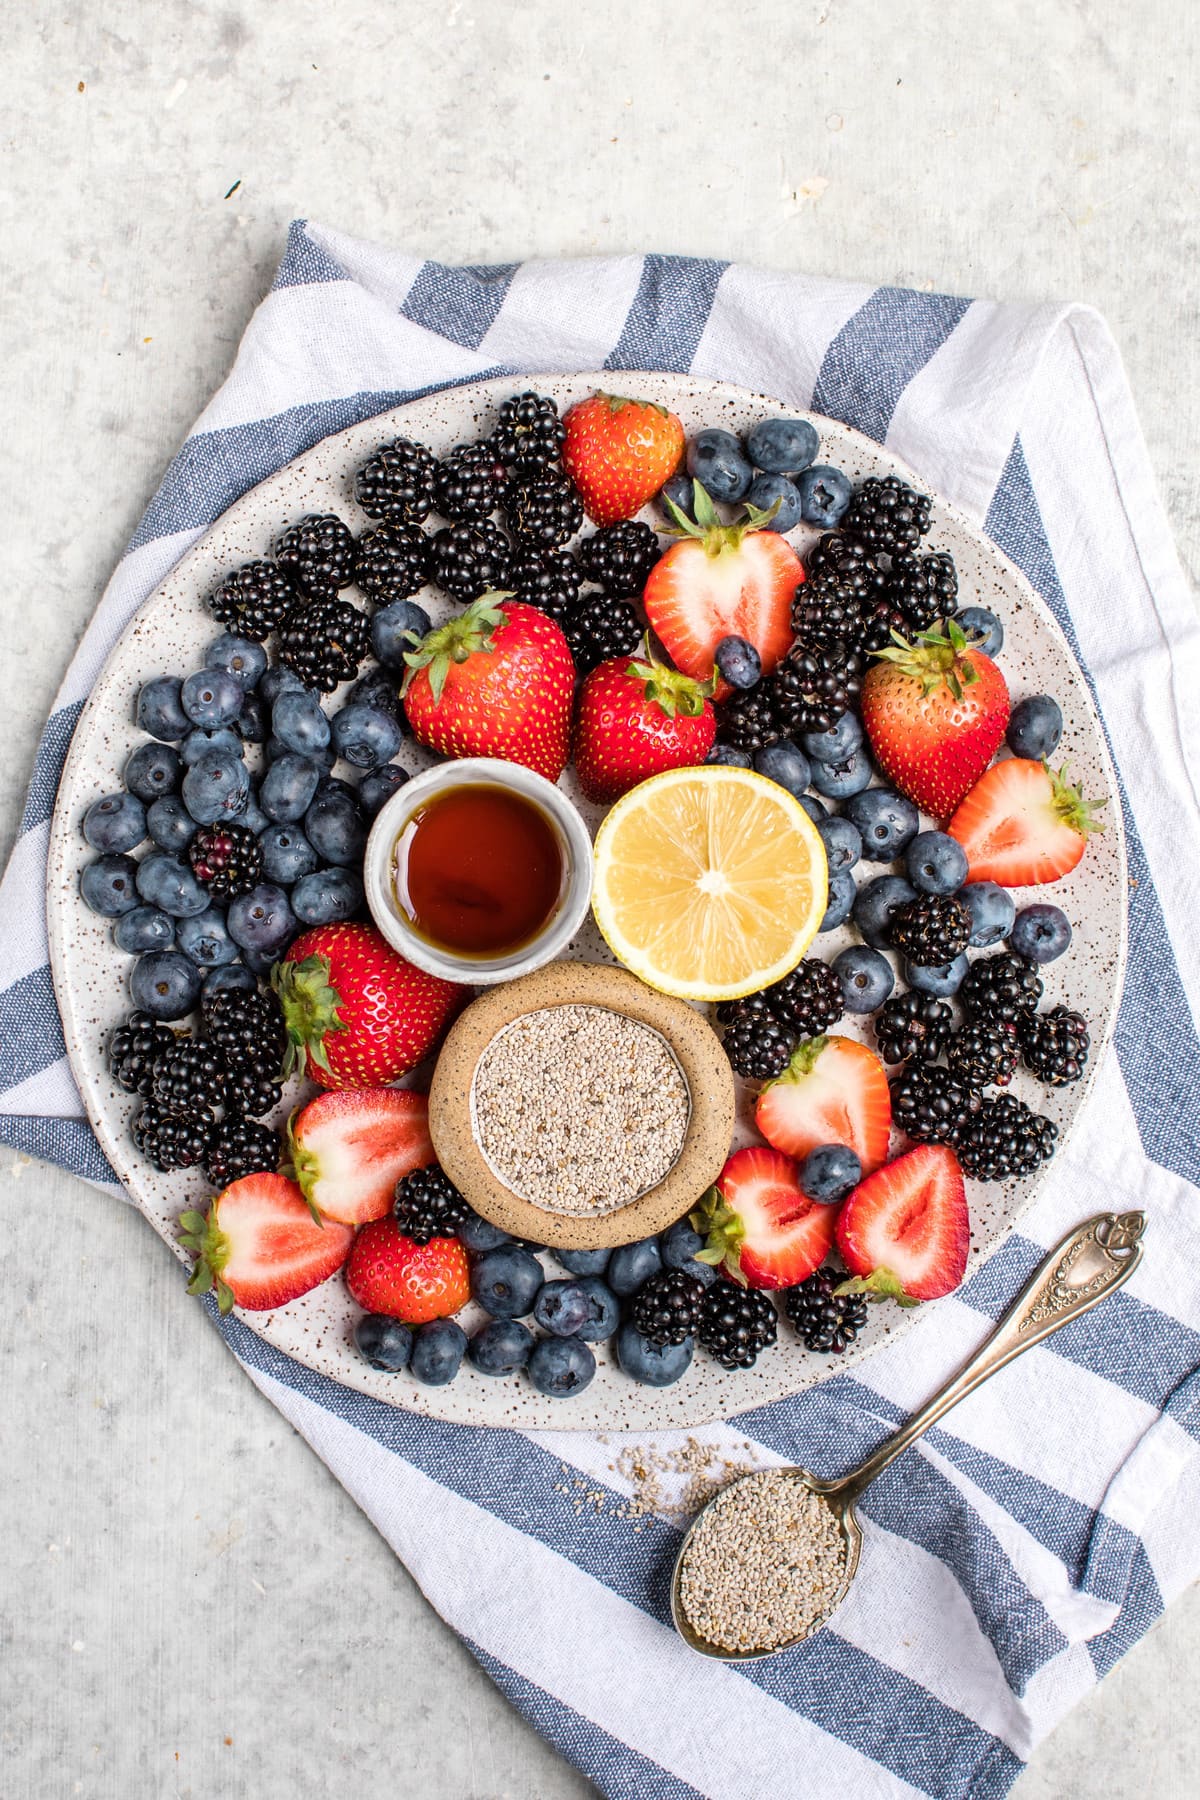
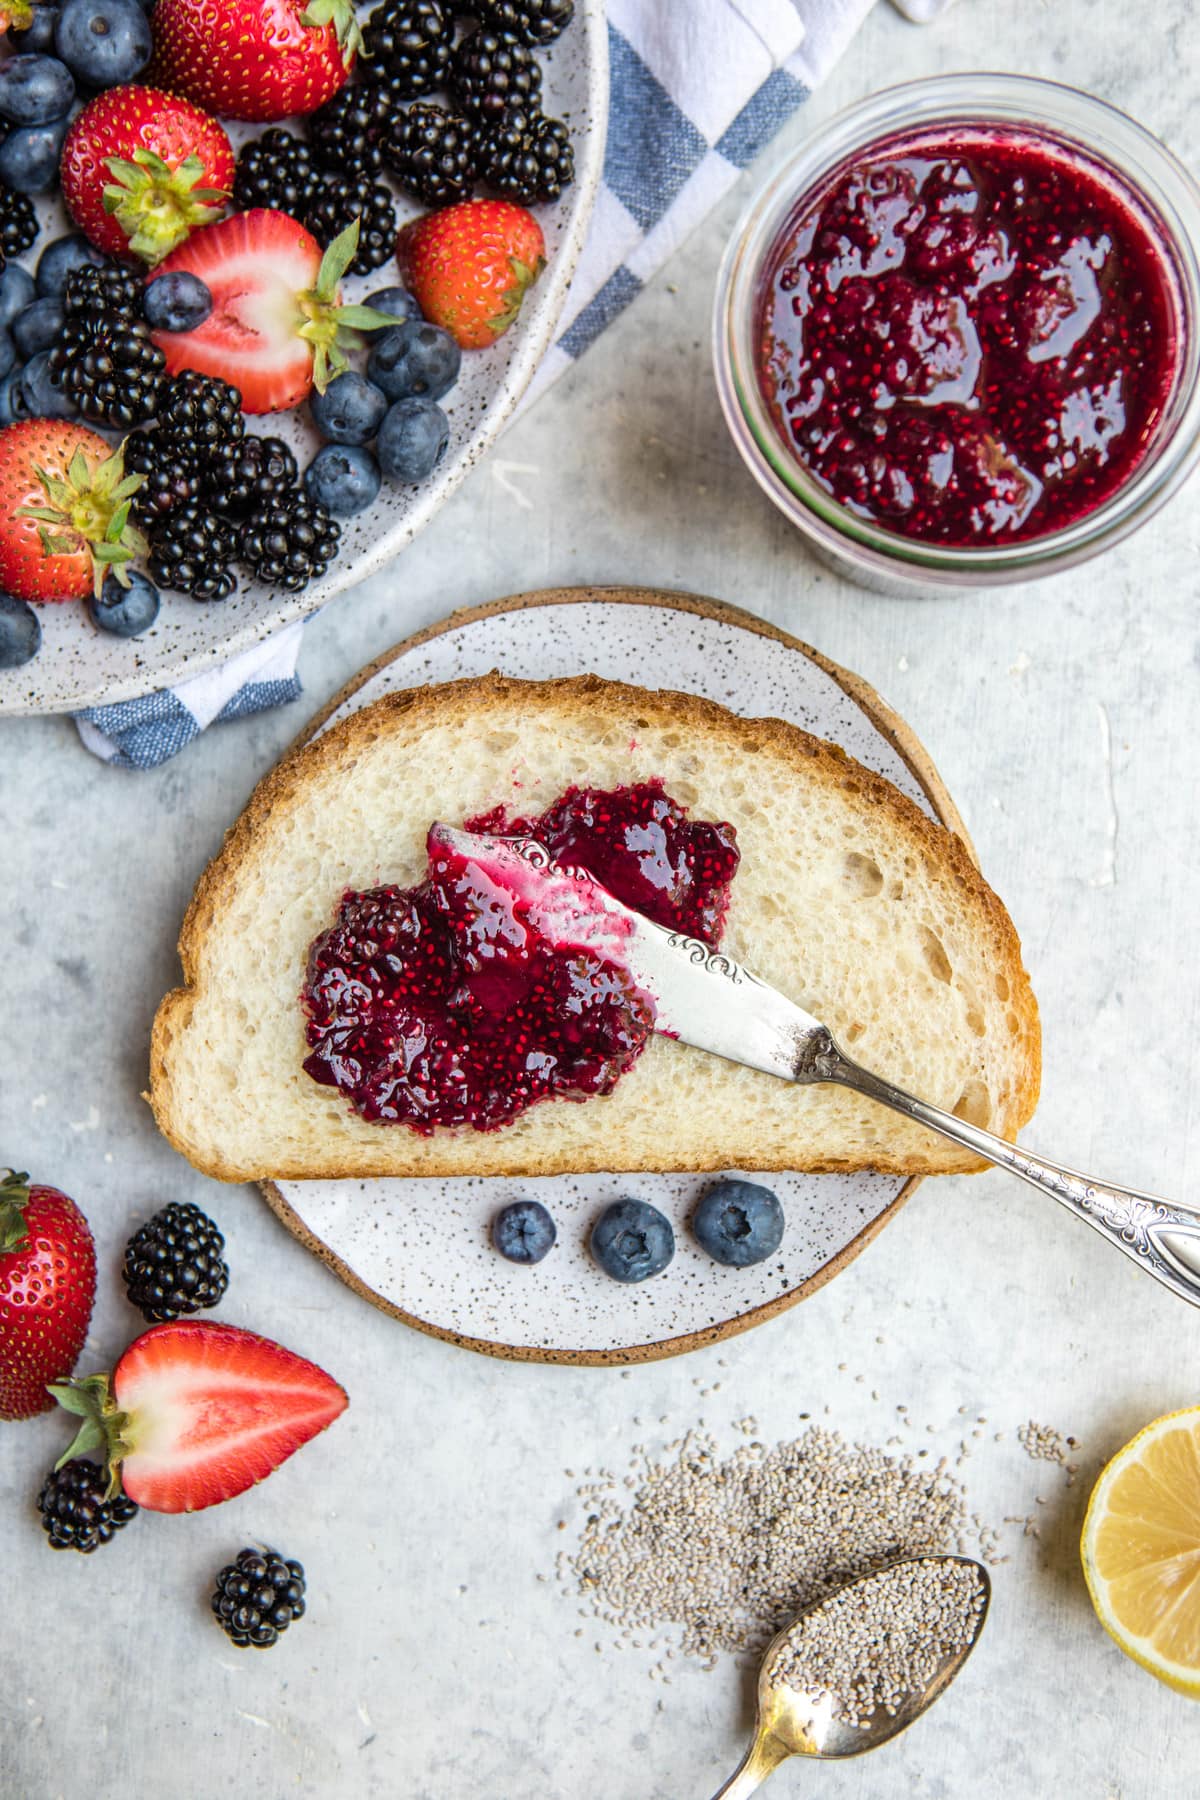
Berries have a high water content, which is why they work so well with Chia Seed Jam. I used a combination of Strawberries, Blackberries, and Blueberries for my jam, but you can use whatever berry you have! Frozen berries work just as well as fresh, though they will increase the cooking time slightly due to their higher water content.
Next, add your Berries to a Non-stick Pot with a bit of Water and Liquid Sweetener
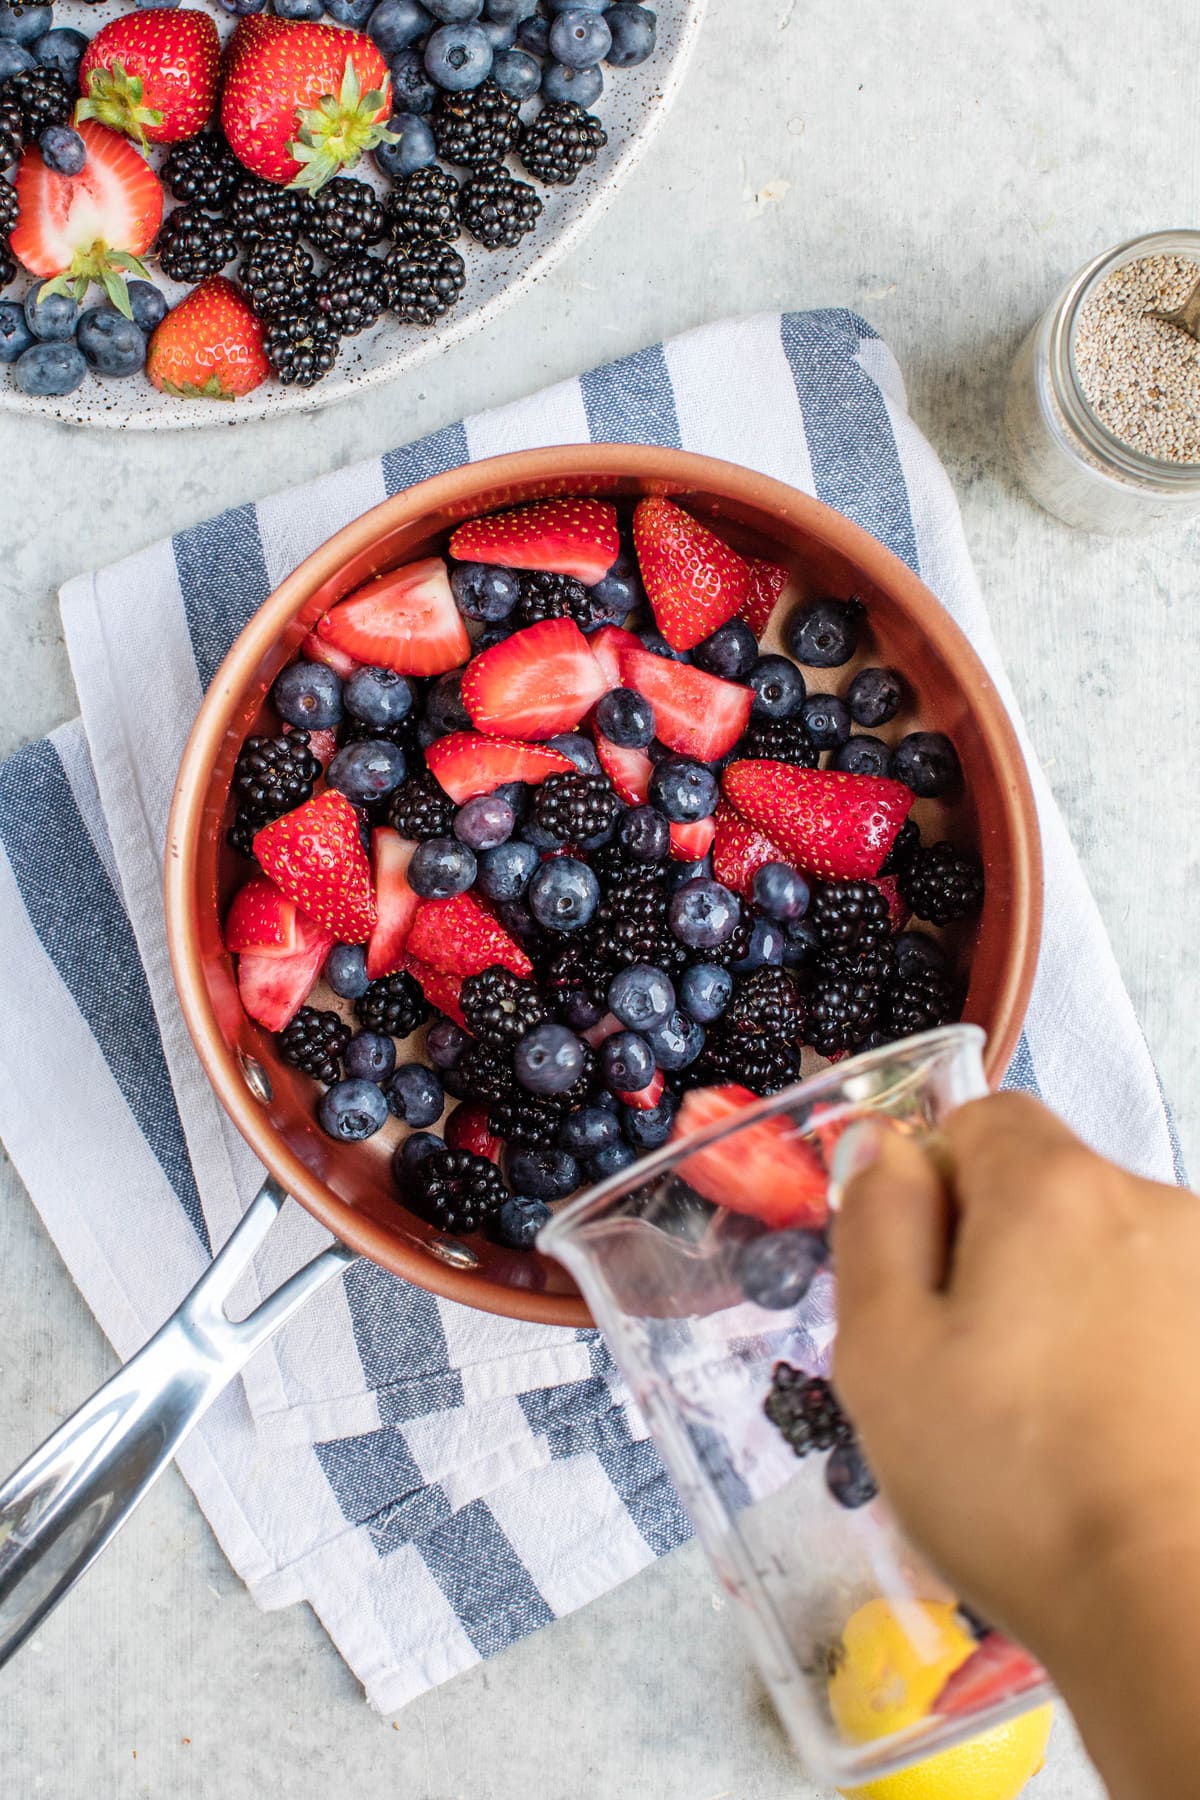
You’ll only need about 1/4 cup of Filtered Water to help “get things going” and steam the Berries before they naturally start to release liquid on their own. Every Berry is different, so Liquid Sweetener may be totally optional! If you are looking to completely reduce your sugar intake and have relatively sweet berries, you can leave it out. I like to add around 1 tbsp of Maple Syrup to my Chia Seed Jam – it doesn’t make it too sweet, but just sweet enough to help round all of the flavors out.
Bring this mixture to a Boil, then simmer for 10 minutes

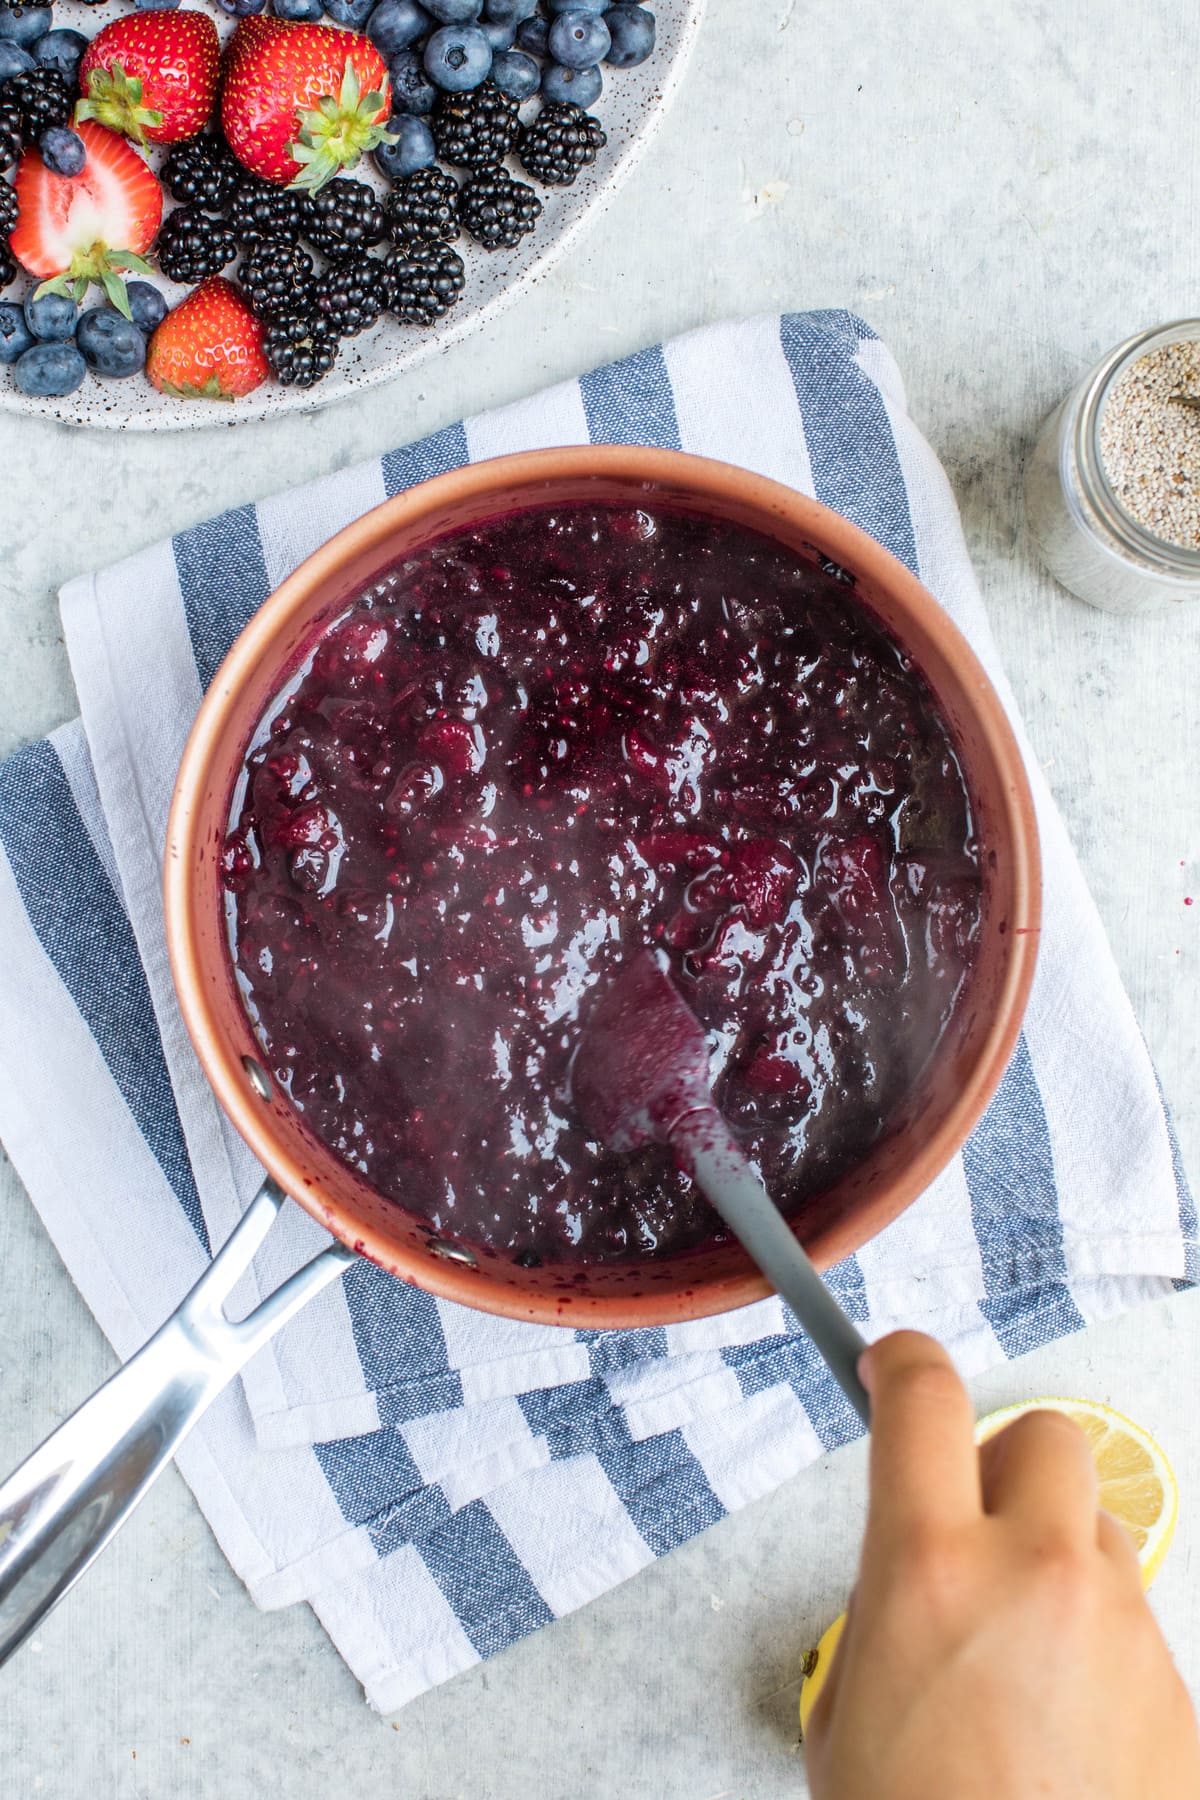
The heat will cause the Berries to naturally “break down” and release liquid. I like to stir the mixture occasionally to ensure nothing sticks to the bottom of the pot; I also like to mash some of the Berries during this time to help speed things along and get a smoother “jam” consistency.
Next, remove from the Heat and add your Chia Seeds
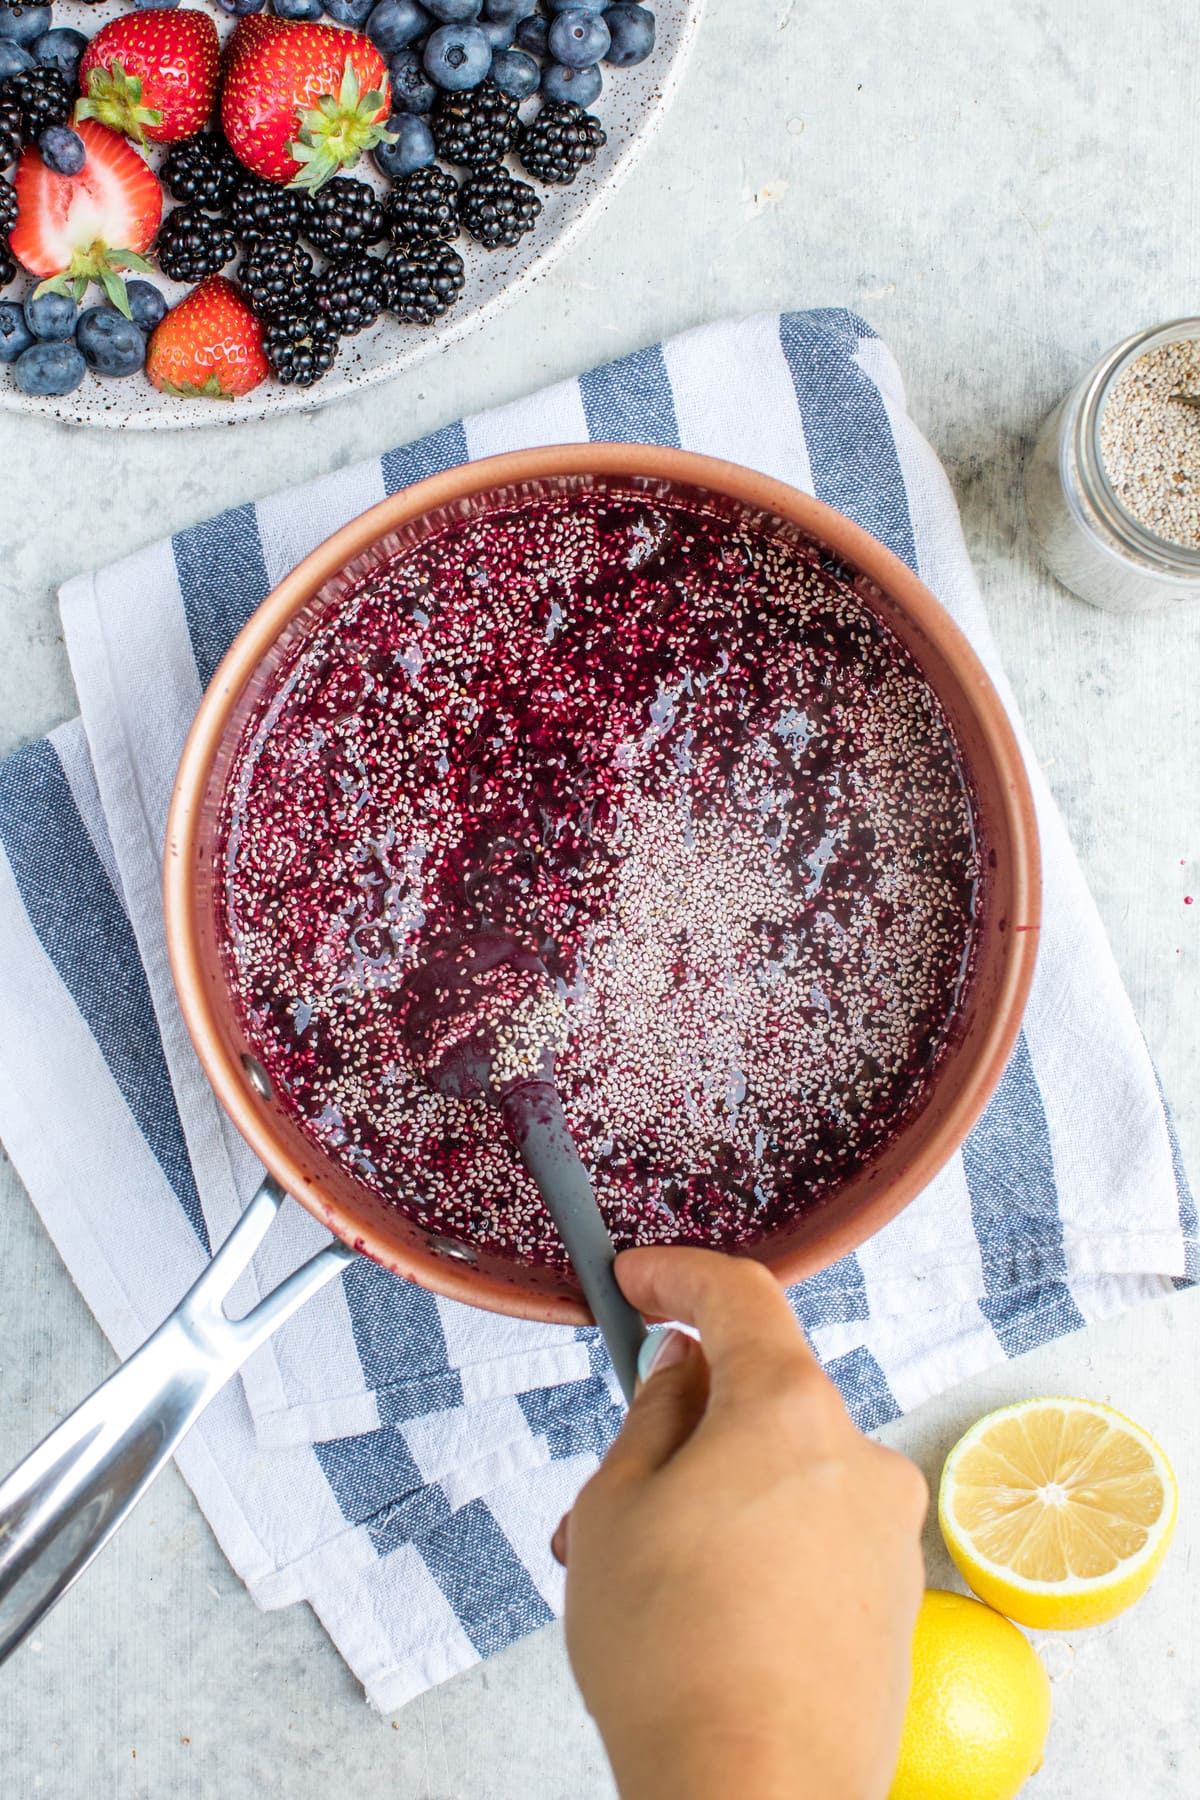
The Chia Seeds will not only help to thicken the Jam, but are also a great source of fiber, healthy Omega-3 fats, and Calcium. Did you know that Vitamin A (which is common in berries) is Fat-Soluble, meaning that it absorbs into the body better with a source of fat? Adding Chia sounds like a win-win to me. I like to use whole Chia Seeds, but if you’re not a fan of their “crunchy” texture, you can also purchase ground Chia instead.
The amount of Chia Seeds you add to your Jam will determine its thickness. I prefer to have a smooth and spreadable jam, so I only added 2 tbsp. If you’re looking for a thicker “jelly,” I would suggest 3 tbsp! The good news is that you can always start with less seeds and add more if you think your jam is too runny.
Add a splash of Lemon Juice, then you’re good to go!
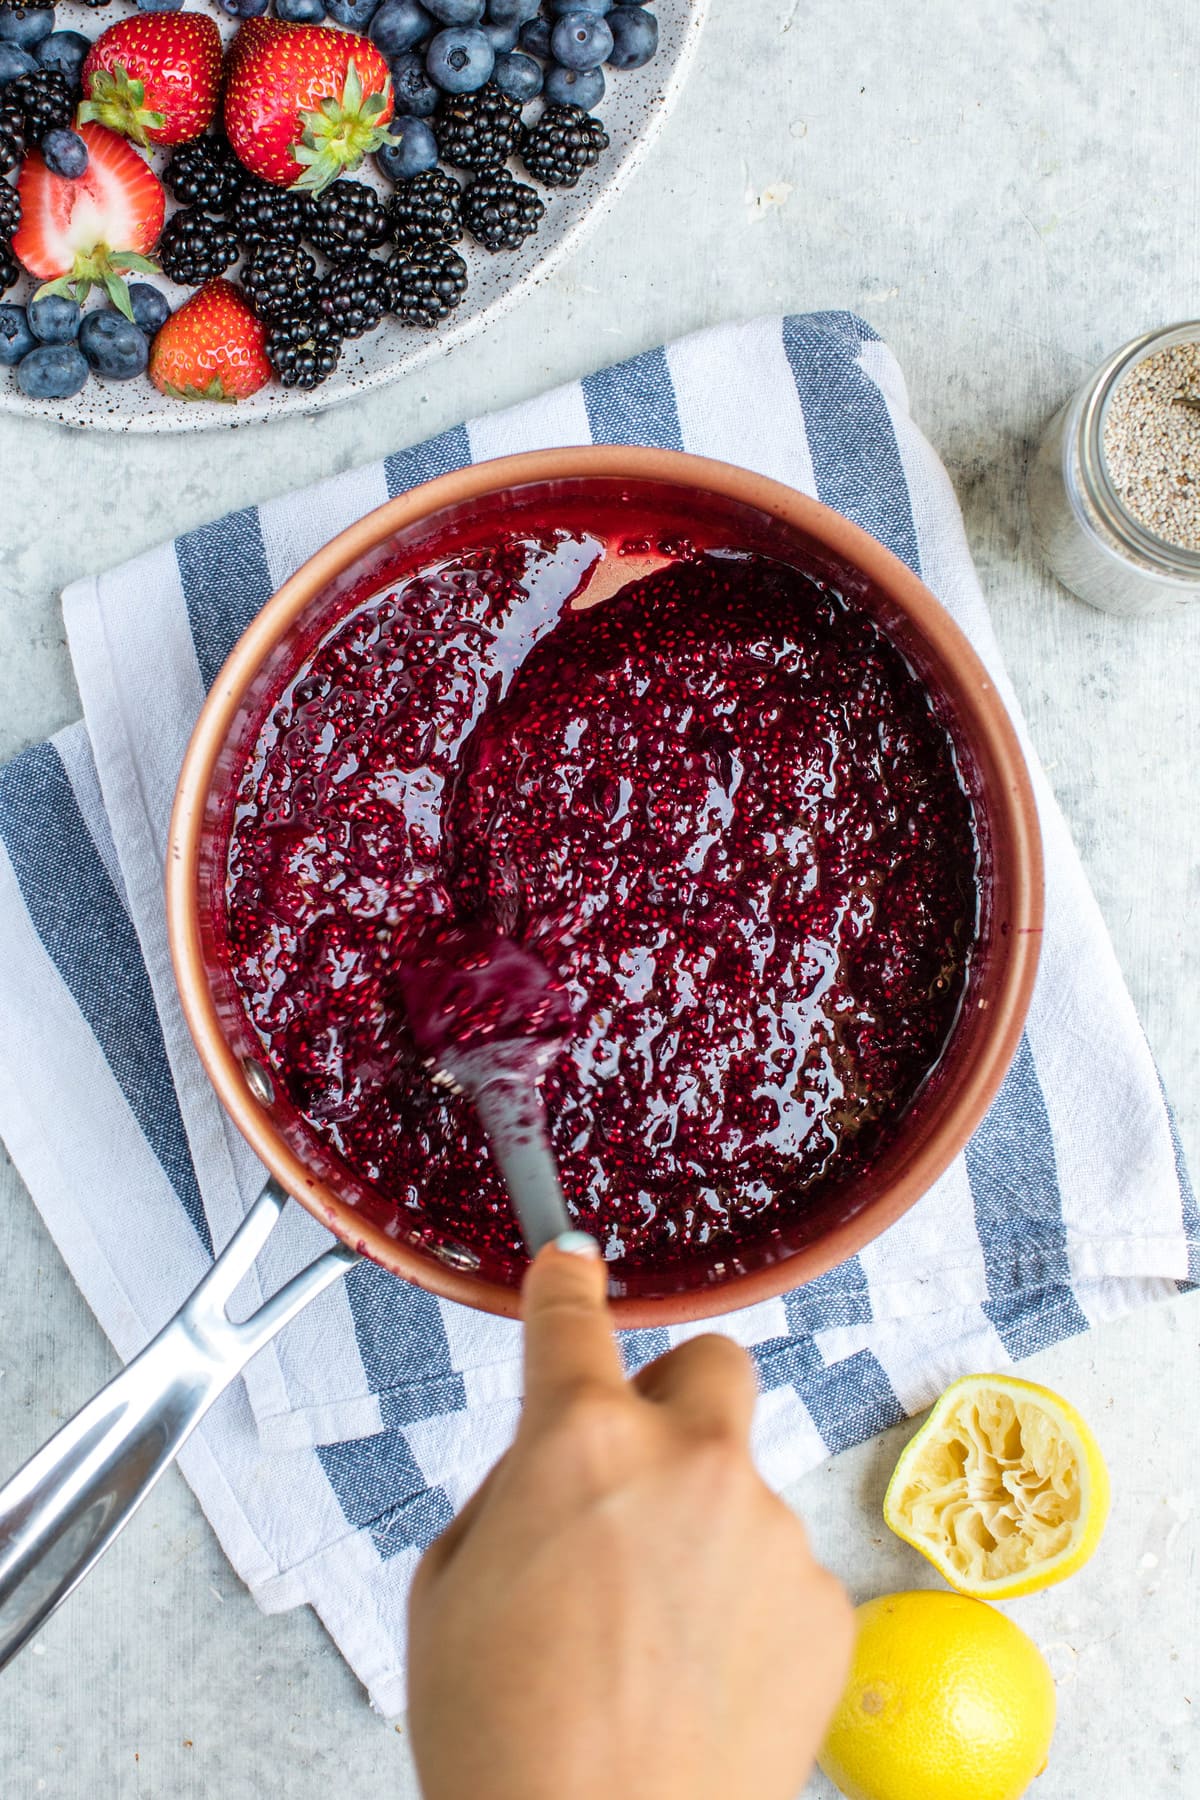
I like to finish off my Chia Seed Jam with a squeeze of fresh Lemon Juice because I find the addition of a little acidity really helps to bring out the flavor of the berries and complete the flavor profile of the Jam. If your berries are particularly sour or you opted to omit the Liquid Sweetener, you may want to skip this step.
You’ll need to let your Chia Seed Jam cool to room temperature before using, as it will thicken considerably. It’ll thicken even more overnight in the fridge, so keep this in mind when adding your Chia Seeds. It may look a little runny at first, but you just gotta trust the process 😉
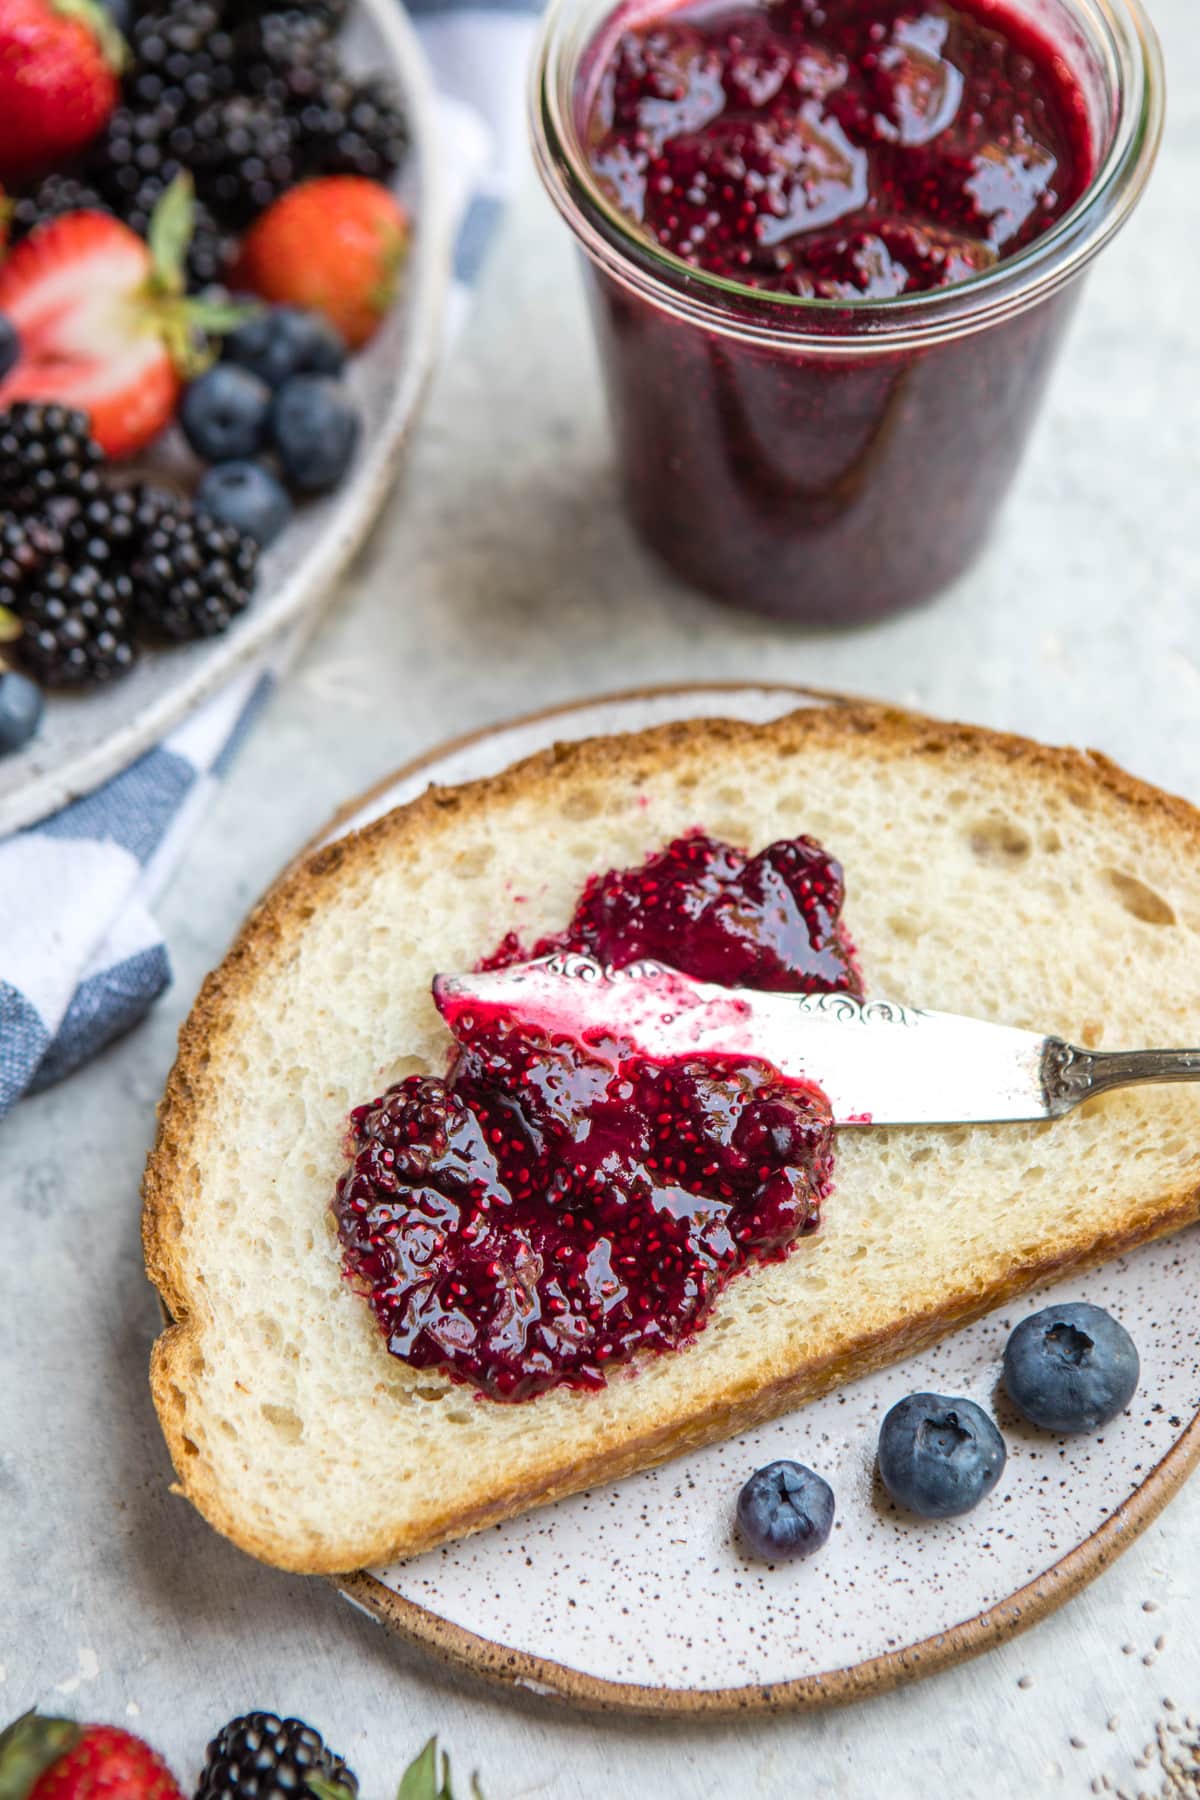
I like to store my Jam in an airtight glass container in the fridge, where it’ll last between 7-14 days. If you don’t think you’ll use all of your Jam before then, you can always cut the recipe in half!
Speaking of Jam uses…you can use this healthy Chia Jam pretty much anywhere you would use regular Jam or Jelly! My favorite ways to use it is spread over Toast or on top of Oatmeal, but it would also be great in Thumbprint Cookies, in PB&J Sandwiches, or even as a sweet dip for Sweet Potato Fries.
If you’re looking for ways to use this Chia Seed Jam, check out this Creamy Zucchini Oatmeal, or spread some over this Vegan Zucchini Bread!
Finally, if you make this recipe and decide to share it on Facebook or Instagram, don’t forget to tag me @FromMyBowl + #FromMyBowl! I love seeing your delicious recreations 🙂
How to Make Chia Seed Jam
Skip the refined sugars and make your own healthy Chia Seed Jam using only 4 basic ingredients! It’s perfect on toast, in oatmeal, on sandwiches, and more.
- Prep Time: 5 Minutes
- Cook Time: 10 Minutes
- Total Time: 15 minutes
- Yield: ~ 1 3/4 cup
- Category: Sauce
- Method: Stovetop
- Cuisine: American
Ingredients
- 3 cups Fresh Berries of choice*
- ¼ cup Filtered Water
- 1 tbsp Maple Syrup*
- 2-3 tbsp Chia Seeds*
- Juice of 1/2 Lemon
Instructions
- First, add the Berries, Water, and Maple Syrup to a nonstick saucepan. Bring the mixture to a boil over medium, heat, then reduce the heat to medium-low and simmer for 10-12 minutes, stirring occasionally. Try to “mash” some of the berries as you stir, though the heat should break them up as well.
- Remove the pot from the heat and add the Chia Seeds to the pot; mix until well incorporated, then let sit for 5-10 minutes.
- Finally, stir in the juice of ½ of a Lemon, and transfer the mixture to a glass jar. Use as desired, and store in the refrigerator for 7-14 days.
Notes
- I used a mixture of Strawberries, Blueberries, and Blackberries for my jam, but you can use any combination (or single Berry) of your choosing! You can also use frozen berries to make the jam, though you will need to simmer the mixture for 2-5 minutes longer, as they hold more liquid.
- I have not tested this recipe using any other fruit aside from Berries. They hold a lot more water than other fruits, which is why they work well in this recipe! You can substitute stone fruit or another fruit of your choice, though do so at your own risk.
- Maple Syrup may be substituted for any other sweetener of choice. I would recommend Agave, but Coconut Sugar or another granulated Sugar will work as well. Keep in mind that each sweetener has different “levels” of sweetness, so you may need to adjust the amount of sweetener accordingly.
- I would suggest making this recipe with only 2 tbsp of Chia Seeds, as the Jam will thicken considerably as it cools and overnight. However, if you’d like a really thick Jam, use 3 tbsp instead
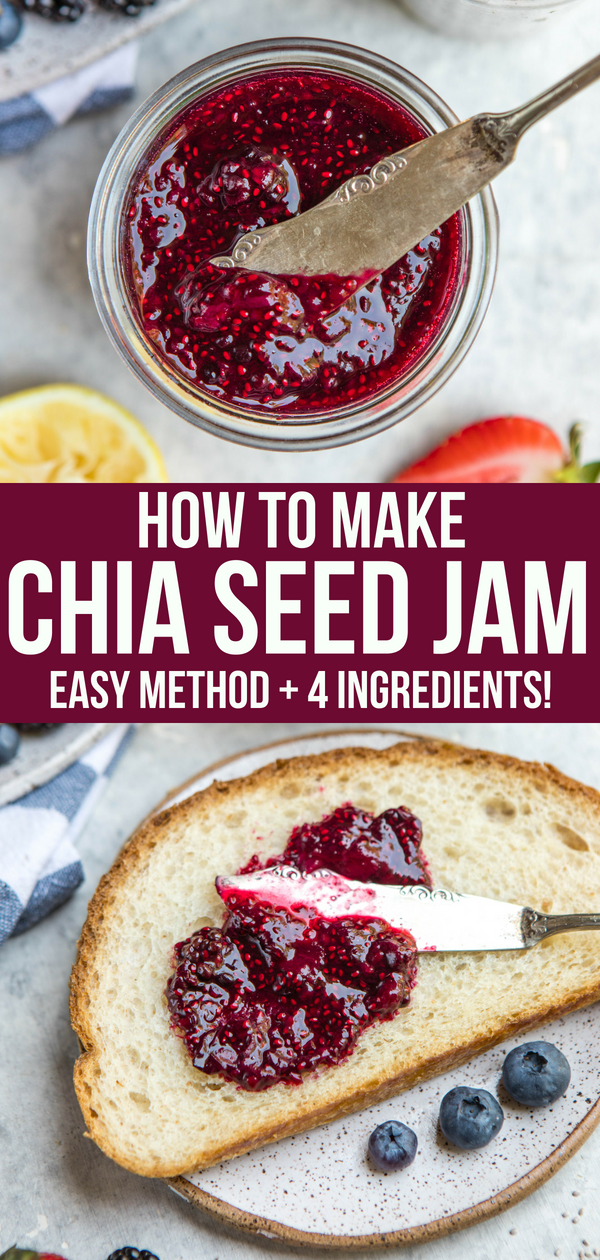
Want to save this Chia Seed Jam recipe for later? Pin the recipe to your Pinterest boards:


Do you let the jam cool completely before putting it into the fridge?
yes!
Hello! Can I use it to fill a birthday cake?
Absolutely! I think this would be perfect in cakes. Jut make sure it’s cooled first.
So good! I use it for my overnight oats and yogurt bowls. I love the texture and flavor it gives.
So glad you like it Kate!
Hi I would like to know how many carbs and sugars pls in this jam ,I did it and it was very good,but I am diabetic so I need more info pls thanks
For the entire batch:
Total Carbohydrates: ~70–75g
Total Sugar: ~42–45g
Can this recipe be water bath canned?
I would not recommend it! From my research, chia seed jam has trouble reaching the temperature needed to kill certain bacteria.
I don’t care for seeds in my jam so can I grind the chia seeds first and will they still gel the mixture as intended?
Yes, that will work well! They will still have add a slight texture, but it would be as crunchy as a seed.
I’m confused about the contradictory statements regarding using canning techniques. One comment says yes and then another one says it is not suitable for canning since it contains perishable ingredients. All jam does. Can you clarify?
Hi Ellen, sorry for the confusion! I do not think this recipe is suitable for canning – most canning recipes require a specific ratio of fruit to sugar to ensure the product does not spoil, and I did not use that ratio here.
I used half strawberries and half blueberries and I am in LOVE!!! It was simple to make and I will definitely make again.
Glad you enjoyed the recipe, Tosha!
Would you make any changes to the recipe when using ONLY frozen fruit?
If you’re using only frozen fruit for the chia seed jam, simmer it a bit longer—about 2-5 extra minutes to account for the extra liquid. Use 3 tablespoons of chia seeds to help thicken it more, and make sure to mash the berries well.
Have you tried freezing this jam
Chia seed jam can indeed be frozen for longer storage. Here’s how you can do it:
Allow the chia seed jam to cool completely to room temperature after making it.
Transfer the jam into freezer-safe containers or jars, leaving some space at the top for expansion as it freezes.
Seal the containers tightly to prevent freezer burn.
Label the containers with the date of preparation for easy identification.
Place the containers in the freezer.
When you’re ready to use the jam, simply thaw it in the refrigerator overnight. It should keep well in the freezer for several months, maintaining its flavor and texture. Enjoy your homemade chia seed jam whenever you like!
Can you freeze this and retain quality?
Yes, you can freeze chia seed jam to retain its quality for longer. Freezing is a great option if you’ve made a large batch and want to preserve it for later use. It can typically be stored in the freezer for up to 3-6 months without significant loss of quality. However, for the best taste and texture, it’s recommended to consume it within the first few months of freezing.
Is the lemon just for preserving? I have a histamine intolerance and am wondering if I could make this without lemon if it’s eaten right away. Do you know?
Yes, you can make and eat right away.
I’m late to the chia seeds jam party I love how much healthier it is than store-bought jams that is full of sugar. I used our frozen strawberries and the flavor really shines instead of just sweetness from all the sugar that store-bought jams have to thicken. Thanks so much for the recipe! I’ll be making cherry jam from the bag of frozen cherries that we have here.
By the way I used mine to top my protein muffin! In place of maple syrup, I used agave syrup. Used 2tbsp and 2 teaspoons of chia seeds
You’re so welcome, Michelle! Glad you liked the recipe.
I made this with passionfruit and stevia. I used 3 cups of passionfruit pulp and 1/2 teaspoon of stevia, replacing the maple syrup/sweetener. So far it tastes pretty good!
I started making this a year ago and it’s been a staple in my house ever since! So easy and delicious!
Amazing! So fun to switch it up with season fruit too 🙂
Just made this to top my baked oatmeal with. I made it with strawberries and lime and it’s delicious! So easy and I love that it’s sweetened with the fruit and maple syrup. Yum!
oooh that combo sounds amazing! I will have to try it out 🙂
Hi Caitlin, thanks for this recipe. Mango season just started here and I used your recipe to make mango chia seed jam. Subbed in lime juice for the lemon. So good! Thank you!
Ah, nothing beats a fresh mango! 🙂
Can you can this for long term storage???
This recipe is not suitable for canning as it contains perishable ingredients and lacks the proper acidity levels. Canning requires special techniques and equipment to preserve food and requires low-acid foods that have been treated with acidic ingredients. This recipe should be stored in the refrigerator and used within 7-14 days.
Do you have to use sterilized jars to store the jam? And do you think apricots will work for this recipe?
The glass jars used were just for short refrigeration (got it all used up before it would go bad). Apricots would be fun! They don’t have quite as much liquid as berries do so there may need to be cut into pieces and have some water added to get the same sort of consistency. So it might take some experimenting!
Can this be frozen?
Yes, it will probably separate a little when you thaw it but you could give it a good stir 🙂