Disclosure: This post may contain affiliate links. I may earn a small commission for my endorsement, recommendation, testimonial, and/or link to any products or services from this website.
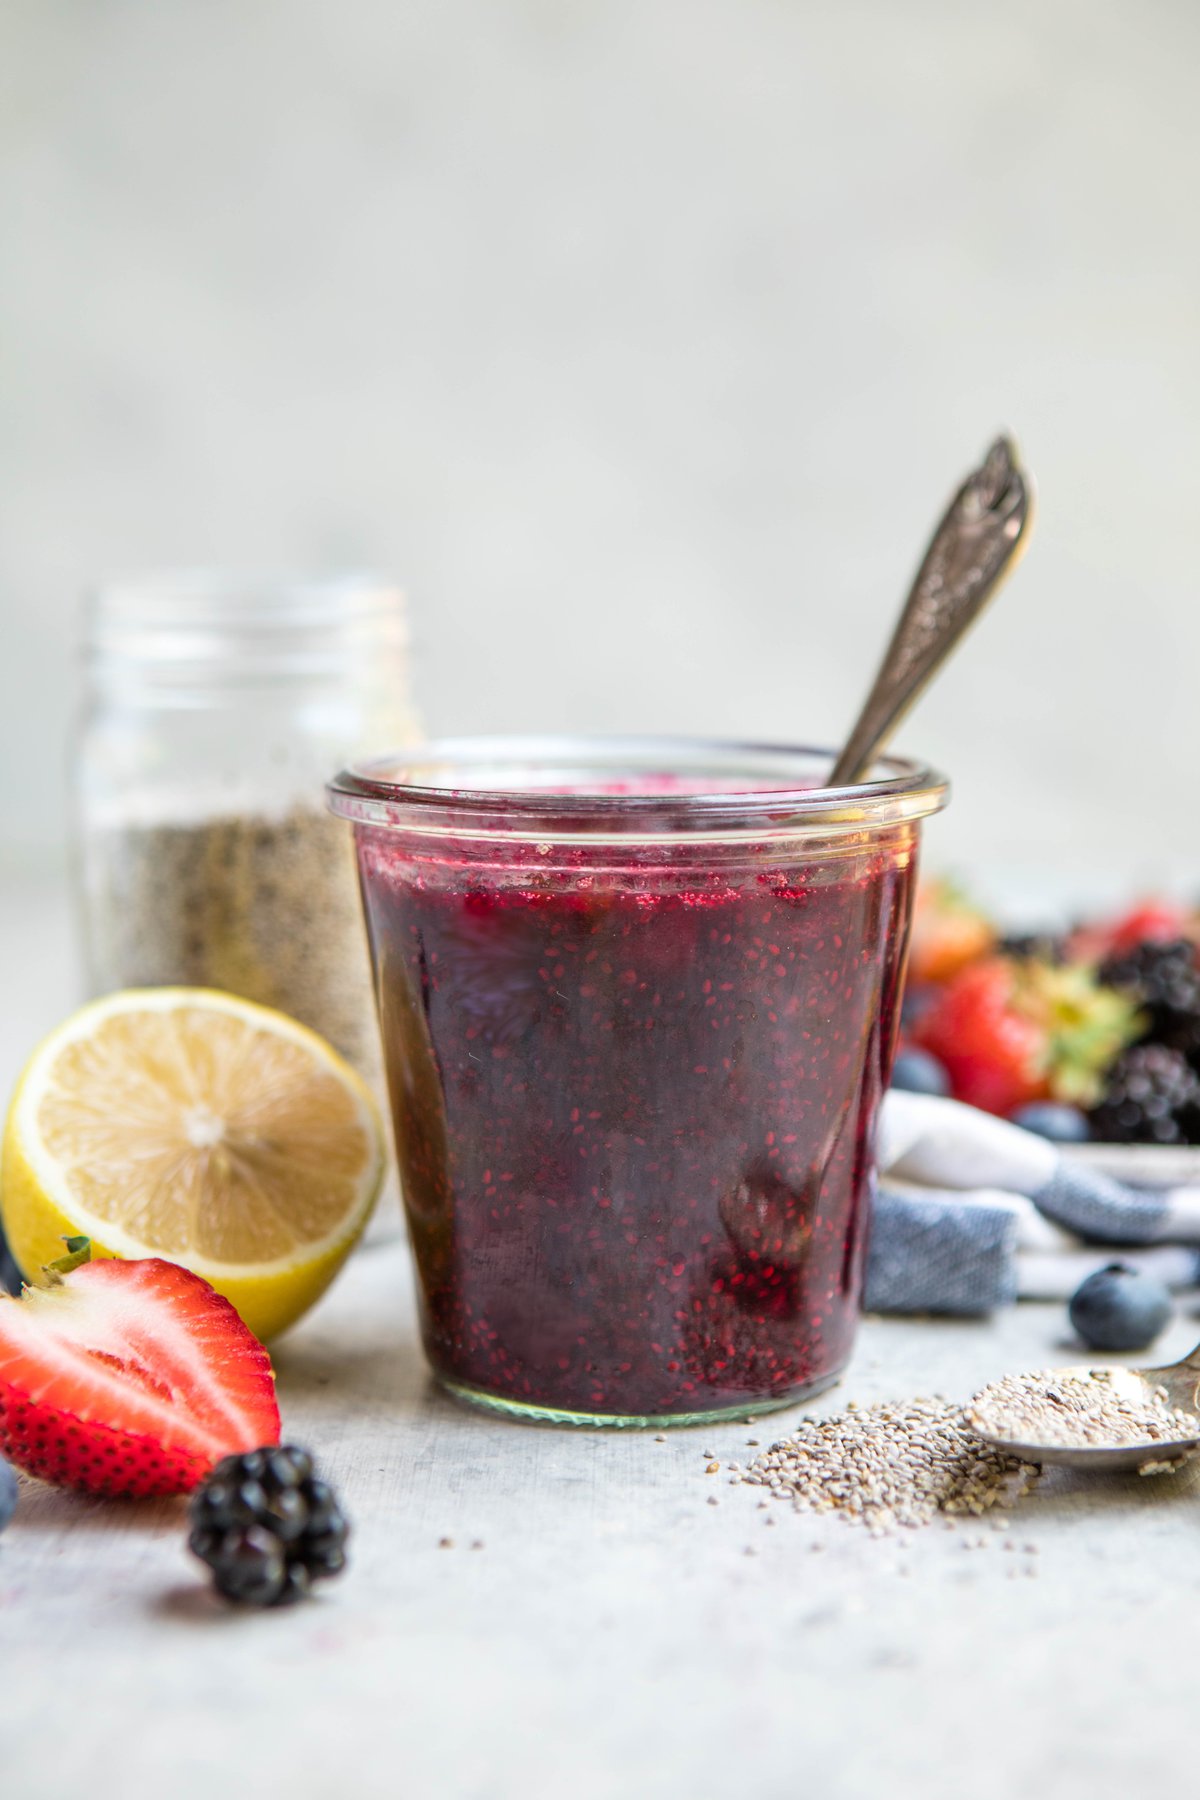
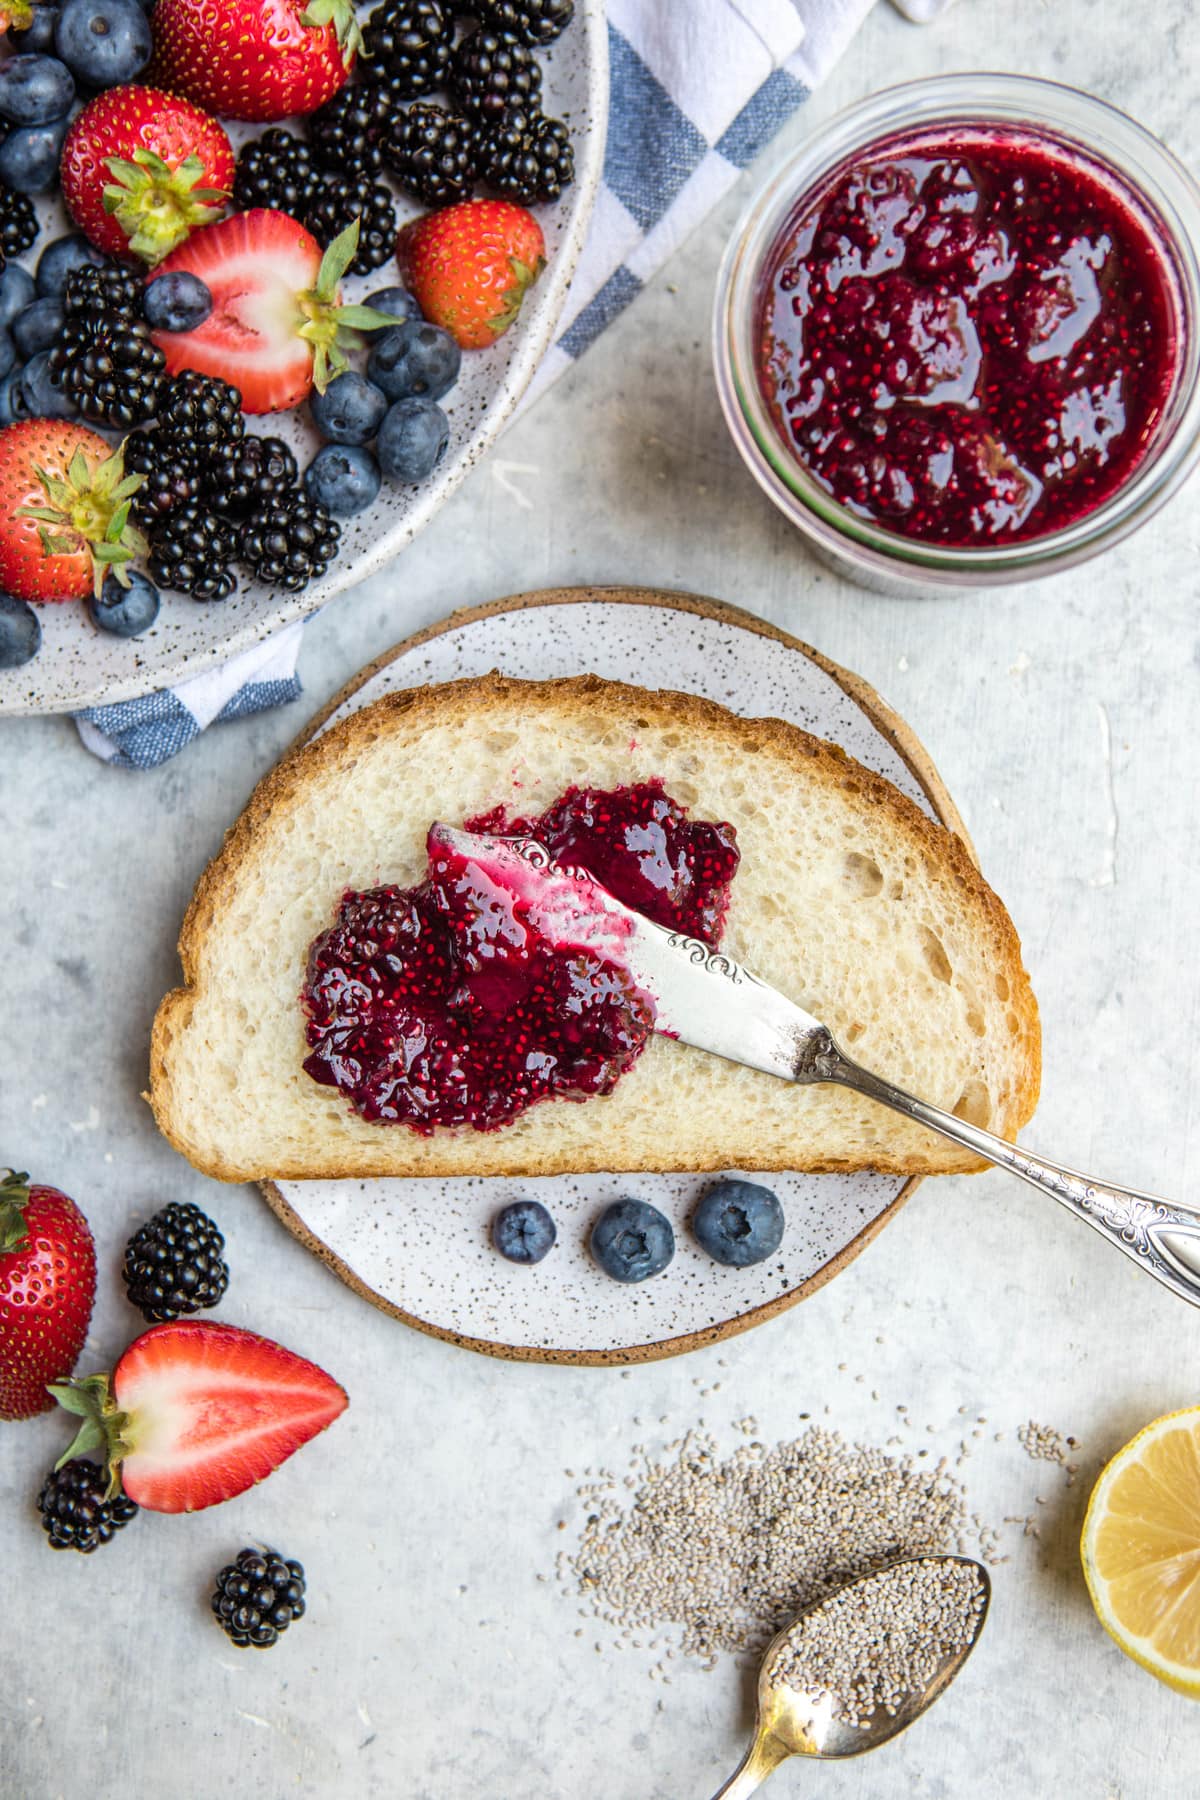
Skip the refined sugars and make your own healthy Chia Seed Jam using only 4 basic ingredients! It’s perfect on toast, in oatmeal, on sandwiches, and more.
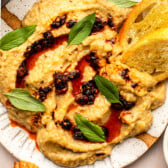
Chia Seed Jam is an easy and healthy alternative to store-bought jams and jellies. It’s made with only 4 plant-based ingredients, comes together with only 15 minutes of work, and is incredibly customizable! Let’s get into it, shall we?
Store-bought Jams and Jellies, while tasty, are often overloaded with refined sugars and other preservatives. If you are looking to avoid these, Chia Seed Jam is a great alternative! If you are unfamiliar with the concept, it’s simply cooking down any Berry of your choice with Chia Seeds and (optional) Liquid Sweetener until it becomes a thick, jam-like consistency.
First, choose your Berries
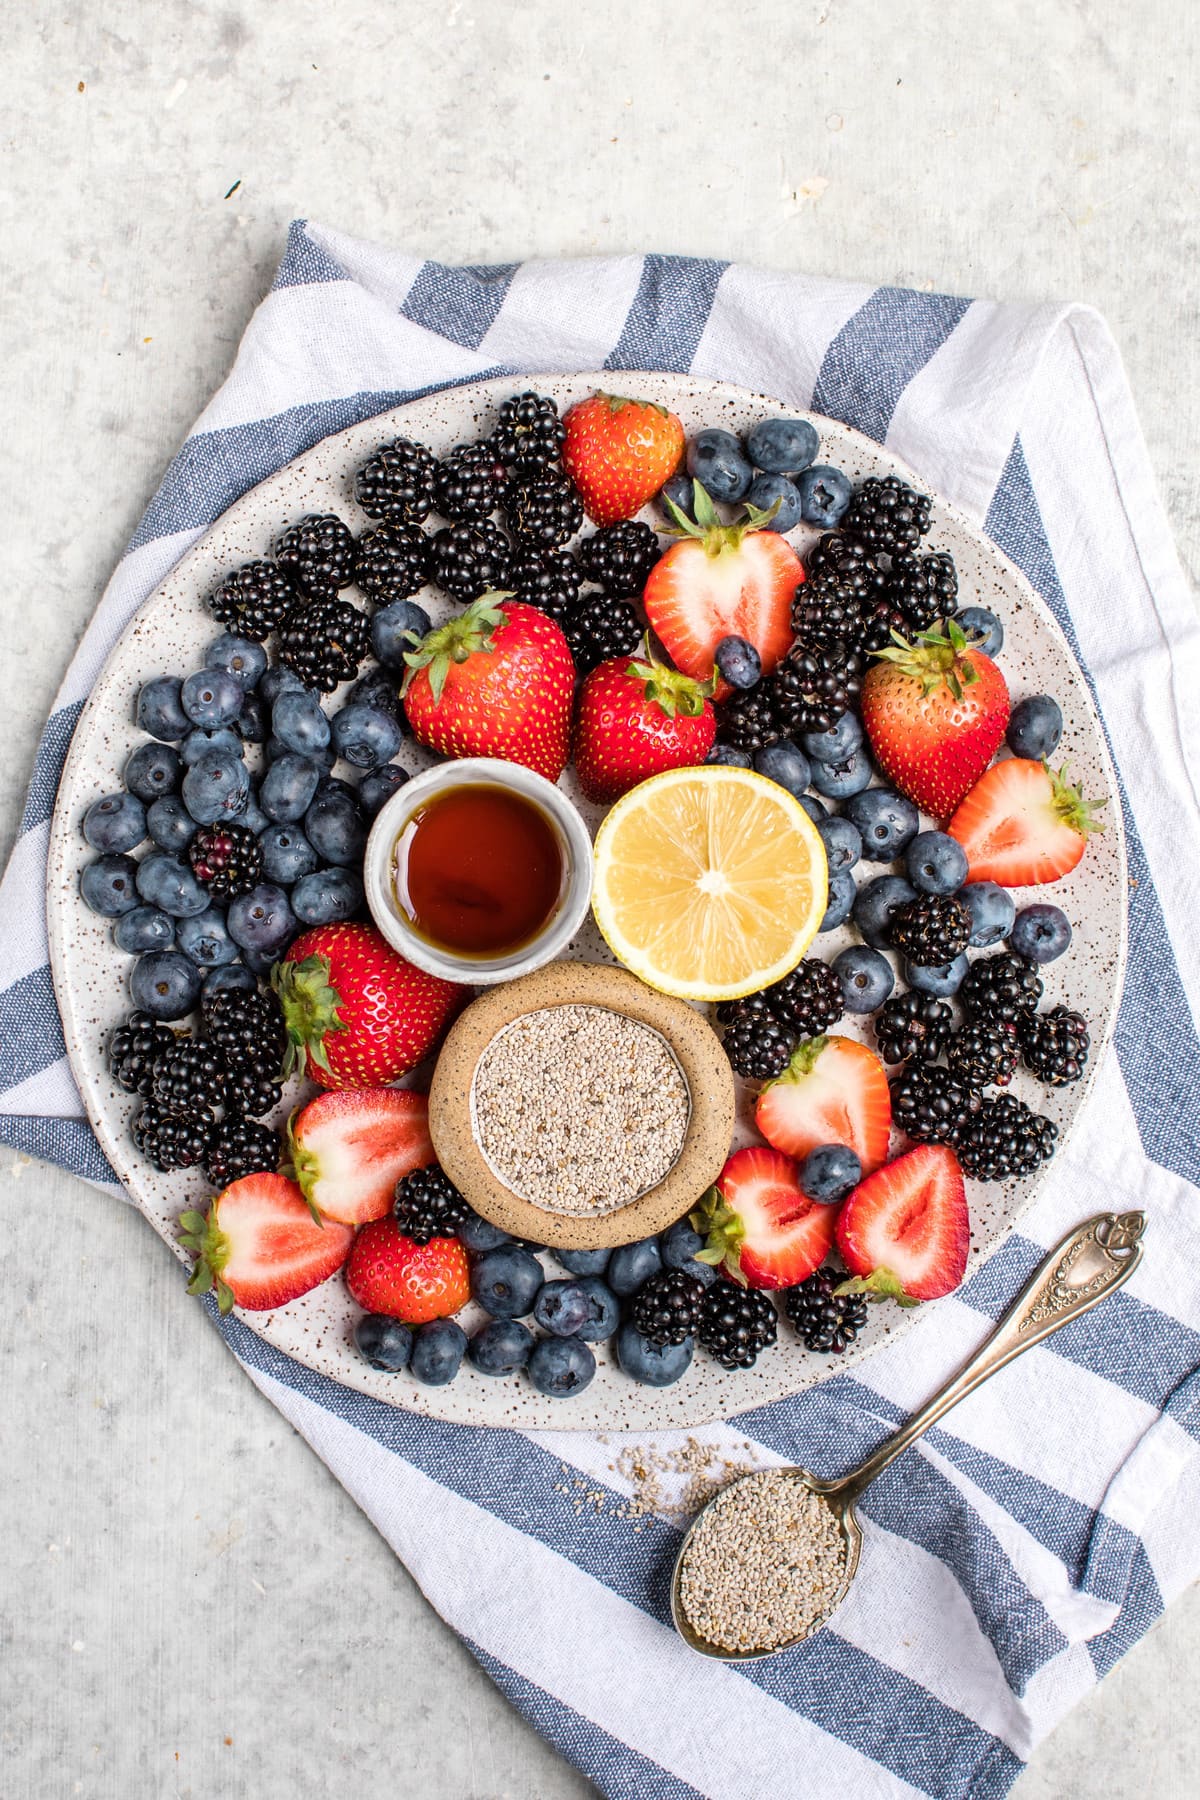
Berries have a high water content, which is why they work so well with Chia Seed Jam. I used a combination of Strawberries, Blackberries, and Blueberries for my jam, but you can use whatever berry you have! Frozen berries work just as well as fresh, though they will increase the cooking time slightly due to their higher water content.
Next, add your Berries to a Non-stick Pot with a bit of Water and Liquid Sweetener
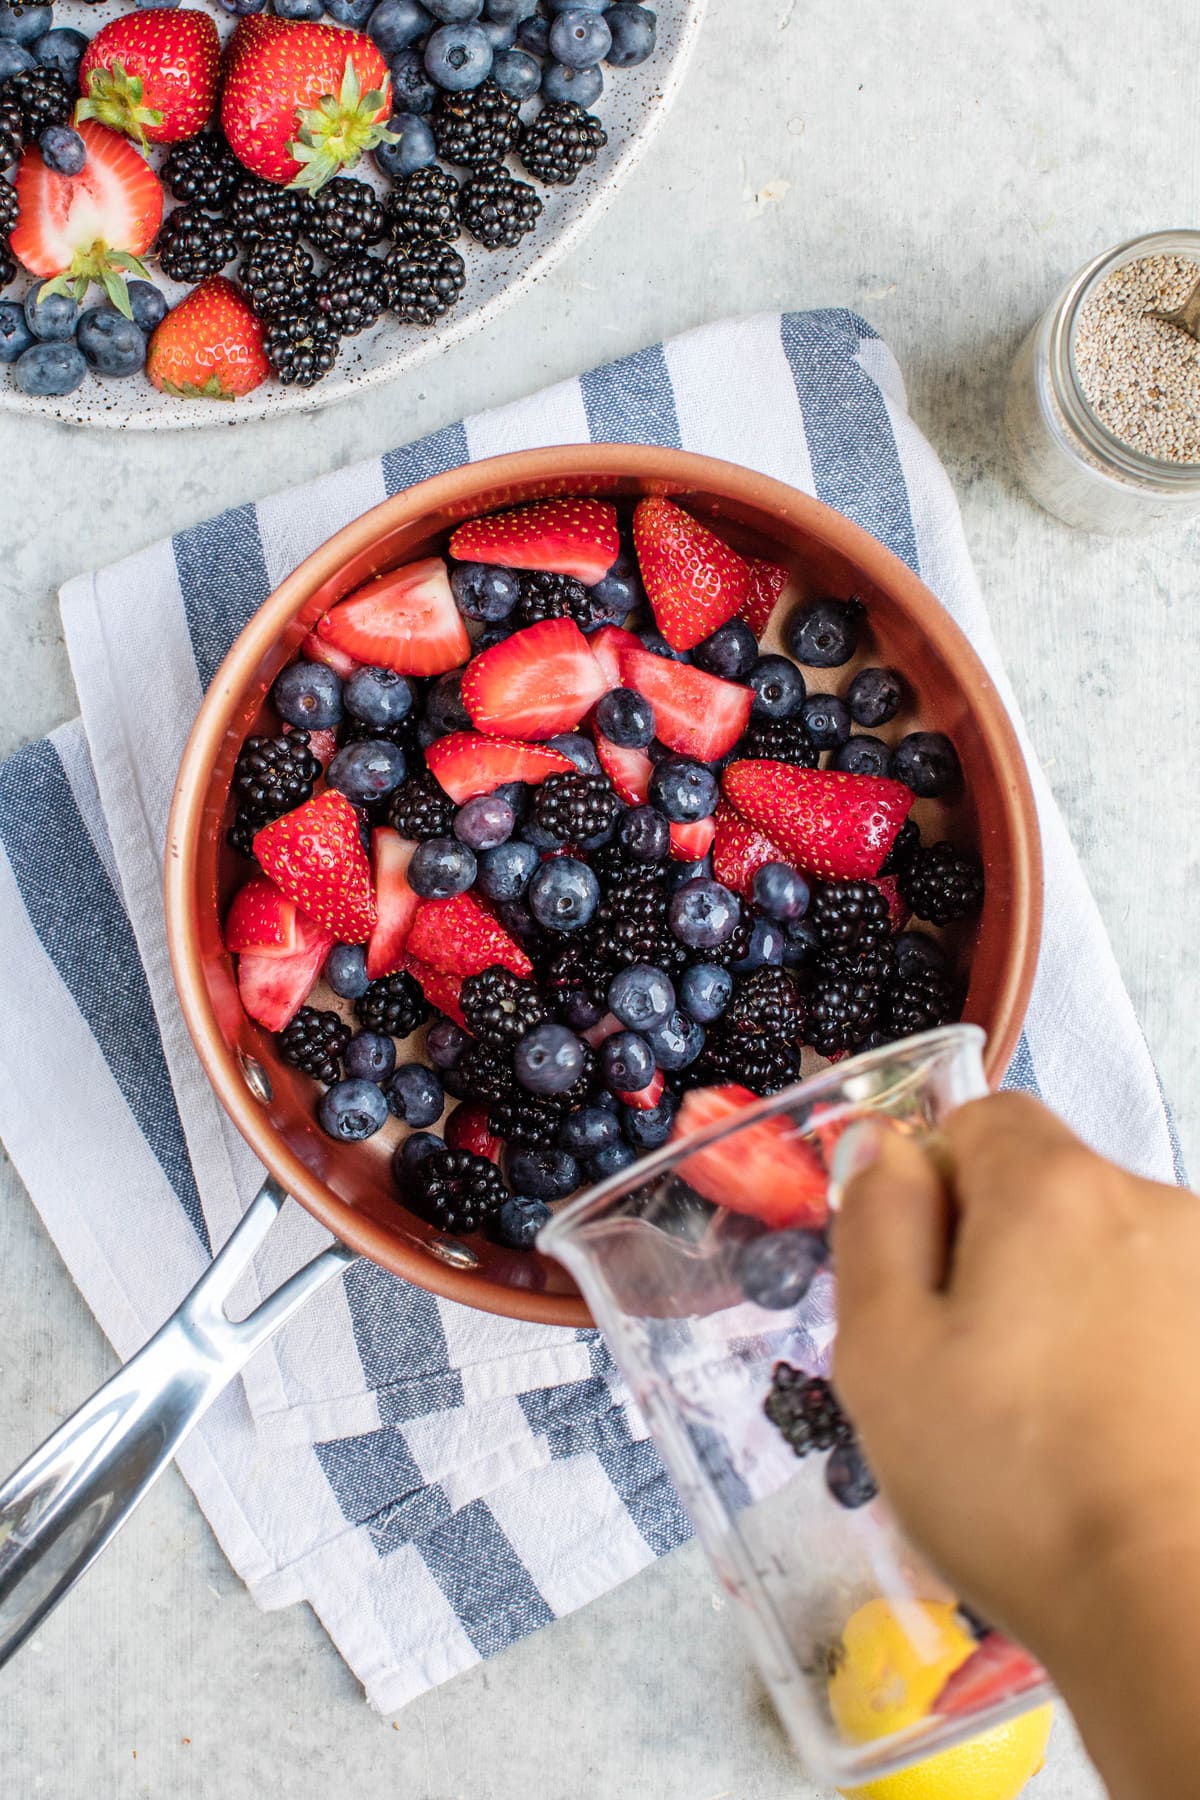
You’ll only need about 1/4 cup of Filtered Water to help “get things going” and steam the Berries before they naturally start to release liquid on their own. Every Berry is different, so Liquid Sweetener may be totally optional! If you are looking to completely reduce your sugar intake and have relatively sweet berries, you can leave it out. I like to add around 1 tbsp of Maple Syrup to my Chia Seed Jam – it doesn’t make it too sweet, but just sweet enough to help round all of the flavors out.
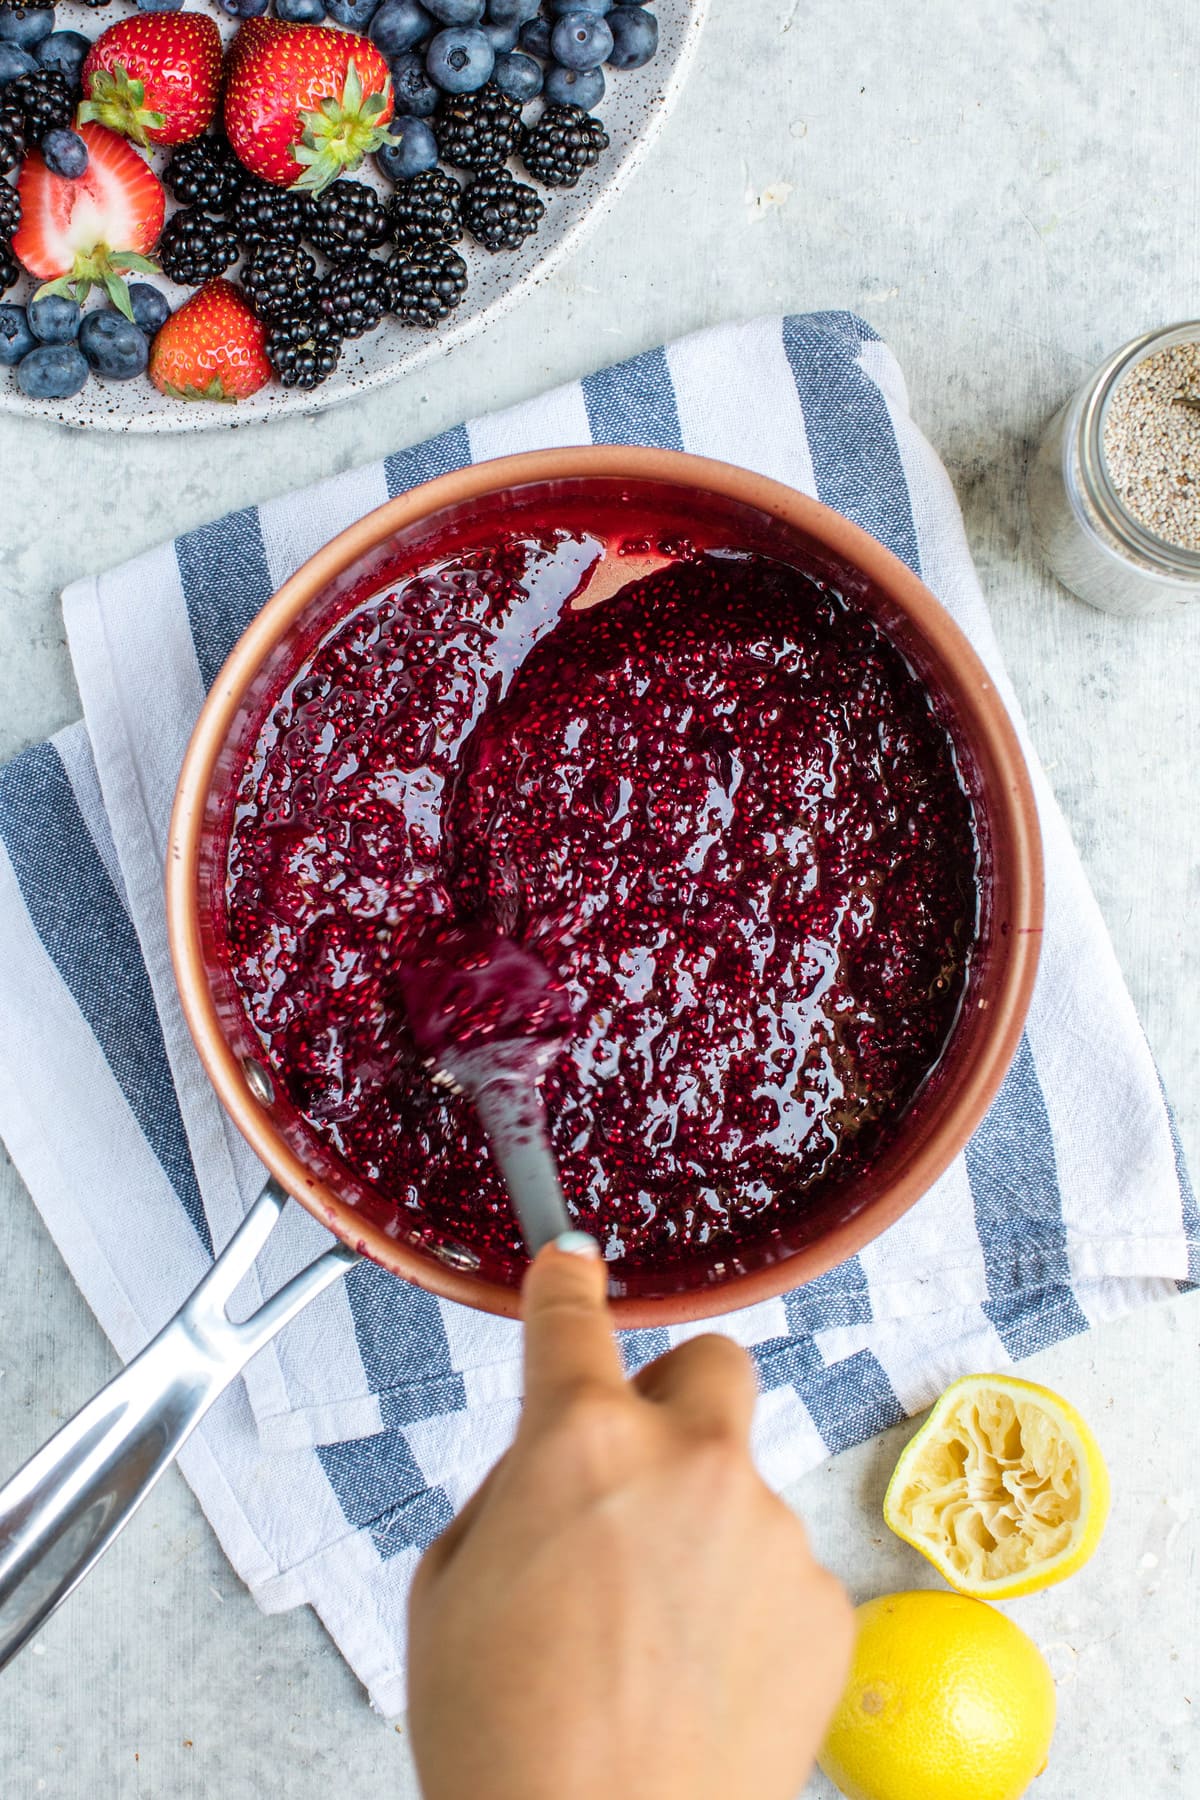
Bring this mixture to a Boil, then simmer for 10 minutes

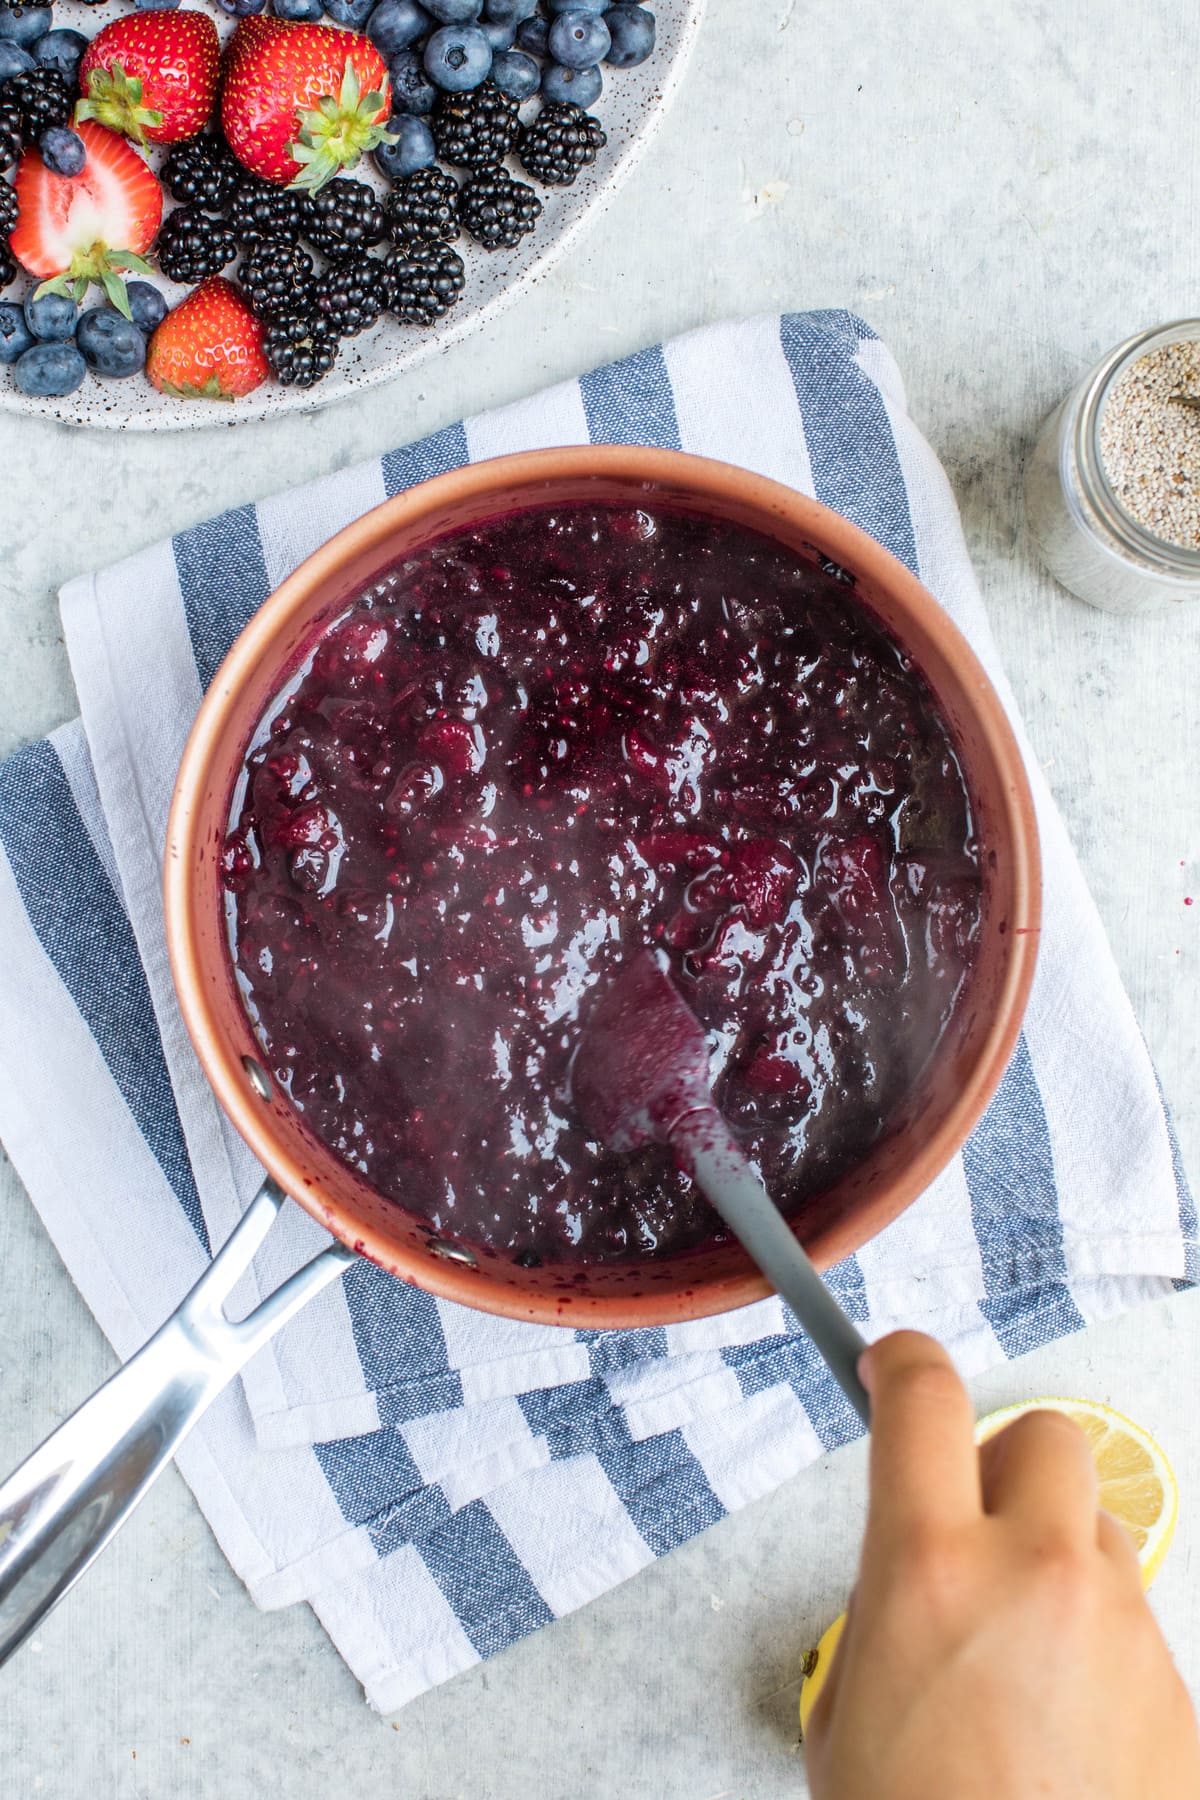
The heat will cause the Berries to naturally “break down” and release liquid. I like to stir the mixture occasionally to ensure nothing sticks to the bottom of the pot; I also like to mash some of the Berries during this time to help speed things along and get a smoother “jam” consistency.
Next, remove from the Heat and add your Chia Seeds
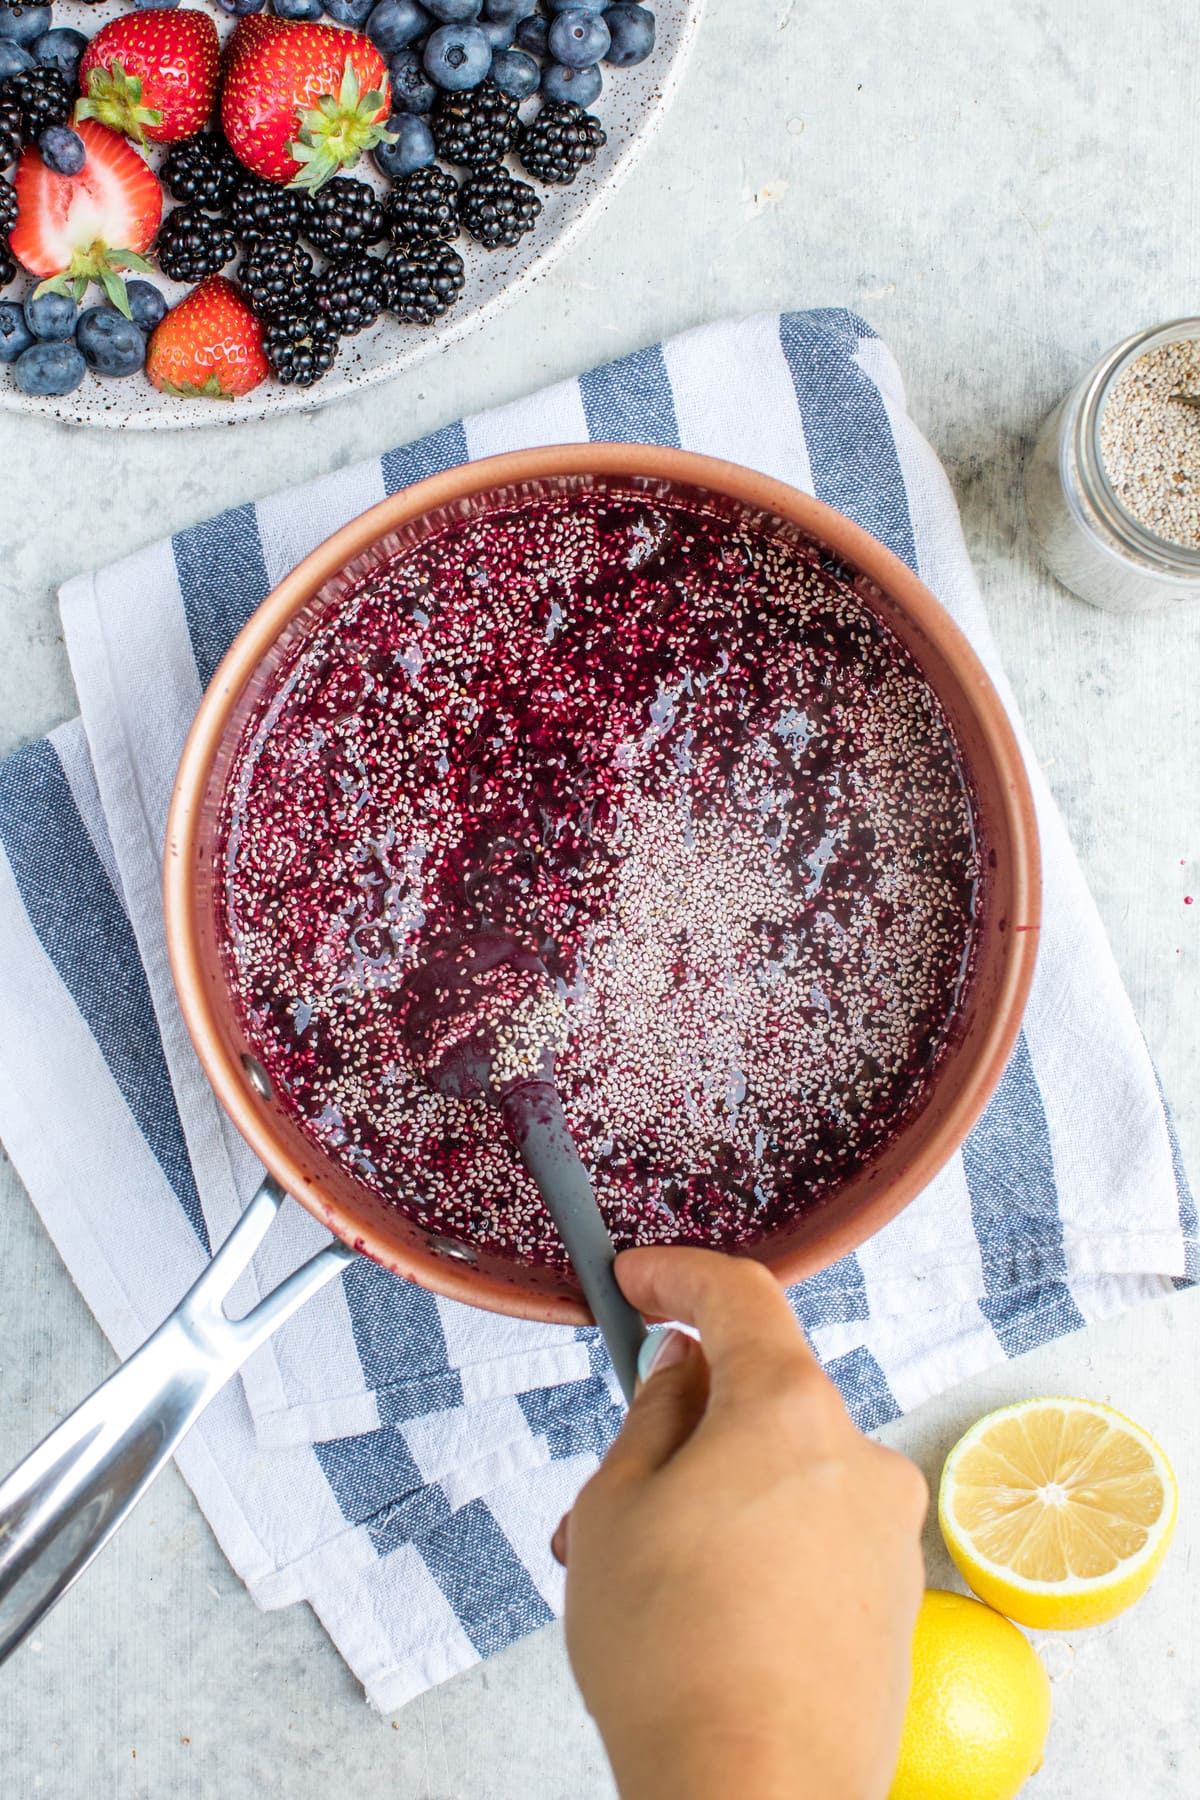
The Chia Seeds will not only help to thicken the Jam, but are also a great source of fiber, healthy Omega-3 fats, and Calcium. Did you know that Vitamin A (which is common in berries) is Fat-Soluble, meaning that it absorbs into the body better with a source of fat? Adding Chia sounds like a win-win to me. I like to use whole Chia Seeds, but if you’re not a fan of their “crunchy” texture, you can also purchase ground Chia instead.
The amount of Chia Seeds you add to your Jam will determine its thickness. I prefer to have a smooth and spreadable jam, so I only added 2 tbsp. If you’re looking for a thicker “jelly,” I would suggest 3 tbsp! The good news is that you can always start with less seeds and add more if you think your jam is too runny.
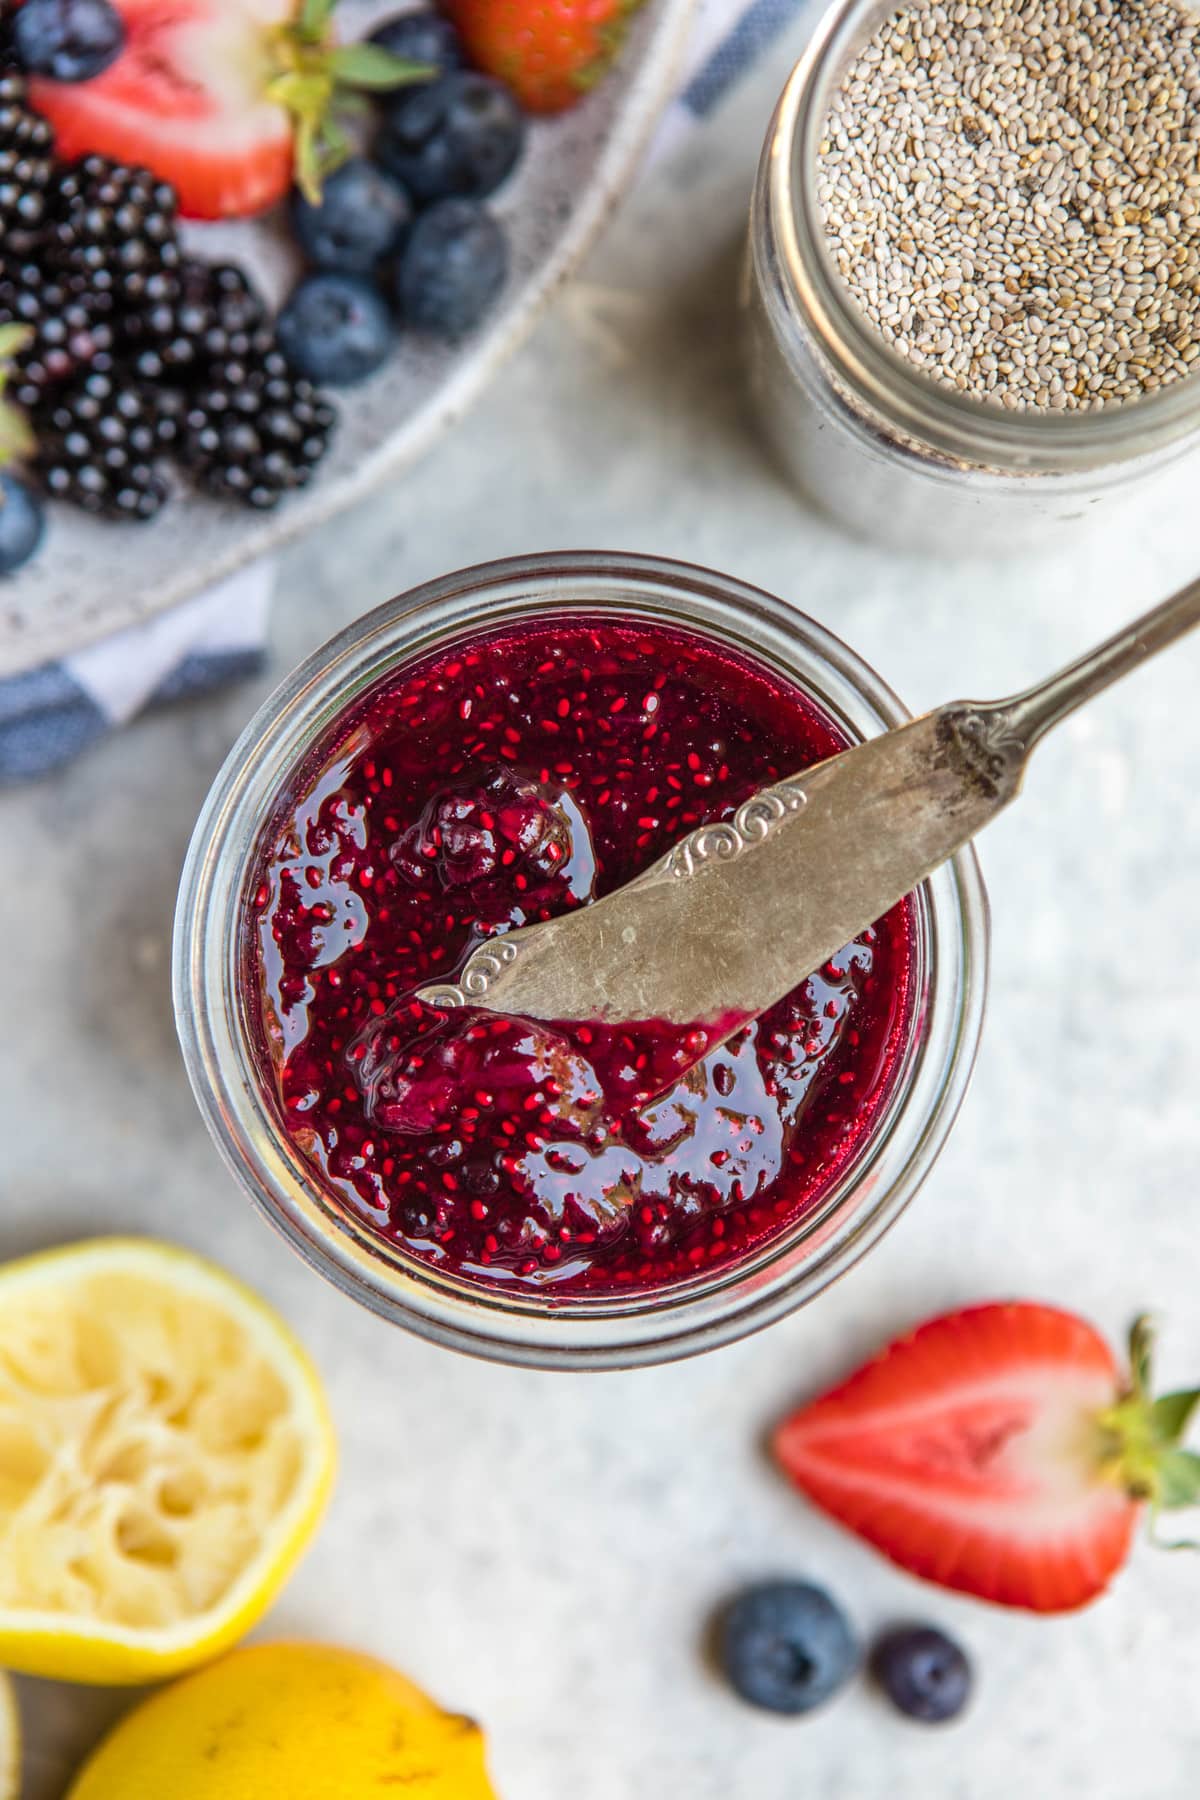
Add a splash of Lemon Juice, then you’re good to go!
I like to finish off my Chia Seed Jam with a squeeze of fresh Lemon Juice because I find the addition of a little acidity really helps to bring out the flavor of the berries and complete the flavor profile of the Jam. If your berries are particularly sour or you opted to omit the Liquid Sweetener, you may want to skip this step.
You’ll need to let your Chia Seed Jam cool to room temperature before using, as it will thicken considerably. It’ll thicken even more overnight in the fridge, so keep this in mind when adding your Chia Seeds. It may look a little runny at first, but you just gotta trust the process 😉
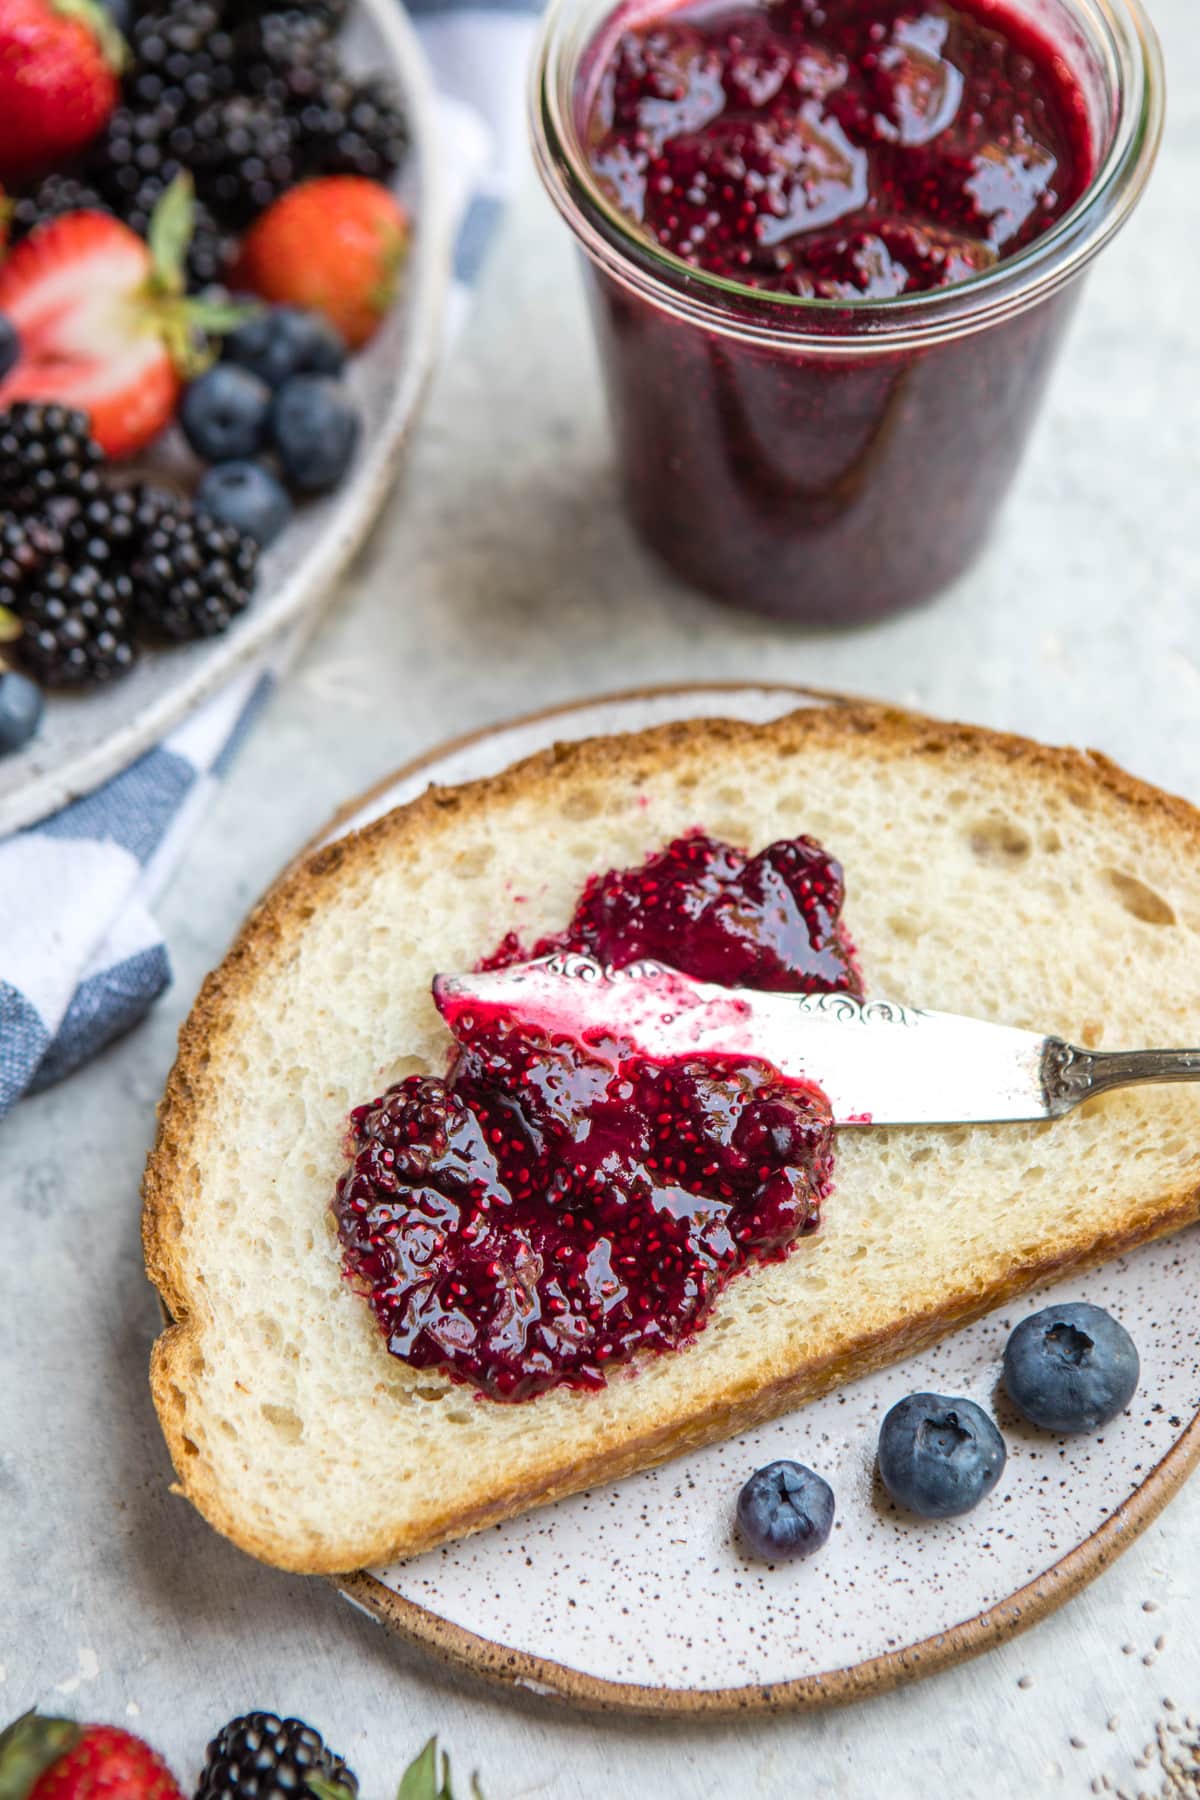
I like to store my Jam in an airtight glass container in the fridge, where it’ll last between 7-14 days. If you don’t think you’ll use all of your Jam before then, you can always cut the recipe in half!
Speaking of Jam uses…you can use this healthy Chia Jam pretty much anywhere you would use regular Jam or Jelly! My favorite ways to use it is spread over Toast or on top of Oatmeal, but it would also be great in Thumbprint Cookies, in PB&J Sandwiches, or even as a sweet dip for Sweet Potato Fries.
If you’re looking for ways to use this Chia Seed Jam, check out this Creamy Zucchini Oatmeal, or spread some over this Vegan Zucchini Bread!
Finally, if you make this recipe and decide to share it on Facebook or Instagram, don’t forget to tag me @FromMyBowl + #FromMyBowl! I love seeing your delicious recreations 🙂
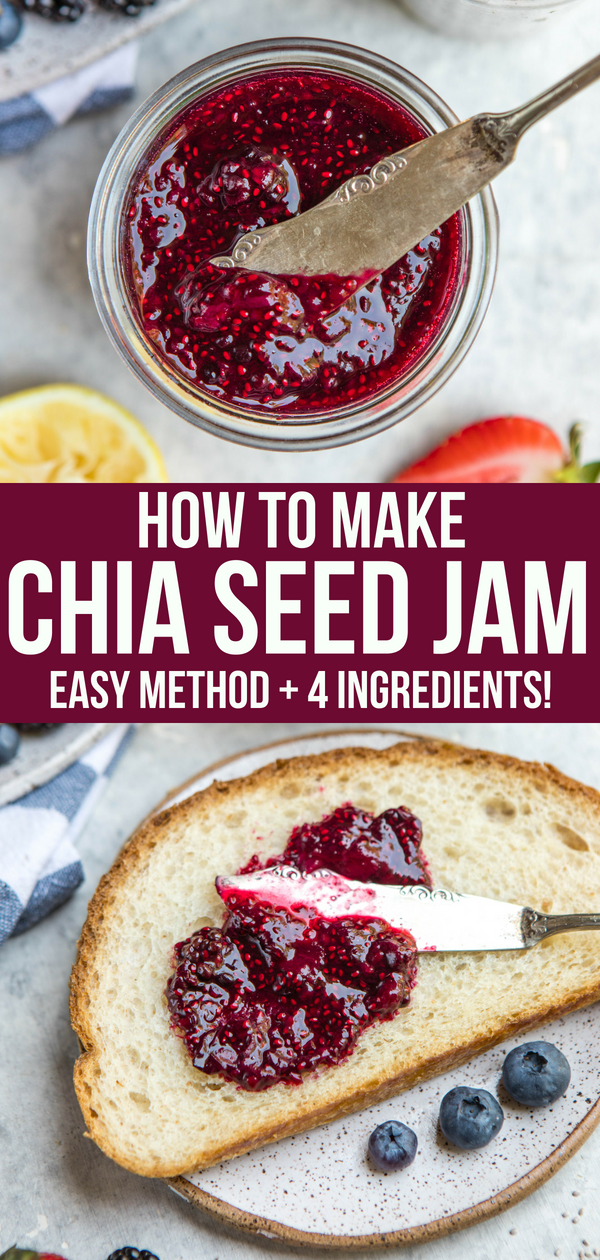
How to Make Chia Seed Jam
Skip the refined sugars and make your own healthy Chia Seed Jam using only 4 basic ingredients! It’s perfect on toast, in oatmeal, on sandwiches, and more.
- Prep Time: 5 Minutes
- Cook Time: 10 Minutes
- Total Time: 15 minutes
- Yield: ~ 1 3/4 cup
- Category: Sauce
- Method: Stovetop
- Cuisine: American
Ingredients
- 3 cups Fresh Berries of choice*
- ¼ cup Filtered Water
- 1 tbsp Maple Syrup*
- 2–3 tbsp Chia Seeds*
- Juice of 1/2 Lemon
Instructions
- First, add the Berries, Water, and Maple Syrup to a nonstick saucepan. Bring the mixture to a boil over medium, heat, then reduce the heat to medium-low and simmer for 10-12 minutes, stirring occasionally. Try to “mash” some of the berries as you stir, though the heat should break them up as well.
- Remove the pot from the heat and add the Chia Seeds to the pot; mix until well incorporated, then let sit for 5-10 minutes.
- Finally, stir in the juice of ½ of a Lemon, and transfer the mixture to a glass jar. Use as desired, and store in the refrigerator for 7-14 days.
Notes
- I used a mixture of Strawberries, Blueberries, and Blackberries for my jam, but you can use any combination (or single Berry) of your choosing! You can also use frozen berries to make the jam, though you will need to simmer the mixture for 2-5 minutes longer, as they hold more liquid.
- I have not tested this recipe using any other fruit aside from Berries. They hold a lot more water than other fruits, which is why they work well in this recipe! You can substitute stone fruit or another fruit of your choice, though do so at your own risk.
- Maple Syrup may be substituted for any other sweetener of choice. I would recommend Agave, but Coconut Sugar or another granulated Sugar will work as well. Keep in mind that each sweetener has different “levels” of sweetness, so you may need to adjust the amount of sweetener accordingly.
- I would suggest making this recipe with only 2 tbsp of Chia Seeds, as the Jam will thicken considerably as it cools and overnight. However, if you’d like a really thick Jam, use 3 tbsp instead
Keywords: healthy jelly, healthy jam, chia seed recipes, chia seed jam, sugar free jam
Want to save this Chia Seed Jam recipe for later? Pin the recipe to your Pinterest boards:

Absolutely perfect! Highly recommend to blend it afterwards as it gives the jam that delicious consistency of the store bought stuff. One tbsp of honey/ maple syrup is certainly enough to really exaggerate the beautiful natural sweetness of the fruit. Amazed by this recipe and will definitely use again! Thank you so much ????????????
★★★★★
Thanks so much!
I used cherries and lime juice instead of lemon juice – tastes just like cherry limeade! so good!
★★★★★
Oh wow – that sounds amazing! LOVE the creativity!
Absolutely fantastic – nicer than regular supermarket jam, and far healthier + protein too!
★★★★★
Glad you like it, Amy!
Just made this jam. The flavour is lovely but I’m not sure I like the texture because of the chia seeds. Also, when I was washing up I ended up with pesky chia seeds glued to my washing up sponge and apron! Is there a way to wash up without this happening?
Hi Hazel! If you don’t like the texture of the Chia, you can place the thickened jam into a high-speed blender and blend until smooth. As for the Chia Seeds sticking, it helps to clean them up ASAP before they have a chance to dry!
Can I sub the chia seeds for psyllium husk?
I imagine you could, but I have never tried that!
Just wondering if a person could freeze some as I can not use it in 14 days?
I believe you could, but haven’t tried it myself! You can also cut the recipe in half if you’d like 🙂
Caitlin, have you tried using fruit juices in this recipe? I’m not talking about things like juicy juice, I’m talking about all natural or homemade juice.
I have not, are you thinking of adding some to infuse the jam?
I was so excited to make this jam this morning that I had trouble falling asleep last night because I kept thinking about it! I’ve always wanted to make jam and was so surprised at how easy this looked and it was the first thing I did this morning! The consistency is perfect. I used blueberries and 3 strawberries I had laying around, I used 2 tbs of chia seeds and I also added an extra tablespoon and a half of maple syrup just because I wanted it to be extra sweet.
I’m glad you enjoyed it, Isabel! 🙂 I definitely know that excited feeling that comes with trying a new food or recipe!
Could I use frozen berries for this recipe?
Yes – it mentions this in the recipe notes 😉
Do you think you could process this is a canner and keep it more shelf stable?
Hi Tina! I wasn’t sure myself, so I did some searching online. I came across this article that states it’s probably not the best idea: https://www.thespruceeats.com/chia-james-not-safe-for-canning-1327440
Does this jam recipe freeze nicely ?
It should hold up okay, but is definitely better fresh!
This is delicious! I love all of your recipes. Can you can this and store in a pantry I wonder?
Thank you so much! Can’t speak directly to canning as we’ve never tried that on the technical side of food storage. But maybe someone else has done it who can chime in?
I made this for my daughters pb&j sandwiches and she loves it as do I! After I cooked the berries I blended them in a food processor and then added the chia seeds. Came out perfectly smooth!
★★★★★
Great idea, Sonia!
What’s the difference between using filtered water and tap water?
Tap water (depending where you live) may not be the best thing to drink, which is why I always advise using filtered just in case!
This recipe was so easy and tasty! I had a bunch of berries in the fridge that were getting too ripe and this was the perfect way to use them. I have no excuse to ever again buy processed jam from the store, when homemade healthy jam like this is so easy!
★★★★★
This is great! I spoon it in unflavored greek yogurt, pretty much every day. I used orange juice instead of lemon juice and then didn’t add any maple syrup. I had some very fresh and sweet fruit, so will keep the syrup in mind after the summer winds down. Thanks!
★★★★★
Love that you used OJ!
Oooh this looks so super yummy! My sister ones tried to make chia seed jam with raspberries only and made the best raw cashew cookies with it (even tho the jam is cooked, you get the drill I think haha) x
that sounds delicious! 🙂
How many cups of berries should I use??
Hi Katie, it’s listed in the recipe! You need 3 cups
Sorry! Just saw that when I came back.
Hi Caitlyn,
Do you know how long it will last ?
Thanks !!! Going to make when I get out of work !!!!
love your recipes and I love seeing new ones pop up in my email !!!
Have a great day
Patti
Hi Patti! As stated in the recipe, it should last up to ~12 days
I just made this recipe! It is absolutely delicious! Definitely going to be using it on my toast for breakfast :).
Caitlyn thank you so much for sharing so many easy vegan recipes. I seriously make at least four of your recipes every week, and I love trying the new ones that you send out! 🙂
★★★★★