Disclosure: This post may contain affiliate links. I may earn a small commission for my endorsement, recommendation, testimonial, and/or link to any products or services from this website.
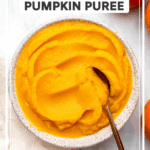
Learn how to make your own pumpkin puree at home! Homemade pumpkin puree requires only 1 ingredient and is creamy, sweet, naturally gluten-free, and nutritious.
Pumpkin puree is practically a fall pantry staple; you can use it in sweet or savory recipes, feed it to your pets and kiddos, or even enjoy it plain if you’re truly pumpkin-obsessed. Most stores sell canned pumpkin puree, but did you know you can make Pumpkin Puree from scratch with only 1 ingredient?! It tastes delicious, has a smooth and creamy texture, and is budget-friendly, too.
Whether you’re a crafty chef, total DIY-er, or maybe your store is simply sold out of pumpkin puree – this simple and easy recipe will give you that smooth, creamy, colorful pumpkin puree you’re looking for in no time at all!
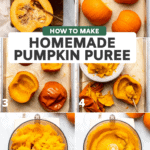
FIRST, SLICE & DE-SEED YOUR FRESH PUMPKIN(S)
First, buy some Pie pumpkins from your grocery store. Most stores carry them from September – November, but see the recipe notes for other varieties you can use.
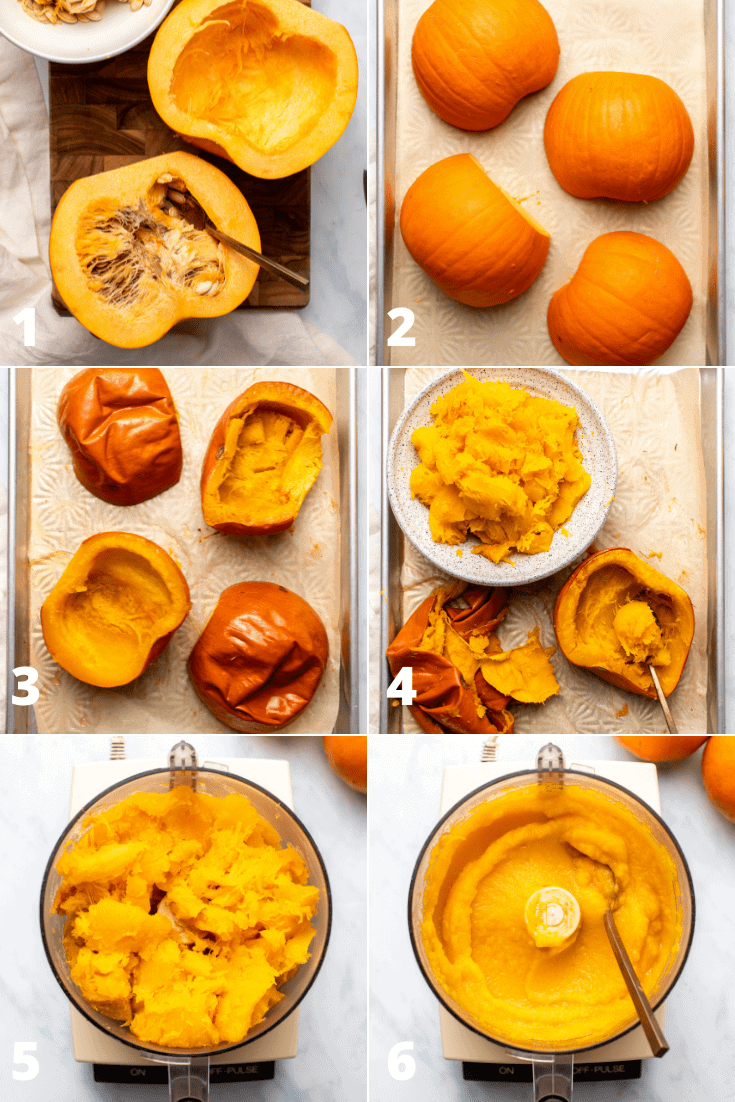
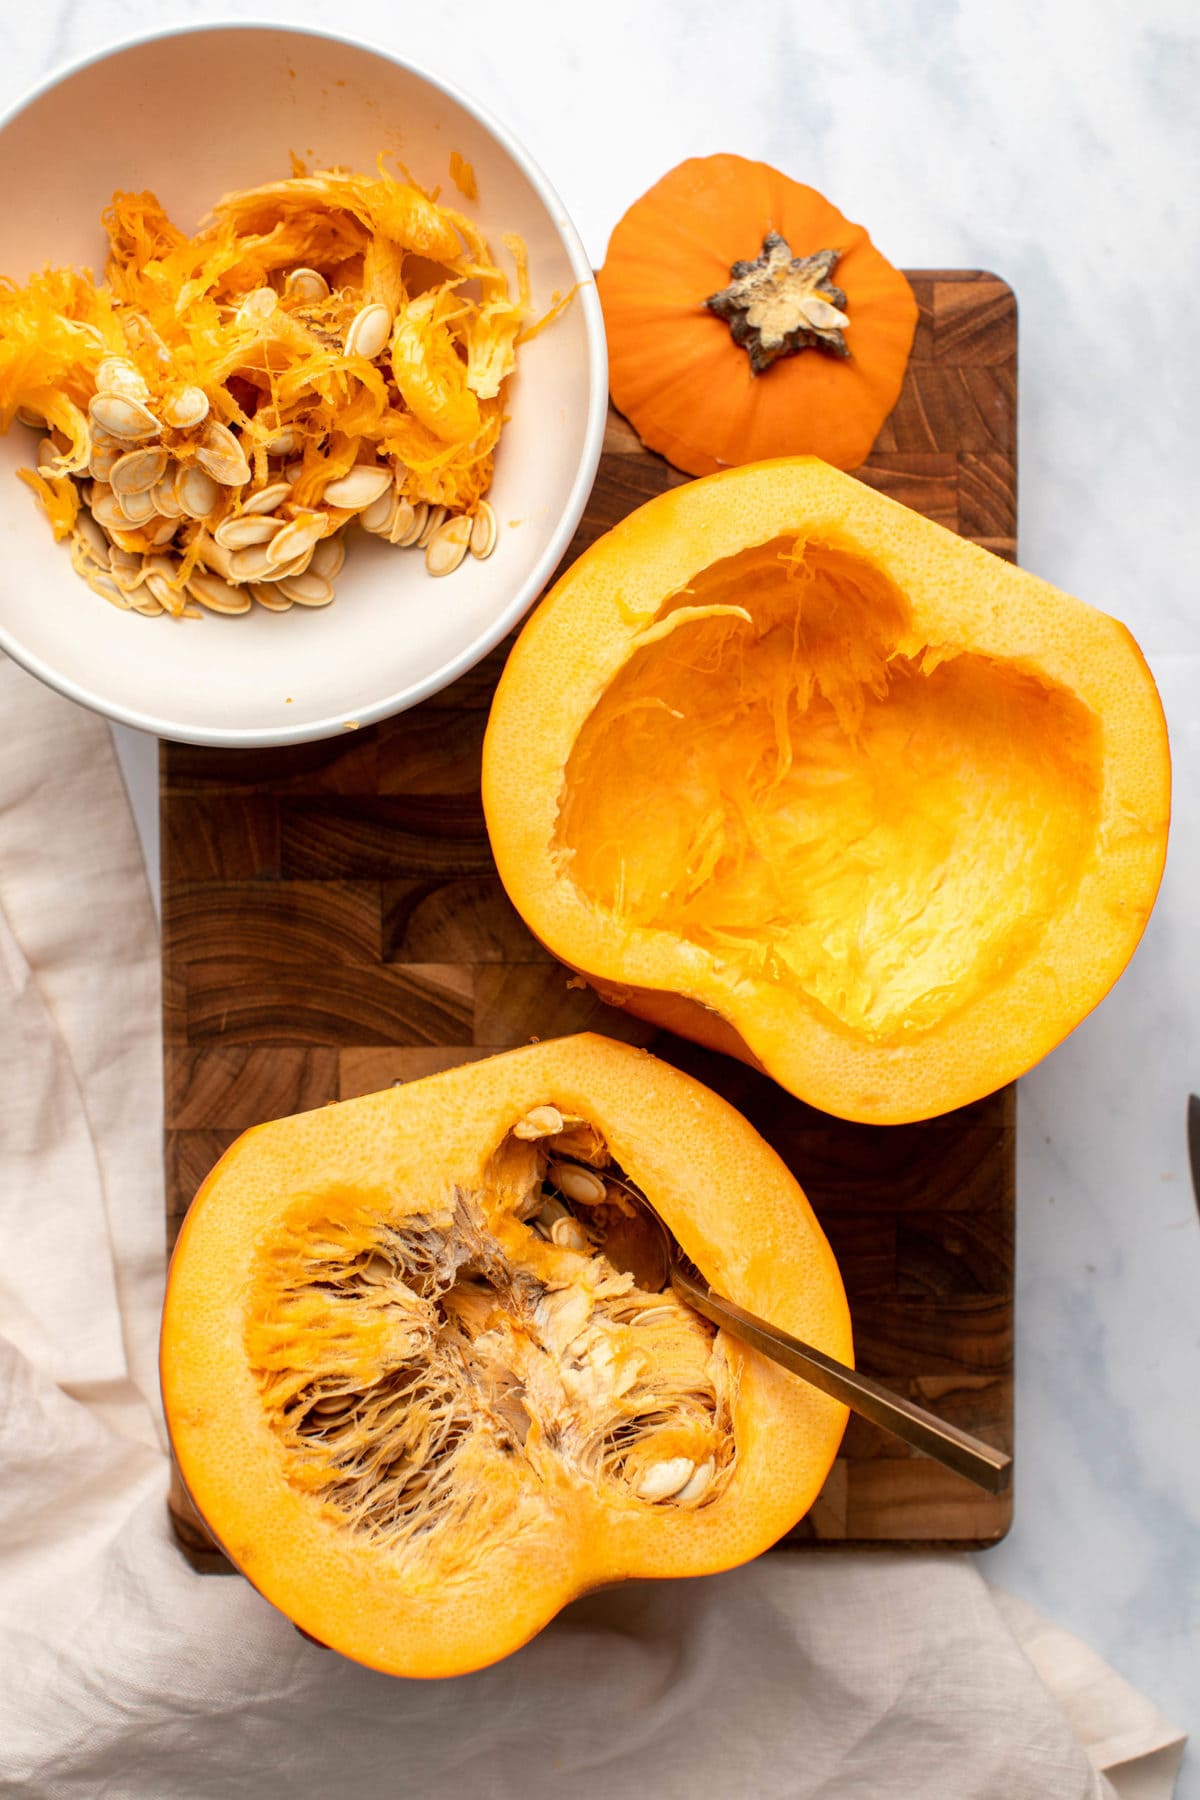
Cut just under the top stem of each pumpkin to remove it and discard. Flip the pumpkin onto the flat cut surface, then cut in half. Use a spoon to scoop out the seeds and stringy flesh part of each pumpkin; compost, discard, or save the pumpkin seeds if want to roast them!
*What type of pumpkin works best? Yes! Did you know that most pumpkin puree is actually a blend of various squash? Most hard skinned winter squashes will work here, like Kabocha, Dickinson, Jarrahdale, etc. Your day-old jack-o–lanterns will also work – I just wouldn’t wait much longer than that, as the flesh can go bad.
*How much puree does this make? I used two ~4 pound pie pumpkins when photographing this recipe, which made 3 3/4 cups (31.7 oz / 900 g) of puree. You can easily increase or decrease the pumpkins used to get your desired volume of puree – it does keep well though, so I like to always have a little extra on hand.
ROAST UNTIL TENDER
Did you know that most canned pumpkin puree is actually steamed? However, homemade roasted pumpkin puree is ten thousand times better when it’s roasted. It caramelizes the squash filling, and leaves you with a creamier puree at the end. Plus, store-bought pumpkin actually isn’t made from pie pumpkins — but that’s a story for another day 😉
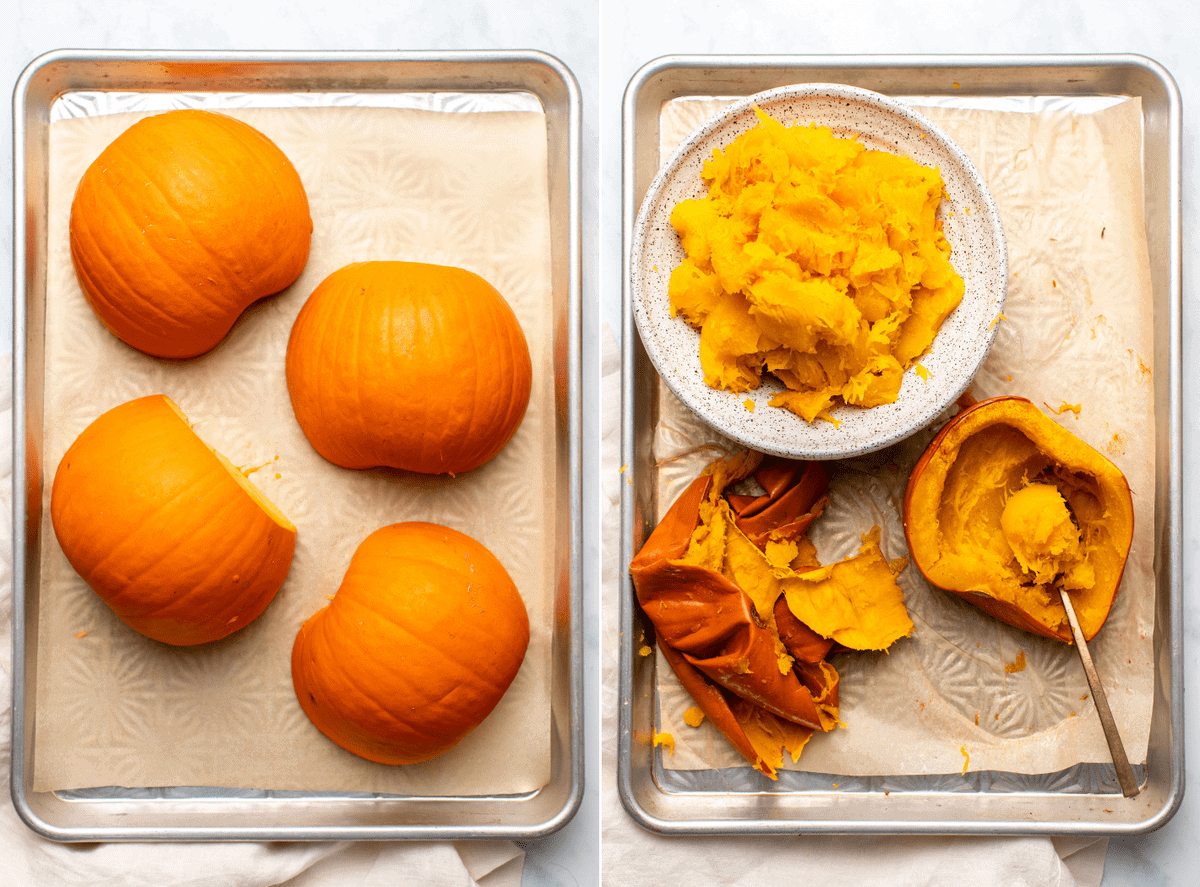
Place the pumpkin halves cut-side down onto a parchment paper-lined baking sheet. Bake in the middle rack of the oven for 30-45 minutes, until the flesh pulls away from the skin and is fork-tender or easily pierced with a knife. Remove the baking tray from the oven and carefully flip the pumpkins to cut-side-up on the sheet. Let cool for 10 minutes before scooping out their flesh, either into a bowl or directly into your food processor.
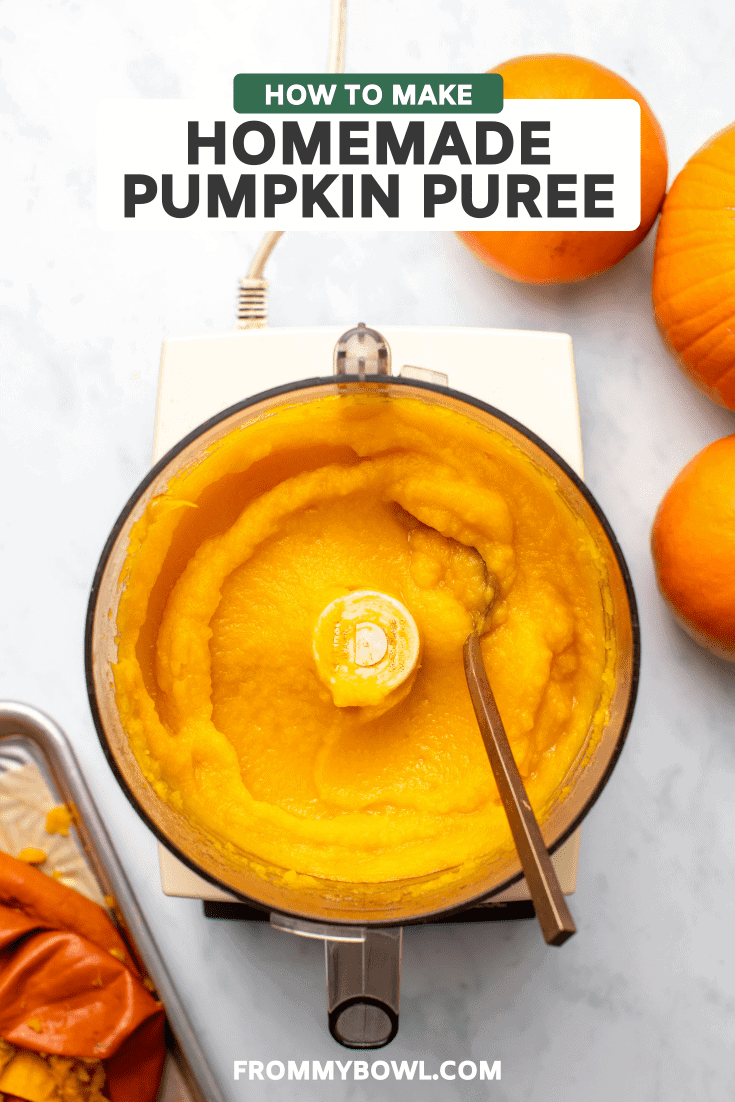
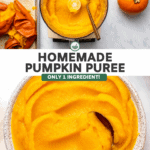
FINALLY, PROCESS & ENJOY!
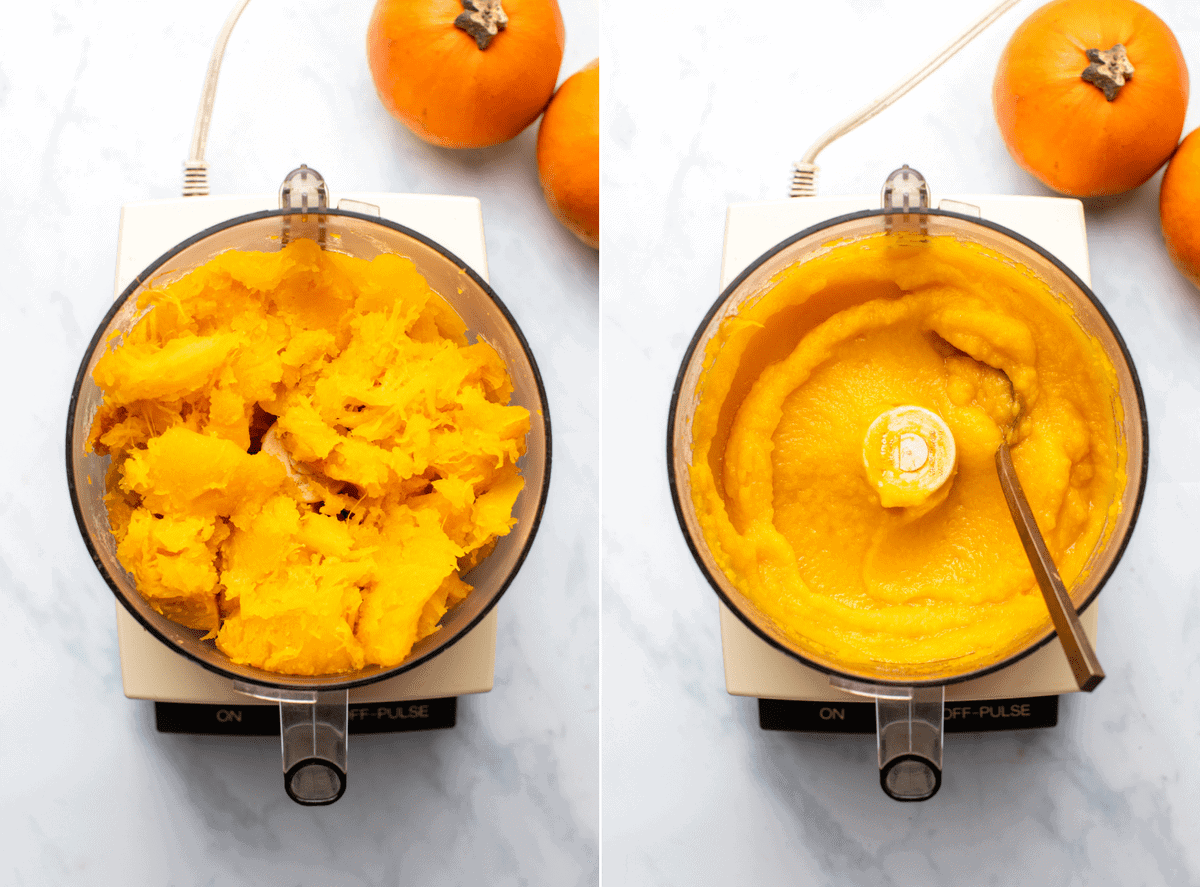
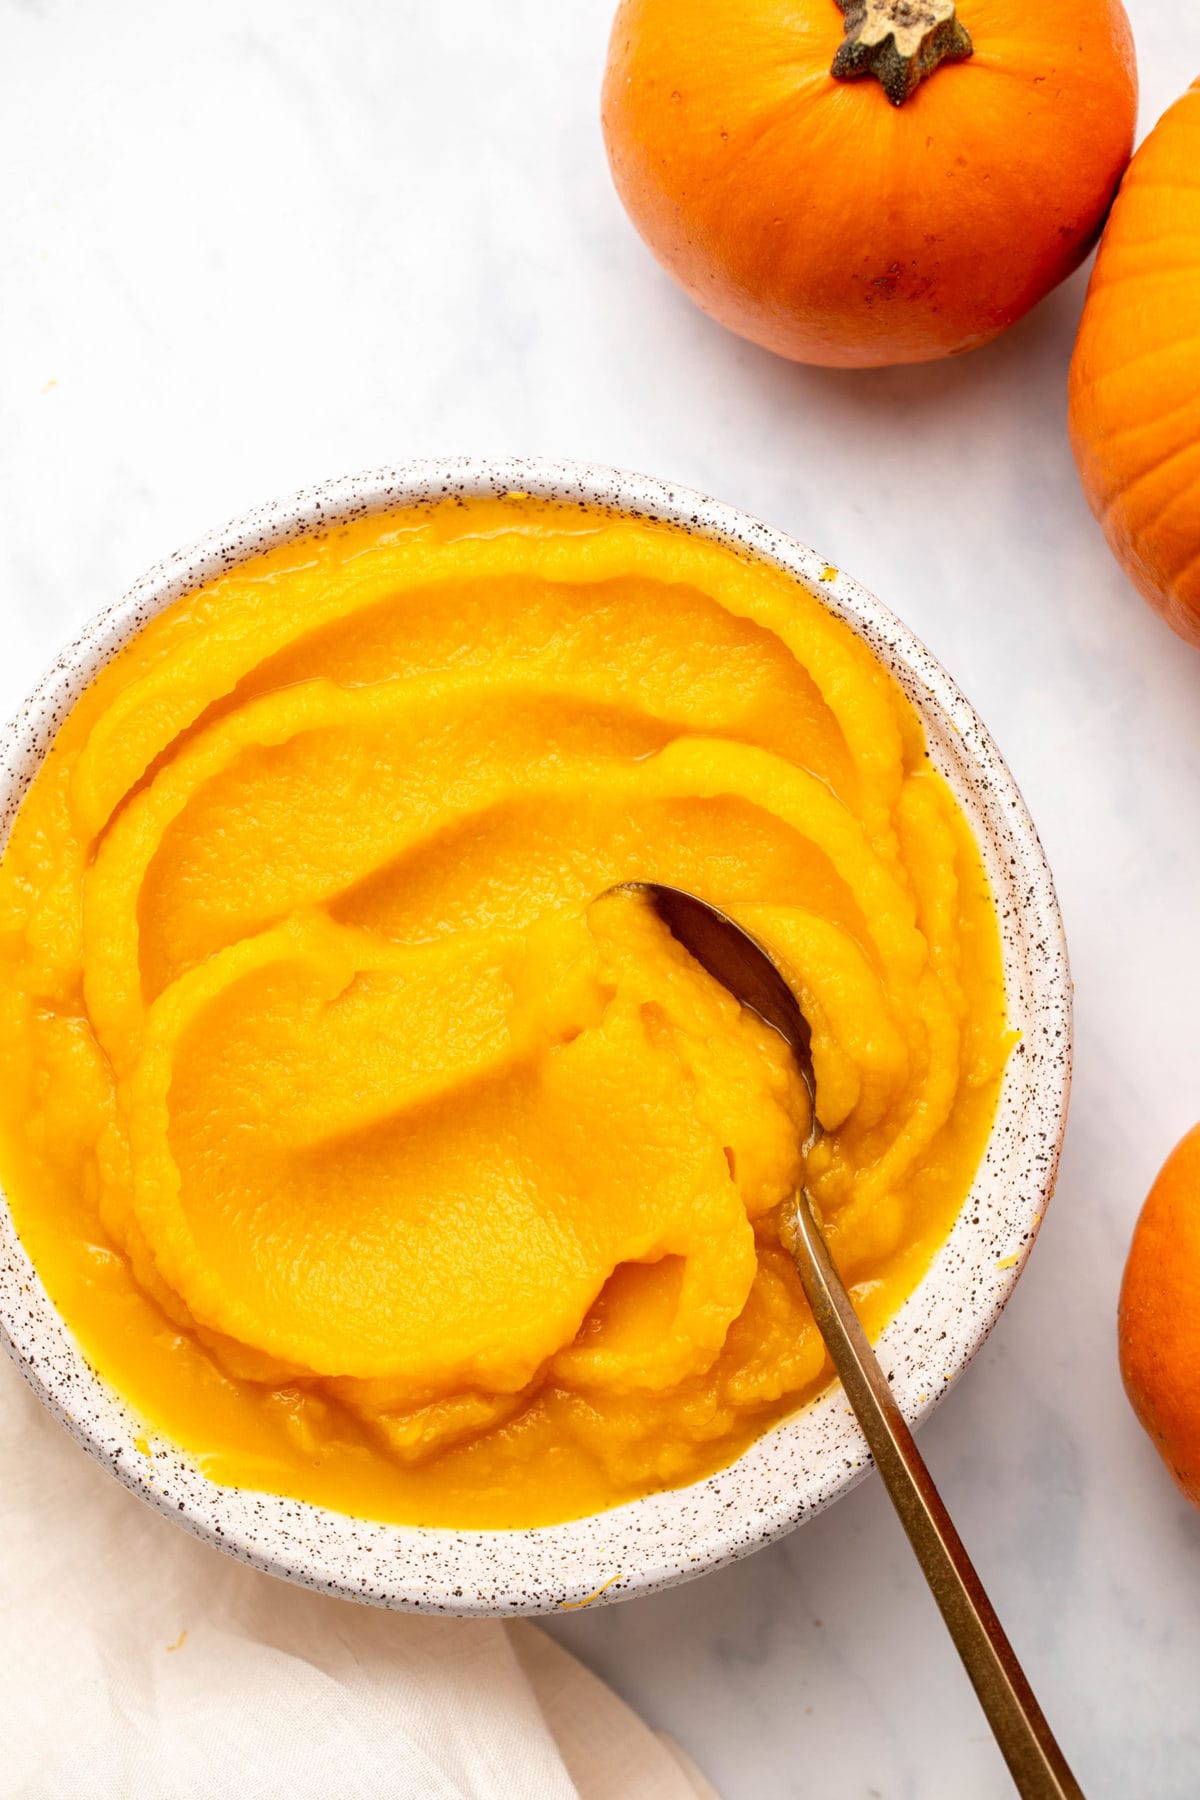
Add the pumpkin flesh to your food processor, then Process for 2 to 3 minutes, until a smooth puree forms. The natural liquid left in the pumpkin should be all you need to get the right texture, but see the recipe notes if your puree is too thin or thick. If you do not have a food processor, you can also do this in a blender with a tamper, or even a handheld mixer might work well if you’re really in a bind!
Once your puree is smooth you can use or enjoy it immediately — or save the smooth, vibrant, and creamy puree for later.
WAYS TO USE PUMPKIN PUREE:
You can use homemade pumpkin puree in any baking recipe that calls for canned pumpkin. You can use it in
- Pumpkin bread or muffins,
- Oatmeal and smoothies,
- Soups and curries,
- and more!
You can even blend your fresh pumpkin puree with some pumpkin pie spice (or your favorite fall spices) and enjoy as-is. Check out all my favorite pumpkin recipes on the blog for more baking and cooking inspiration.
TROUBLESHOOTING + FAQ:
- Puree thickness: If your pumpkin puree is too thick and not blending, add water in 1 tablespoon increments, until a thick but smooth consistency is reached. If the puree is too thin, strain it through a cheesecloth or nut milk bag to remove extra liquid.
- Storage: Homemade pumpkin puree will keep in an airtight container or jar in the refrigerator for up to one week, or you can store it in the freezer for up to 3 months. I like to use baggies or ice cube trays over jars, as it’s easier to pop the frozen puree out without thawing.
- What if I can’t find pumpkin? This recipe will also work well with butternut squash, kabocha squash, or other hard-skin seeded squash varieties; adjust the cooking time and puree thickness as necessary. Check out your local farmer’s market if you can’t find any at your grocery store.
Going the store-bought route? Check out our canned pumpkin puree comparison to see which brand is best. Finally, if you make this recipe and decide to share it on Facebook or Instagram, don’t forget to tag me @FromMyBowl + #FromMyBowl! I love seeing your delicious recreations 🙂
PrintHomemade Pumpkin Puree

Learn how to make your own pumpkin puree at home! Homemade pumpkin puree requires only 1 ingredient and is creamy, sweet, and nutritious.
- Prep Time: 10 Minutes
- Cook Time: 30 Minutes
- Total Time: 40 minutes
- Yield: 3 3/4 cups 1x
- Category: Side
- Method: Oven
- Cuisine: American
- Diet: Low Fat
Ingredients
- 2 pie pumpkins, or more/less as needed*
Instructions
- Prep: Preheat your oven to 400F and line a baking sheet with parchment paper.
- Cut: Cut just under the top stem of each pumpkin to remove it. Flip the pumpkin onto the cut flat surface, then cut in half. Use a spoon to scoop out the seeds and stringly flesh part of each pumpkin; compost, discard, or save the seeds if want to roast them!
- Bake: place the pumpkin halves cut-side down onto the baking sheet. Bake in the middle rack of the oven for 30-45 minutes, until the flesh pulls away from the skin and is easily pierced with a knife. Cook time will depend on pumpkin size.
- Cool: Remove the baking tray from the oven and carefully flip the pumpkins to cut-side-up on the sheet. Let cool for 10 minutes before scooping their flesh into a food processor.
- Blend: Process for 2-3 minutes to form a smooth puree, scraping the sides of the container as necessary. See recipe notes if your puree is too thin or thick. (Note: if you do not have a food processor, this can also be done in a high-speed blender with a tamper).
- Store: Use immediately, or transfer to an airtight container. Homemade pumpkin puree will keep in the fridge for up to 1 week, or in the freezer for up to 3 months.
Notes
- Pumpkins: I used two ~4 lb. pie pumpkins when photographing this recipe, which made 3 3/4 cups (31.7 oz / 900 g) of puree. You can easily increase or decrease the pumpkins used to get your desired volume of puree
- Puree Thickness: If your pumpkin puree is too thick and not blending, add water in 1 tablespoon increments, until a thick but smooth consistency is reached. If the puree is too thin, strain it through a cheesecloth to remove some extra liquid.
- Substitutions: Pie pumpkins have the sweetest flavor, but large edible carving pumpkins can also be used — I would suggest chopping them into smaller pieces to reduce cooking time in the oven. If you do not have access to pie pumpkins, this recipe will also work well with butternut squash, kabocha squash, or other hard-skin seeded squash varieties; adjust the cooking time and puree thickness as necessary.


Followed this guide with all of my pumpkins! We had a sugar pumpkin, turban squash, warty goblin, and a big carver pumpkin. (I used the purée from the sugar pumpkin in the pumpkin squash no boil mac and cheese). I was shocked at how simple it is to just do this yourself. Thank you, Caitlin, for showing me how simple and cozy cooking is, as always. And the house smelled great!
That’s awesome! Thanks for leaving a review, Jessica 🙂
Love your videos -:)
Great tips!
I always roast winter squashes when in season (and not only), I was amazed at first how easy is to make a puree. And it’s not the deliciousness of the result, it fills the house with an wonderful pumpkin smell.
I highly recommend people not skipping on other winter squashes. Butternut squash puree is amazing for savory dishes, like soups, using it as pasta sauce or for lasagna, or even as a dip.
And for sweet dishes delicate or acorn squashes are a nice alternative to pumpkin. Bonus points, they are smaller, so they bake faster and are good when you don’t want to deal with almost a kilogram of puree, for people cooking just for themselves or for kitchen newbies that might be intimidated by a big pumpkin.
This is so informative. Thank you, Ana!