Disclosure: This post may contain affiliate links. I may earn a small commission for my endorsement, recommendation, testimonial, and/or link to any products or services from this website.
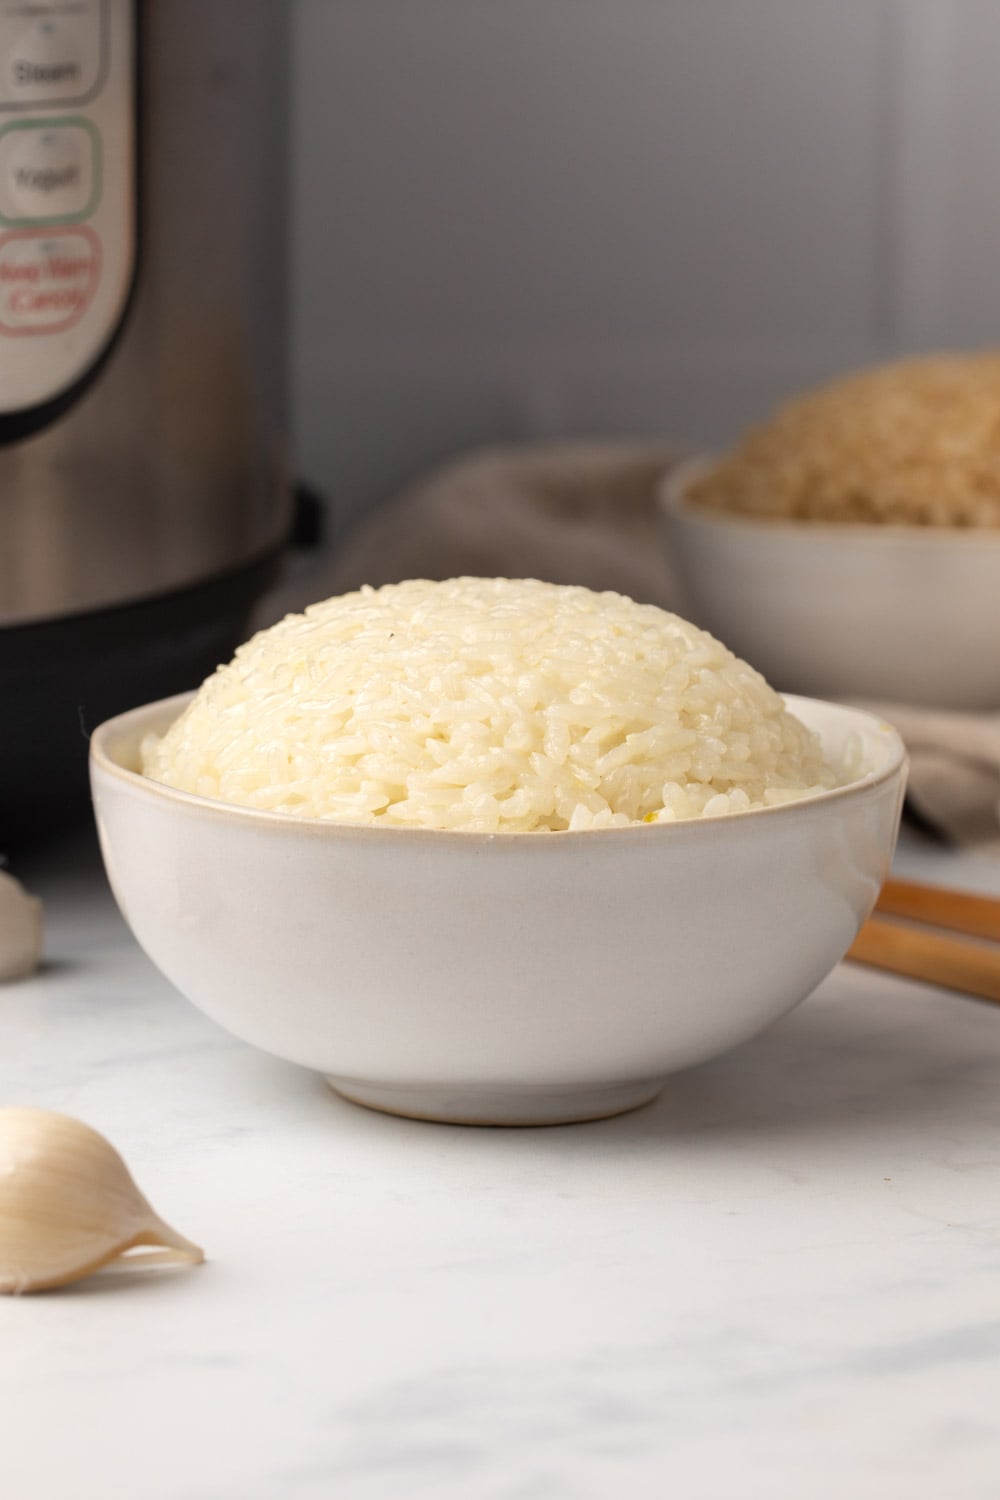
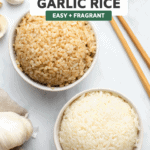
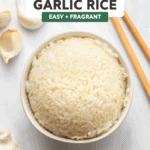
This Instant Pot Garlic Rice is inspired by Filipino garlic fried rice and cooked to buttery, garlicky perfection in just 15 minutes! Enjoy as a simple side to your favorite vegan protein and sautéed vegetables. Gluten-Free, Vegan, Nut-Free.
Table of Contents
Is there anything better than rice? Well, maybe rice with garlic 😉 This Instant Pot Garlic Rice is cooked in just 15 minutes using the pressure cooker. It’s garlicky, smooth and buttery, and reminiscent of the flavors of one of my favorite Filipino garlic rice recipes – Sinangag. Save this side dish as your go-to rice to make year round. I recommend making a large pot of rice on Sundays to enjoy all week long and it’s so easy to double or triple the recipe accordingly!
A Buttery & Garlicky Side Dish
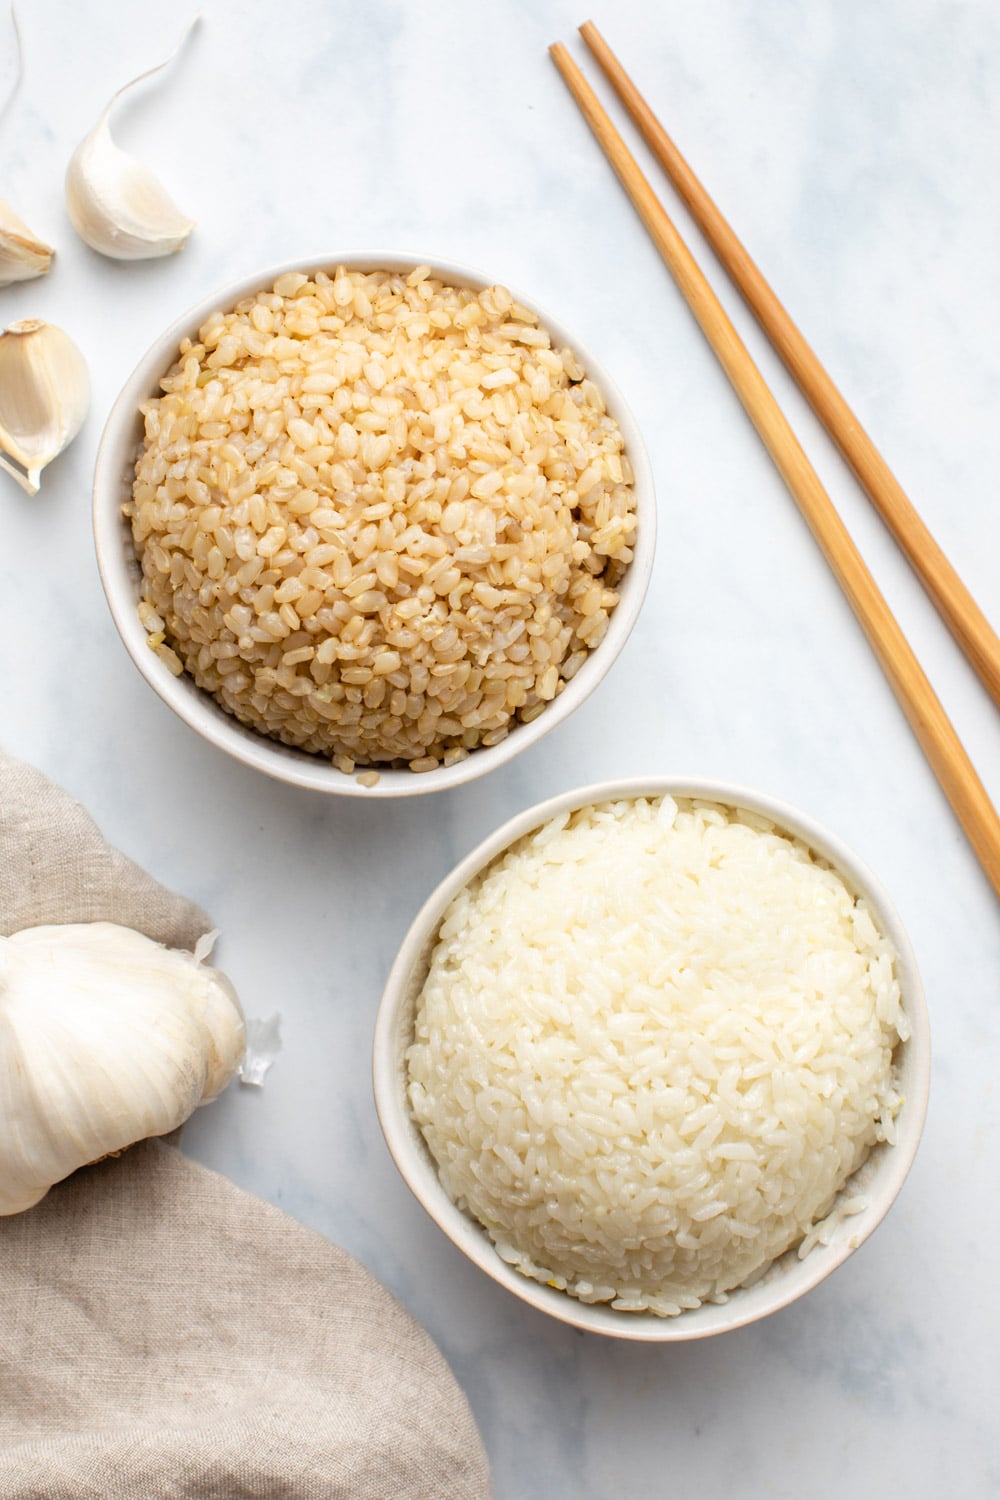
The inspiration for this side dish recipe originates back to the Philippines and is commonly known as Sinangag, or Filipino garlic fried rice. This traditional garlic rice is typically prepared using day-old rice and most often enjoyed for breakfast. My inspired version is made directly in the Instant Pot using uncooked rice, buttery oil and loads of fresh garlic.
I love using my Instant Pot to make large batches of grains and legumes because it cooks dried rice and beans consistently. Cooking rice on the stovetop is a similarly quick cooking method, but it is not nearly as consistent and can often burn if you’re not watching carefully. Rice cookers are more reliable, but they also take about 10 minutes longer than the Instant Pot and don’t have a sauté function.
What you need for Instant Pot Garlic Rice
This gluten-free side dish is made using 4 pantry staples, plus water. Chances are you have the ingredients you need to whip this up tonight!
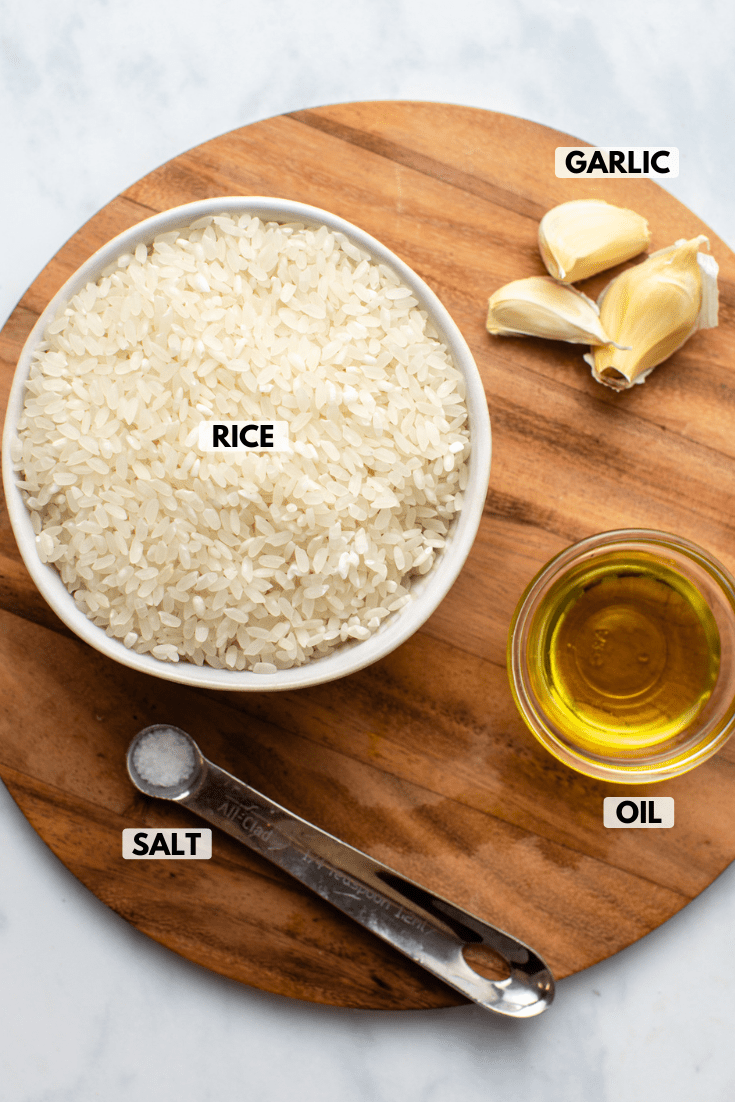
Cooking the rice with freshly minced garlic packs it with flavor, while keeping it neutral enough to pair with several types of cuisines. Using white rice also allows this staple to be ready in just 15 minutes. Perfect for busy weeknights, lazy weekends, and quick and simple meal prep.
How to Make Garlic Rice
- Rinse the rice in a fine-mesh sieve or colander under cold water. Massage the rice with your hands in circular motions until the water runs clear. Set aside to drain.
- Set the Instant Pot to the saute setting and cook the garlic.
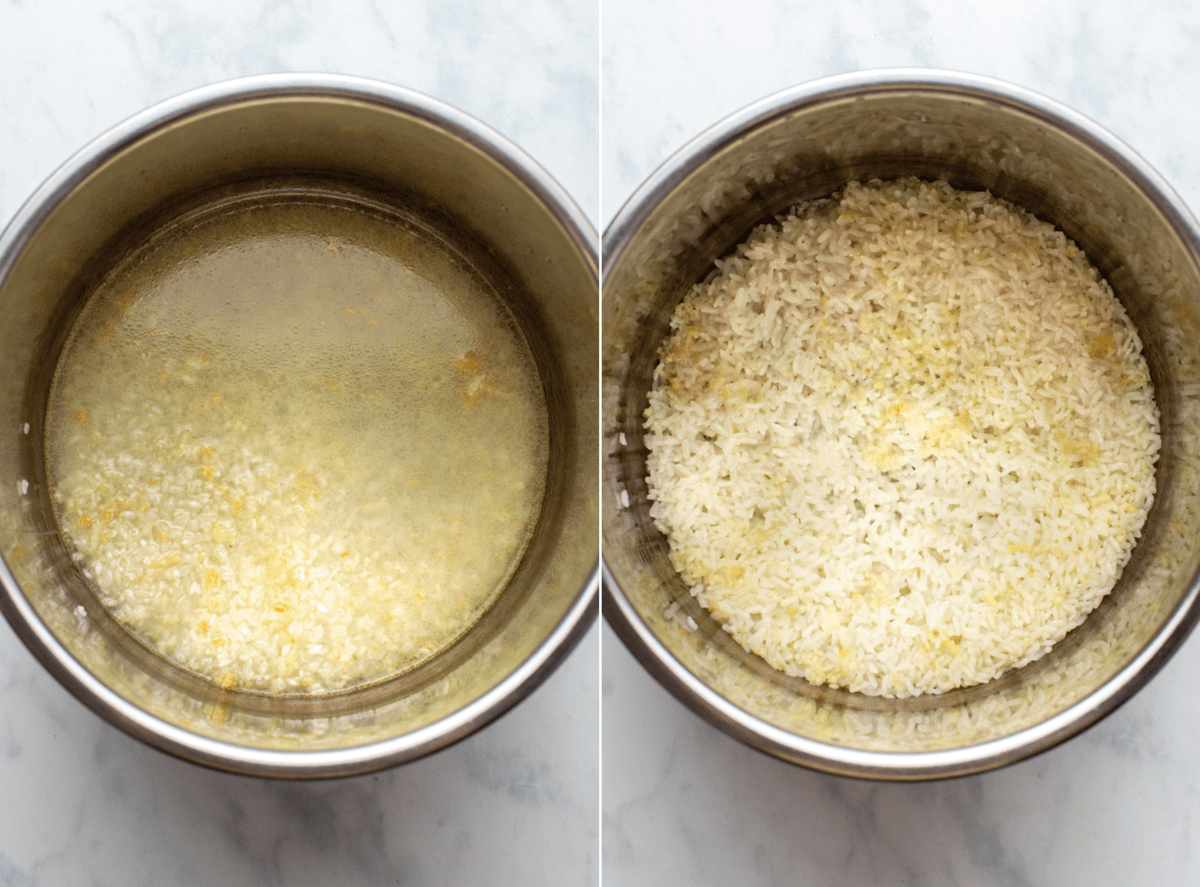
- Add the rice and water and pressure cook for 4 minutes, then naturally release pressure for 10 minutes before releasing the remaining pressure.
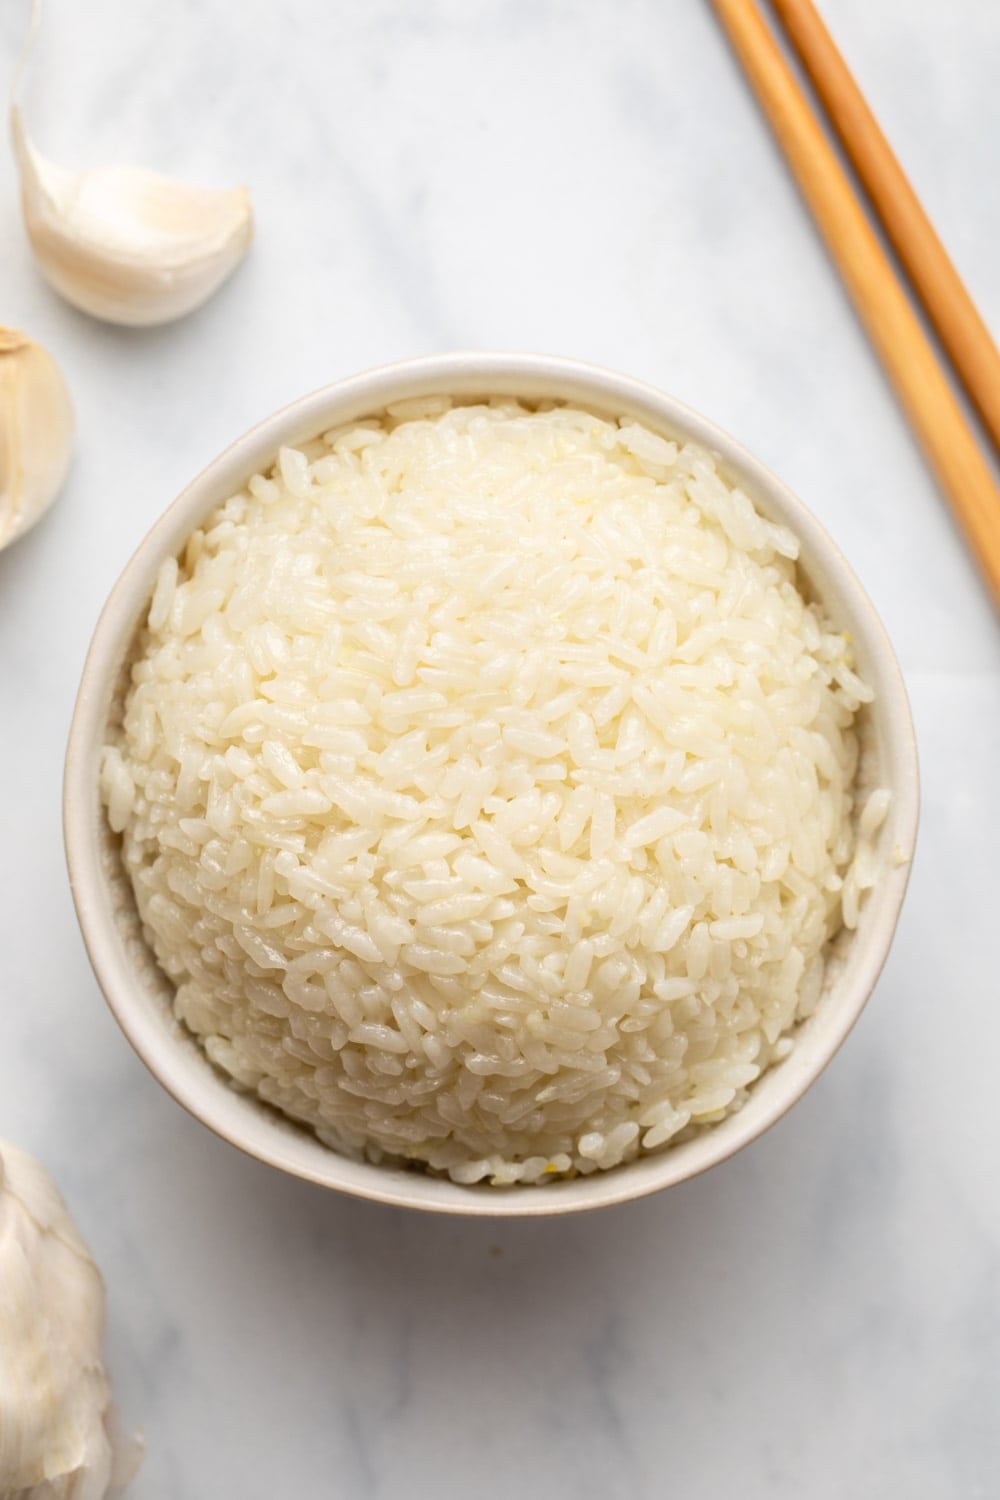
- Fluff the rice with a fork or chopsticks and serve while warm.
*Note: If you measure your rice using the Instant Pot provided measuring cup, use it to measure the water, too. This cup is 180 ml and using it for both measurements will ensure the rice is cooked with the correct amount of water.
Caitlin’s Cooking Tips
- Wash your rice. This helps to remove excess starch and prevents the rice from being gummy and gelatinous. It will also remove any dirt or debris the rice may have accumulated during harvesting and packaging.
- Choose the right oil. For a neutral tasting Filipino garlic fried rice, I recommend avocado oil or vegan butter. You can use your favorite cooking oil, but keep in mind that the type of oil you use to saute the garlic will affect the flavor of the rice. Unrefined coconut oil, for example, will taste faintly of coconut.
- Taste before adding salt. If you used salted vegan butter as your cooking oil, the rice may not need additional salt.
Serving Suggestions
This Instant Pot garlic rice is the perfect staple side dish for practically any dish you love enjoying with rice. Serve it with additional sides and proteins like Rosemary Garlic Tofu, Peanut Tempeh or Vegan Sesame Chicken. It can also be served as the base for takeout inspired recipes like my popular Crispy Orange Tofu.
If you’re looking for more gluten-free Instant Pot side dish recipes, you’ll also love Instant Pot Black Beans, Instant Pot Refried Beans, and Instant Pot Rice and Beans.
How to Store Garlic Rice
When stored in an airtight container, this garlic rice will last up to 5 days in the fridge, or up to 2 months in the freezer. Reheat in a covered microwave safe bowl with a small splash of water to help the rice retain its moisture and fluffiness.
If you are looking to repurpose your leftover garlic rice, use it to make Vegan Fried Rice.
Variations
Make with brown rice: Saute the garlic as directed, then add uncooked, rinsed brown rice and pressure cook on manual high pressure for 22 minutes (instead of 4). Allow the Instant Pot pressure to naturally release for 10 minutes before releasing remaining pressure and fluffing to serve.
FAQs
Rice should be cooked on manual high pressure. I have not tested this garlic rice using the specific rice button and cannot recommend it.
This may vary depending on the brand or model pressure cooker you own, but the pressure release lever or button is almost always on the lid. Always refer to your pressure cooker’s user manual to determine how to release pressure on your specific model.
Jasmine rice is a type of white rice, but there are several types of white rice you can purchase. For this recipe, I recommend long-grain jasmine rice.
Yes, you can. For recipes like this garlic rice, it is important to release the remaining pressure in the pot after 10 minutes to prevent overcooking. If left pressurized too long, the rice will continue to cook, causing it to become mushy.

Enjoy! If you make this recipe and decide to share it on Facebook or Instagram, don’t forget to tag me @FromMyBowl + #FromMyBowl! I would also love it if you could leave a comment below with a recipe rating! Thank you for the support 😊
PrintInstant Pot Garlic Rice
This Instant Pot Garlic Rice is inspired by Filipino garlic fried rice and cooked to buttery, garlicky perfection in just 15 minutes! Enjoy as a simple side to your favorite vegan protein and sauteed vegetables. Gluten-Free, Vegan, Nut-Free.
- Prep Time: 3 Minutes
- Cook Time: 12 Minutes
- Total Time: 15 minutes
- Yield: Makes ~2 cups
- Category: Side
- Method: Instant Pot
- Cuisine: American
- Diet: Gluten Free
Ingredients
- 1 cup (185 g) dry white rice
- 1 tablespoon oil or butter
- 3–5 cloves garlic, minced or crushed
- 1 cup (235 ml) water
- 1/8 teaspoon salt
Instructions
- Rinse the Rice: put the rice in a fine-mesh sieve or colander and rinse under cold water, massaging the rice with your hands in circular motions to make sure each grain is rinsed. Continue to wash the rice until the water runs clear, then set aside to let drain.
- Aromatics: turn the Instant Pot on to the Sauté setting add add the oil to the pot. Add the garlic once the oil is warmed and sauté for 60 to 90 seconds, stirring frequently with a spatula so it does not burn.
- Cook the Rice: Add the rinsed rice and water to the pot and turn off the Sauté mode. Lock the lid into place, set the Pressure Release Knob to Sealing, select the Pressure Cook/Manual setting at high pressure, and set the cook time to 4 minutes. Let the pressure release naturally for 10 minutes, then manually release the remaining pressure.
- Serve: Add the salt to the cooked rice and mix it in as you fluff the rice with a fork or chopsticks. Serve warm; leftovers will keep in the fridge for up to 5 days, or can be frozen for up to 2 months.
Notes
- Brown Rice: follow the same instructions, but pressure cook for 22 minutes instead of 4. Let the pressure naturally release for 10 minutes before opening the instant pot and fluffing.


Hi! I’m following this recipe now, and I just realized it doesn’t say when to add the water. I’m assuming when you add the rice…? I’ve never cooked rice before though so I just wanted to make sure
Yes, add it with the rice. I will update the recipe!