Disclosure: This post may contain affiliate links. I may earn a small commission for my endorsement, recommendation, testimonial, and/or link to any products or services from this website.
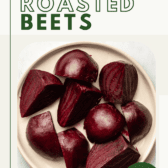
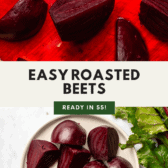
Learn how to roast beets like the pros! This foolproof technique gives you buttery smooth beets with sweet caramelized edges and a deep earthy flavor, just like oven-roasted veggies should be. Great in salads, bowls, and so much more. Vegan, Gluten-Free, Nut-Free, Oil-Free.
If you think you don’t like beets, this Roasted Beets Recipe will change your mind! A simple foil-roasting technique transforms quartered or whole beets into tender, caramelized gems you can serve with dinner or top on a salad. Plus, you’ll even learn how to cook those surprisingly delicious beet greens, so nothing goes to waste.
Table of Contents
The Ultimate Guide to Roasting Beets
Beets: Some people love this root vegetable (I’m looking at you, Dwight Schrute), while others… ehh, not so much. I happen to be part of the former group of people who can’t get enough of these pretty-in-pink, fiber- and antioxidant-rich veggies.
My easy and foolproof method for perfect roast beets will turn any beet skeptic into a fan. In this guide on How to Roast Beets, I’ll walk you through roasting beets whole or quartered, and also how to sauté the beet greens so nothing goes to waste.
The best part is that all you need are beets and water! No seasonings here—I truly believe beets are at their best when their natural, sweet, earthy flavors speak for themselves.
Ingredients for Roasted Beets
As I said, you only need two ingredients to make roasted beets: beets and water. As for what type of beets are best for roasting, the choice is yours—red, golden, striped, you name it.
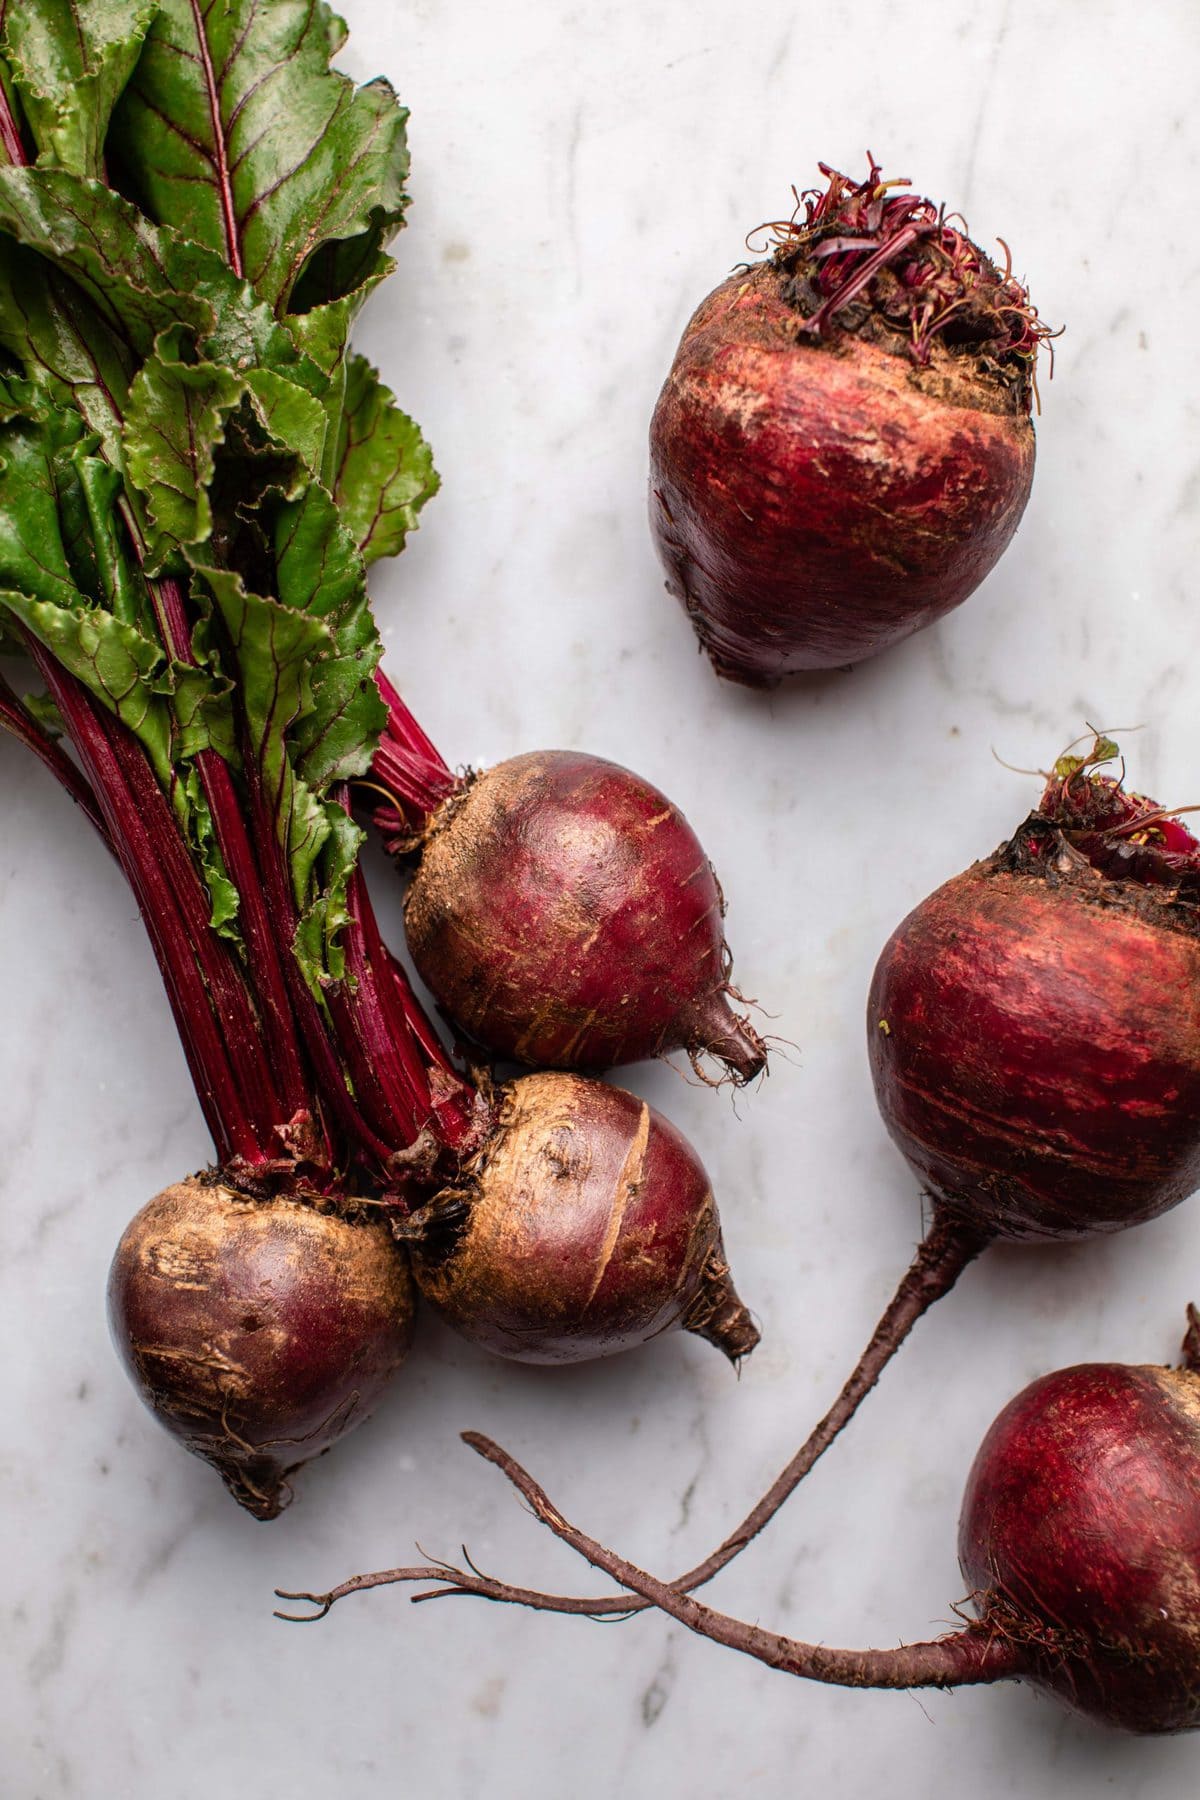
I roast red beets most often simply because they’re almost always at my local farmer’s market and grocery store. They either (1) still have the beet greens attached or (2) are trimmed of the greens. Both work for this recipe.
Zero-Waste Tip: Don’t Toss the Beet Greens
If you bought beets with the greens still attached, you need to act fast. If you leave the greens attached for too long, they’ll actually suck moisture out of the roots, leaving you with sad, shriveled beet bulbs.
As soon as you walk in the door, slice those greens off, wash them in cold water, pat them dry, and tuck them into a reusable bag lined with a paper towel. They’ll keep in your crisper drawer for 2 to 3 days.
I love using the fresh, raw beet greens in this Swiss Chard Salad. To cook beet greens, sauté them in a skillet over medium heat with some olive oil, plenty of garlic, and a splash of balsamic or lemon until the leaves have wilted.
How to Roast Beets
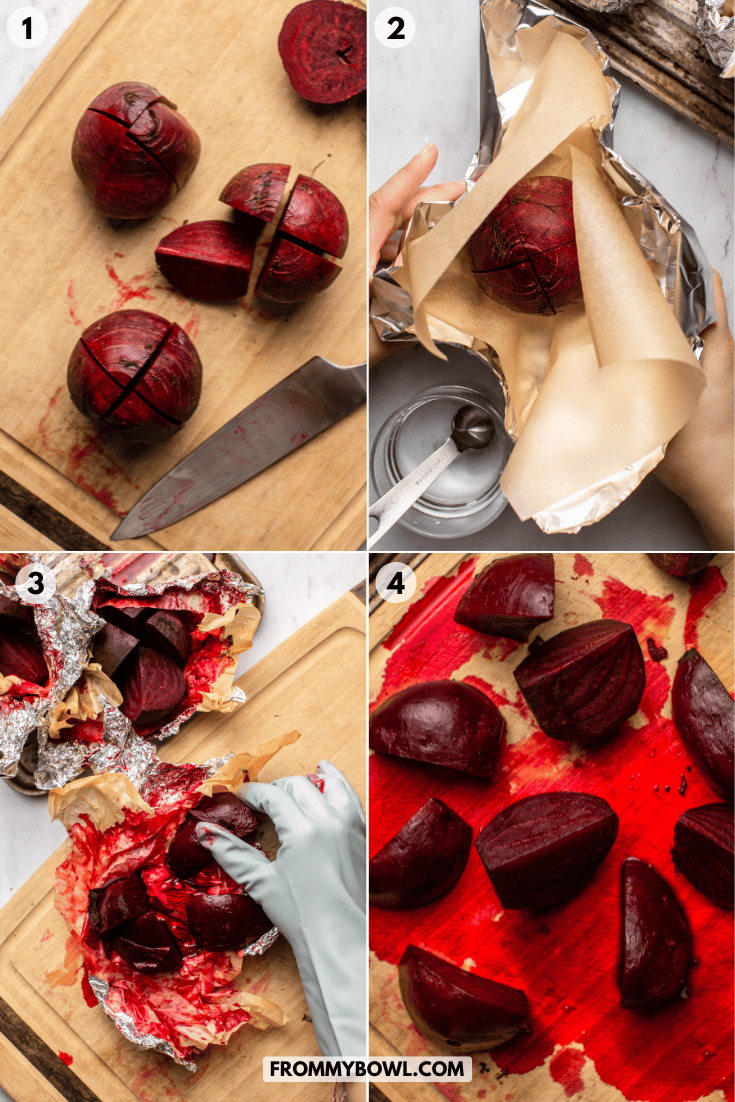
- Place each quartered beet on a square of parchment paper set on a square of aluminum foil. Drizzle 1 teaspoon of water over each beat, then seal the foil closed.
- Roast the beets, sealed side up, until they’re fork tender.
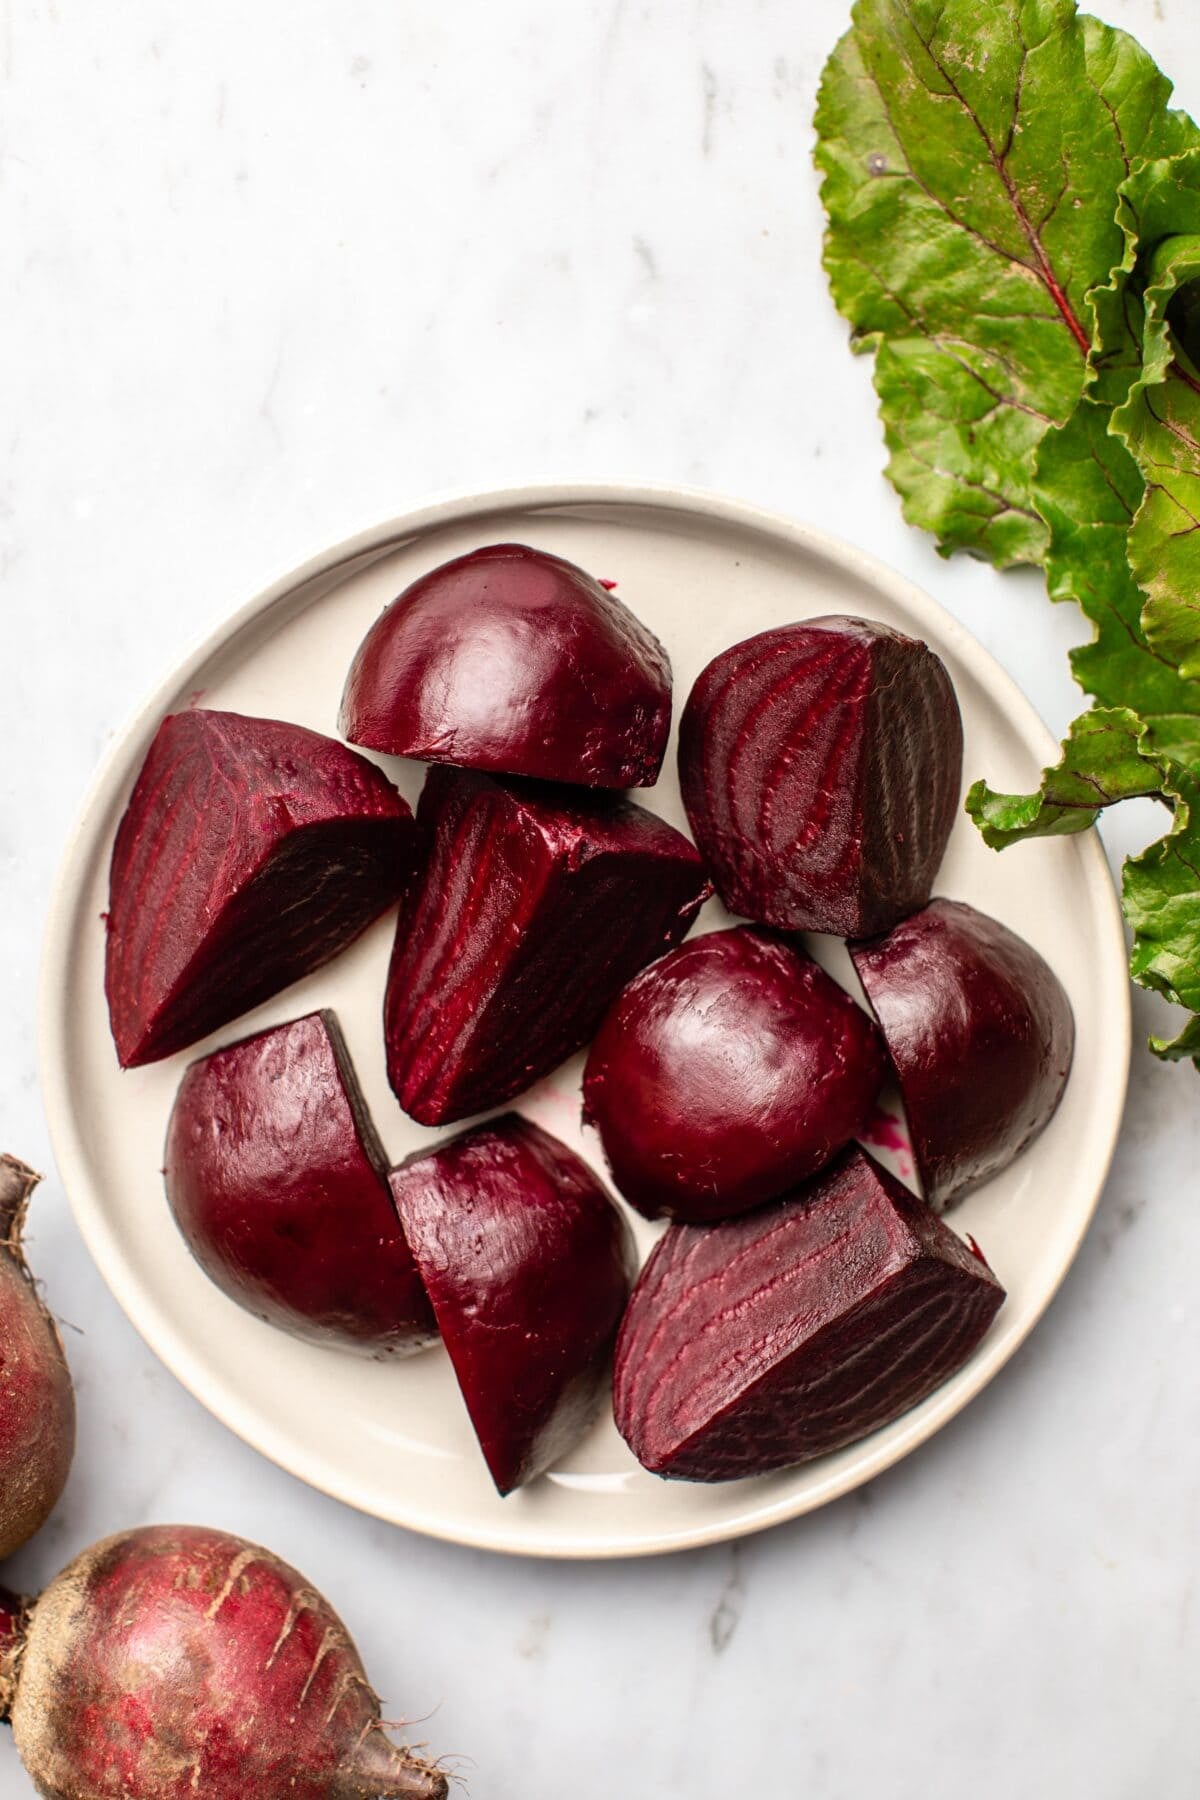
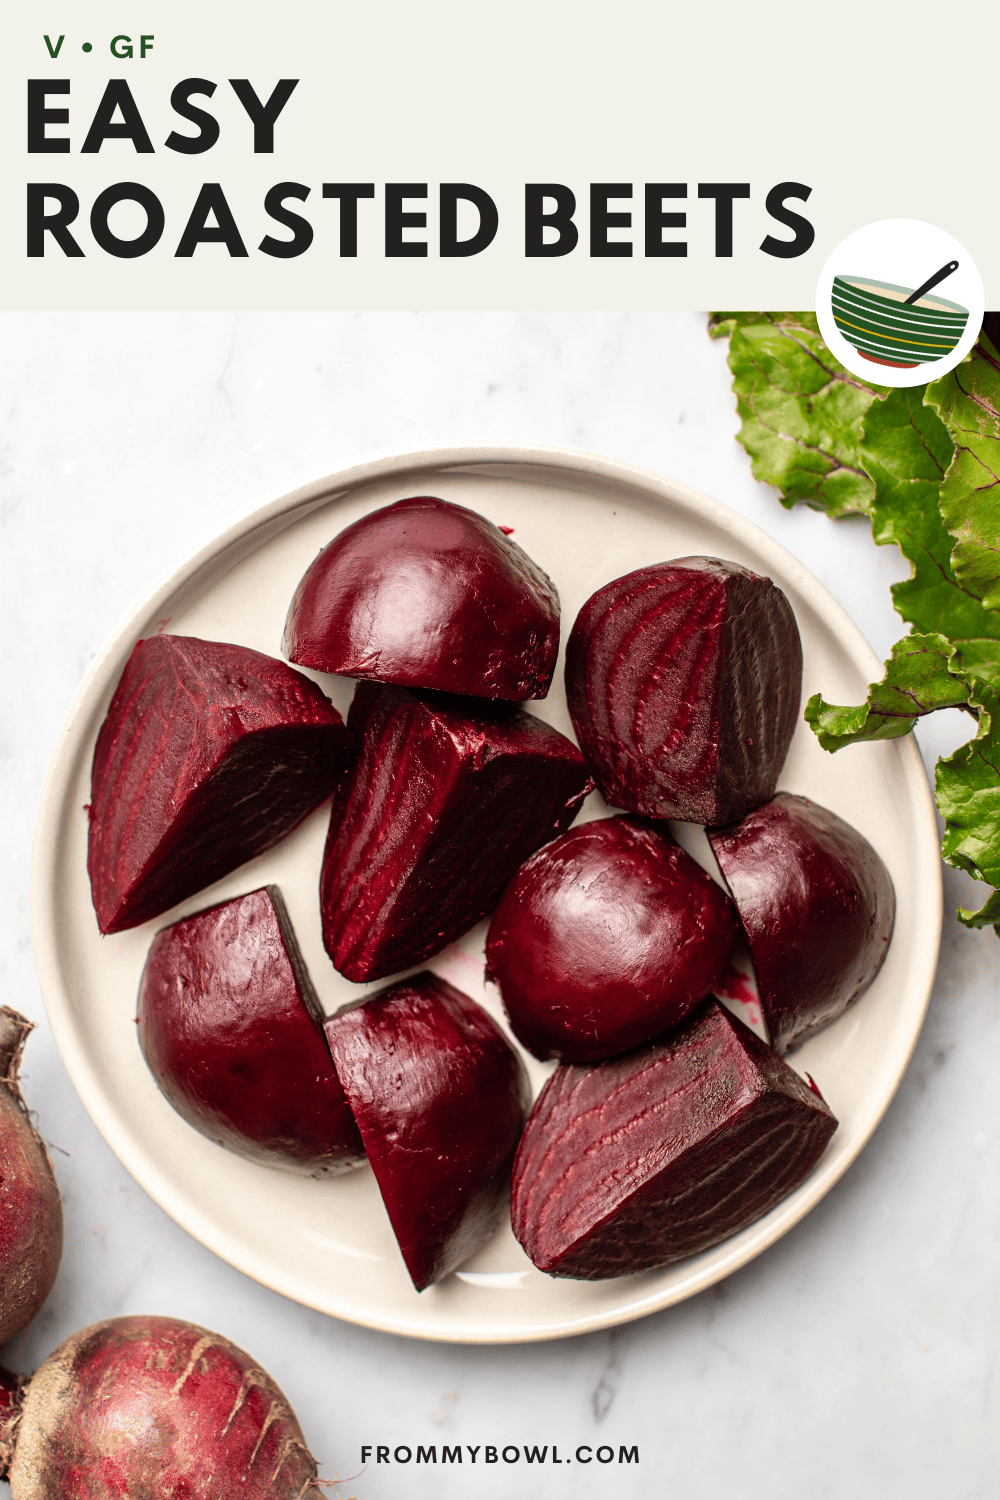
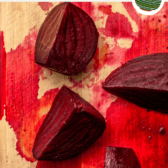
- Carefully peel the skin off each roasted beet.
- Serve the warm roasted beets right away or let them cool first. Enjoy!
Caitlin’s Cooking Tips
- How to prep beets for cooking: Scrub each beet under running water until all that pesky dirt has been washed away. From there, cut off the top root and bottom stem. Beets can be roasted whole, but I prefer to chop them into quarters to help with faster and more even cooking.
- Wrap them in parchment paper AND aluminum foil. I wrap each quartered beet in a piece of parchment paper, then a square of aluminum foil. This 2-layer system (plus a teaspoon of water) creates a steam chamber that prevents the beets from drying out and their juices from staining my bakeware.
- When the beets are done roasting, a deep, subtly sweet, earthy scent will float through your kitchen. Use a fork or metal skewer to stab the thickest part of each beet; if it glides right in, they’re ready to come out of the oven.
To Season or Not to Season?
You’re more than welcome to season the beets with a tiny drizzle of olive oil, a pinch of sea salt, or a sprig of fresh thyme before wrapping them in the foil. However, roasted beets are naturally sweet and flavorful, so I find that they really don’t need anything other than water.
Serving Suggestions
Roasted beets are one of those endlessly versatile veggies that are good in almost everything. It doesn’t matter if they’re served hot or cold; they never last long in my house!
Around Thanksgiving and Christmas, I’ll roast a big batch and top them with vegan feta and crushed walnuts for a healthy holiday side dish to pair with this Vegan Holiday Roast.
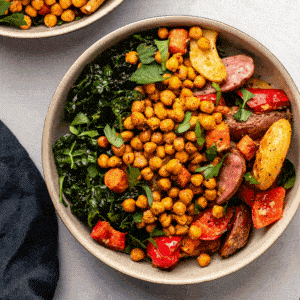
As for the rest of the year, I like to roast the beets on Sunday and store them in my fridge until I need a veggie side dish or a salad and grain bowl topper. This Roasted Beet Salad with Fennel, this Tangy Beet Salad with Avocado Dijon Dressing, and these Smoky White Bean Bowls are a few of my favorite salads that feature beets.
When I’m not using them as a side dish or topping, I’ll slice the cooled roasted beets thinly and layer them on these Rainbow Veggie Sandwiches. Any leftovers are perfect for blending into a batch of beet hummus or transforming into a bright pink pasta sauce for this Beet Pasta with Walnuts.
If you’re looking for more beet recipes, you’ll also love this Beet Latte Recipe, these Vegan Beet Burgers, and this Beet & Quinoa Salad!
How to Store Cooked Beets
Leftover roasted beets will stay fresh in an airtight glass container in the fridge for up to 1 week or in a heavy-duty bag in the freezer for up to 2 months. They defrost pretty well overnight in the fridge.
To reheat the leftover beets, add them to a baking dish and warm them up in a 350ºF oven for 10 to 15 minutes or until they’re heated through. You can also reheat beets in the microwave, but it tends to make them softer.
Recipe FAQs
Peeling beets after roasting is so much easier. The skin practically falls right off! If you hit a stubborn spot, just rub it with a paper towel.
It varies, but medium-sized beets cut into quarters typically take between 45 and 60 minutes to roast in a 400ºF oven.
You can, as long as you aren’t following the foil-wrapped method. In my Sweets & Beets recipe, I diced the raw beets and roasted them on a sheet pan with other root vegetables.
Enjoy! If you make this recipe and decide to share it on Facebook or Instagram, don’t forget to tag me @FromMyBowl + #FromMyBowl! I would also love it if you could leave a comment below with a recipe rating! Thank you for the support 😊

How to Roast Beets
Ingredients
- 1-5 + medium-to-large beets any color/variety
- Filtered water 1 teaspoon per beet
- Additional supplies: aluminum foil, parchment paper (optional)
Instructions
- Prep: Preheat the oven to 400F and set a baking tray aside. Scrub each beet well, so no dirt remains. Cut the top and bottom off of each beet, removing the top root and bottom stem portions. Place the flat side of the top of each beet onto the cutting board, then carefully quarter each bulb (this helps with faster and more even cooking).
- Wrap: Lay a medium square of aluminum foil on a flat workspace, then cover it with a square of parchment paper, if desired*. Place one of the quartered beets in the center of the sheet(s), then pull each corner upward so it will seal at the top. Before you close the seal, add 1 teaspoon of water to the center of the beet to help with moisture. Seal each beet by pulling all four corners together, twisting to close.
- Bake: Place each beet with the sealed side up on a baking tray, to prevent the juices from spreading and burning on the bakeware. Bake your beets in the middle rack of the oven for 45 to 60 minutes; this will vary slightly based on the size of each beet. The beets are almost done when you start to smell a deep and subtly-sweet earthy scent. Once fully cooked, a fork or metal skewer should slide through the thickest part of each beet easily.
- Peel: Remove the beets from the oven and carefully open their wrappers and let sit for a few minutes. Once they are cool enough to handle, use your hands (gloves are recommended) to peel the skin off of each beet – it should glide off easily. A paper towel can also help to remove areas that are not coming off.
- Serve & Store: Serve as desired, warm or cold. Roasted beets will last in an airtight container in the fridge for up to one week, or can be frozen for up to two months.
Recipe Notes
- Parchment Paper: Some people prefer to not have aluminum foil come in contact with their food; if this is you, wrap the beets in parchment paper first. Otherwise you do not need to include this step!
- Prevent Stains: Beet juice can stain hands easily, so I recommend using gloves for peeling, if not the entire cooking process. Otherwise, try to rinse your hands with dish soap as quickly as possible after you finish handling the beets. Beets should not permanently stain wood cutting boards, but if you are worried, it’s best to use a plastic surface.
- Beet Greens: If you buy beets with greens attached, simply remove the greens and carry on. Beet greens actually taste very similar to chard – I love to cook them down with a bit of olive oil, balsamic vinegar, and minced garlic, or you can make this Swiss Chard Salad!


