Disclosure: This post may contain affiliate links. I may earn a small commission for my endorsement, recommendation, testimonial, and/or link to any products or services from this website.
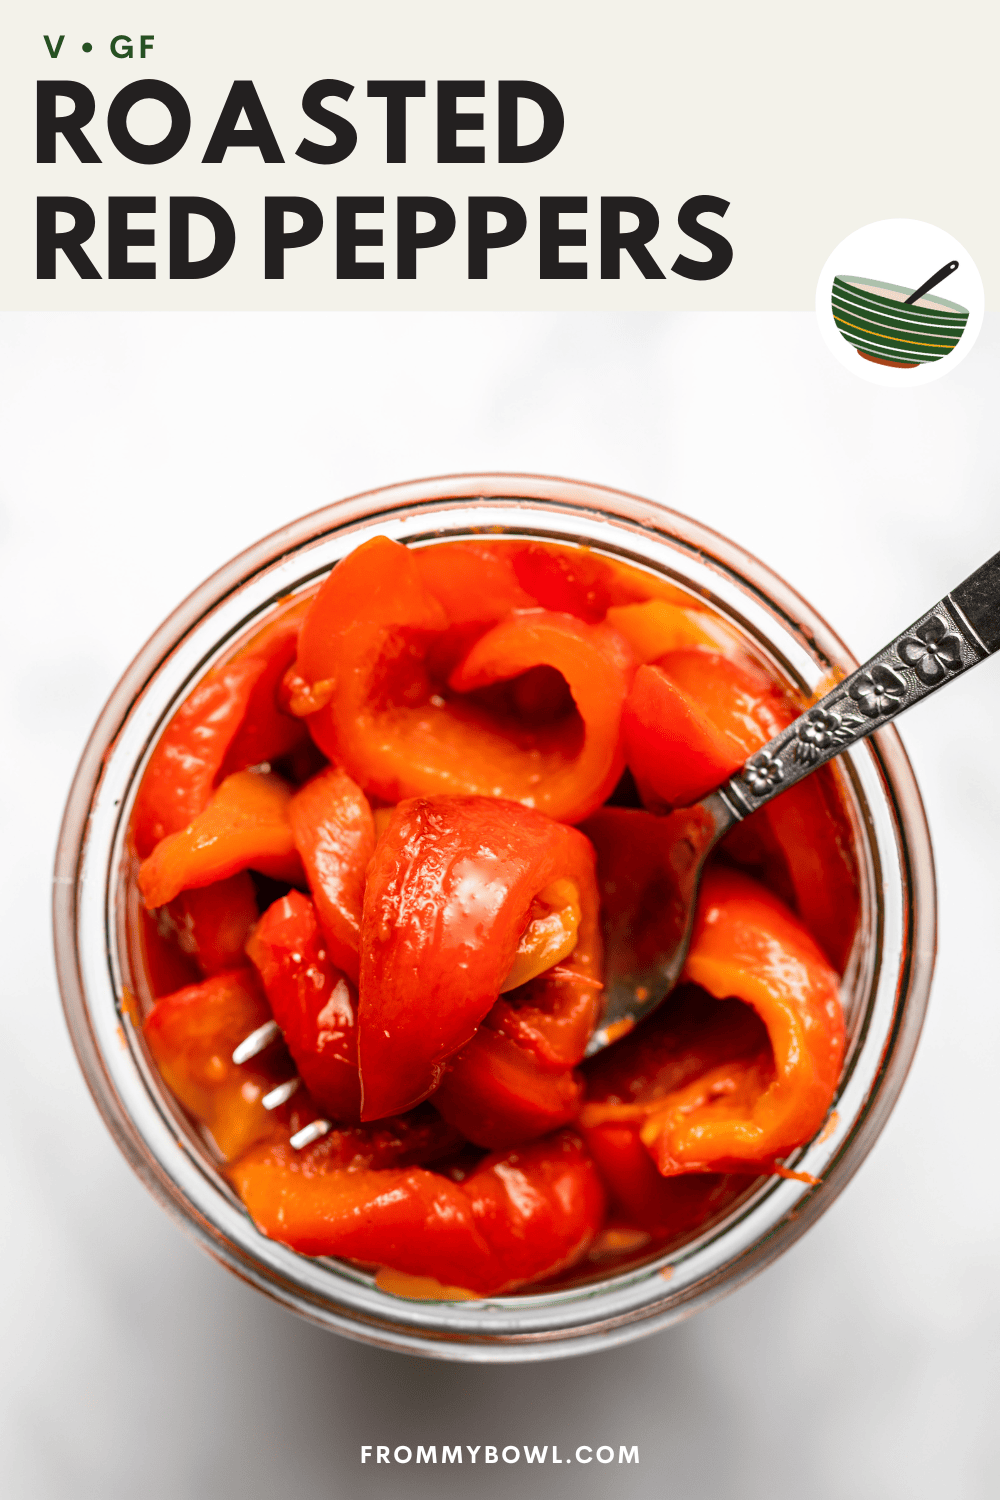
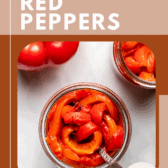
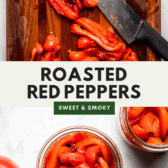
Learn how simple it is to make Roasted Red Peppers at home. They’re sweet, smoky, and a delicious addition to any meal. Vegan, Gluten-Free, Oil-Free.
Making Homemade Roasted Red Peppers is going to be your preferred method once you realize how effortless they are to make at home. All you need is your favorite peppers (bonus points if they’re from your home garden!) and a couple of basic kitchen tools.
Table of Contents

All About These Roasted Red Peppers
Roasted red peppers and I have a love-love-love relationship. They’re silky smooth, sweet yet smoky, and add a wonderful flavor complexity to every dish you throw them in.
There’s just one itty-bitty problem: they’re expensive at the store and sometimes hard to find! The good news is you can make your own at home with easy steps and minimal kitchen tools – you’ll even save some money too.
What more could we ask for? Now let’s get roasting!
What You Need for Homemade Roasted Red Peppers
This recipe requires just one ingredient: red peppers (or really any color bell pepper for that matter)!
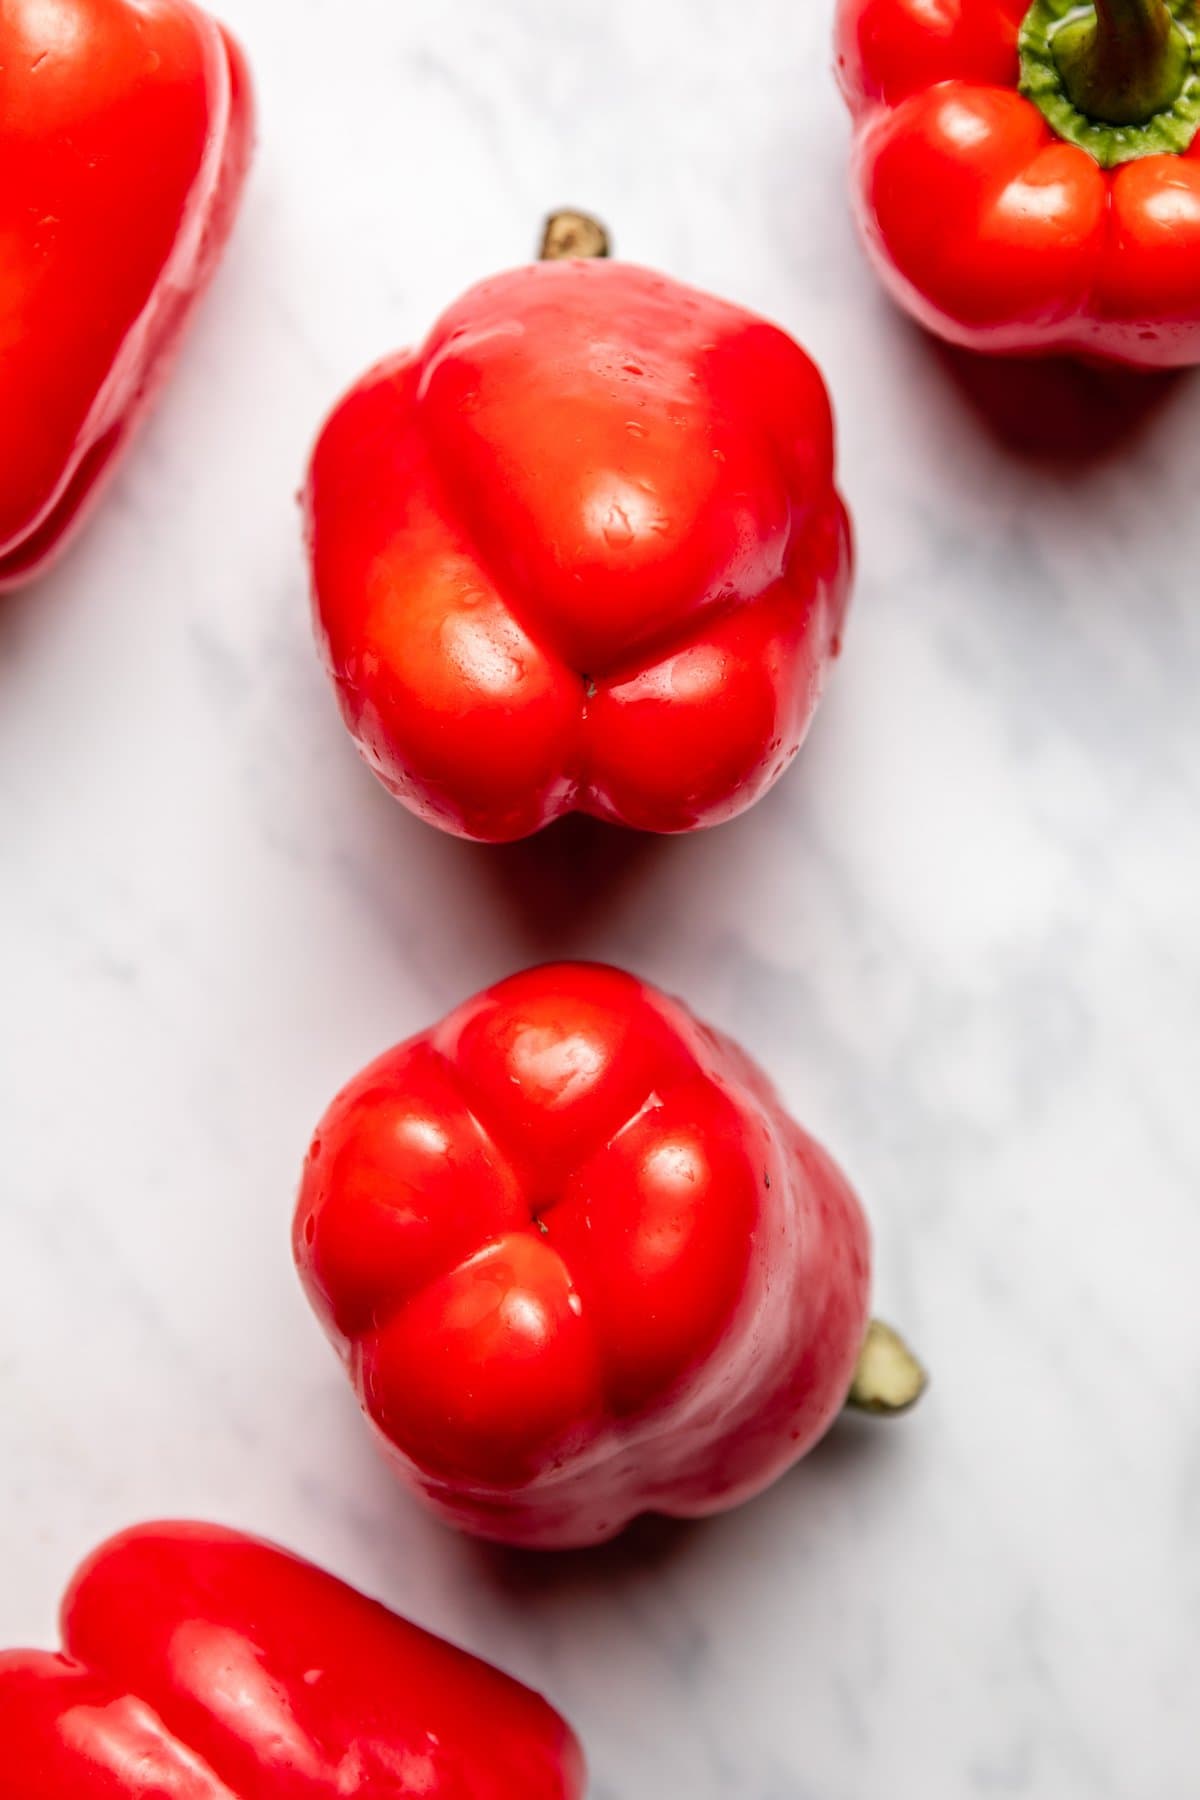
4 medium-to-large whole peppers will yield about 20 ounces of roasted red pepper strips. Feel free to adjust the amount of peppers used accordingly.
And if you haven’t grocery shopped yet, pick peppers with 4 bumps on the bottom as opposed to 3. They’re reportedly firmer and better for cooking.
This “fact” is technically unproved and still up for formal debate, so do with it what you will. Any bell pepper will work with this recipe, so let’s get to roasting!
How to Roast Red Peppers

- Cut each pepper in half lengthwise and remove the core along with any seeds and white parts.
- Broil the peppers in the oven, cut side down, with the door slightly ajar until their skin is mostly blackened and areas have started to puff up or peel away. And remember – more burned bits = more smoky flavor.
- Transfer the hot peppers to a resealable bag. Seal well, then steam the peppers for 7 to 10 minutes.
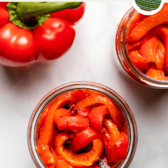
- Peel the outer layer of the skin on the red peppers. Discard the skins, then slice the peeled peppers into 1/4-1/2″ strips.
- Pack the peppers into a glass jar with a sealable lid and store in the fridge until ready to use.
Caitlin’s Cooking Tips
- Maximize your peppers. I like to slide my knife around each bell pepper (just as you would cut an avocado), then “twist” one half away. This will prevent wasting the top of the pepper and make your money go farther at the grocery store!
- Adjust the broil time as needed. Each oven is going to heat differently, so begin to check the peppers at the 15 minute mark, and every 2 minutes thereafter. Once you know your oven well, you’ll know how long your specific broiled takes to roast the peppers.
- Steam in a food-grade reusable silicone bag. While you can steam the peppers in a regular, plastic Ziploc bag, steaming in plastic can cause plastics to leach into your peppers. For best food safety practices, use a food-grade bag such as a Stasher bag or even a glass airtight container.
Ways to Use Roasted Red Peppers
These roasted red peppers are incredibly versatile and can be added to virtually any dish that could use a smoky, sweet, slightly tangy flavor. Sprinkle them on a Pasta Salad, Quinoa Salad, Enchilada Pizza Pie, or Hummus Pasta.
I personally love turning these peppers into flavorful sauces like Romesco Sauce or Roasted Red Pepper Pasta Sauce.
They’re also delicious blended into silky smooth soups like this Creamy Tomato & Red Pepper Soup. Or, stuff them into sandwiches like these Rainbow Veggie Sandwiches and Falafel Burgers.
If you’re looking for more homemade kitchen basics, you’ll love these Quick Pickled Red Onions, Quick Picked Jalapeños. Or check out these simple How-To Recipes.
How to Store Roasted Red Peppers
Roasted red peppers can be eaten right away, or refrigerated for up to 10 days in an airtight, glass jar. They can also be frozen if you have a large batch of peppers to roast! Freeze for up to 2 months in a freezer-safe container such as straight-sided mason jars.
If frozen, allow the peppers to thaw until softened in the fridge, about 24 hours.
Recipe FAQs
It’s not necessarily required, but it is highly recommended. Removing the skin on the red peppers leads to a much smoother texture and also removes any bitterness.
Roast your peppers cut side down (skin side up!). This will allow the skin to become blistered and bubble under the broiler and make the peppers easier to peel once steamed.
Once the peppers are roasted, they should be very soft, tender and easy to peel. Then, use a spoon or clean hands to scrape off the outer layer of the skin. Discard or compost the skins, then slice the peeled peppers with a sharp knife.
Yes, the pepper halves can be stored whole if preferred. I personally like to slice the peeled peppers because they are easier to store and cut down prep work for future use.
Enjoy! If you make this recipe and decide to share it on Facebook or Instagram, don’t forget to tag me @FromMyBowl + #FromMyBowl! I would also love it if you could leave a comment below with a recipe rating! Thank you for the support 😊
Homemade Roasted Red Peppers
Ingredients
- 4 medium-to-large red bell peppers
Instructions
- Cut: Cut each pepper in half lengthwise by sliding your knife around it (as you would an avocado; see video for details). Twist one half away from the core to separate it, then use your hands to remove the core from the other half, along with any seeds and white parts of the peppers. Repeat with the remaining peppers
- Broil: Place the peppers on a baking tray, cut side down. Broil the peppers in the oven, with the door slightly ajar, for 15 to 25 minutes, or until their skin is mostly blackened and areas have started to puff up/peel away. The cooking time will depend on your oven; it’s best to start checking the peppers at the 15 minute mark, then continue to check every 2 minutes or so.
- Steam: Use tongs to carefully transfer the hot peppers to a resealable bag. Seal the bag well, then let the peppers sit for 7 to 10 minutes, to steam and soften further.
- Peel & Slice: Remove the peppers from the bag, then use your hands or a spoon to scrape off the outer layer of the skin, which should fall off easily. Discard (or compost) the skins, then slice the peeled peppers into 1/4-1/2″ strips with a sharp knife.
- Store: Roasted red peppers can be tightly packed in a glass jar with a sealable lid and stored in the fridge for up to 10 days, or frozen for up to 2 months.


Can’t believe how much easy these were! I used them for the roasted red pepper pasta recipe. Worked out so well!
Yay! Glad you enjoyed it, Ruby.
Hi, I love peppers and I made this recipe adaptation for my air fryer. I love it!!
Glad you loved it, Sofia!
Making these and your red pepper pasta tonight. So far they’re broiling nicely and I’m super pumped! Love all your recipes as I’m trying to incorporate more vegan meals in my diet.
Hi, may i ask at what temperature should i set up the oven :O
You would use the broil setting on your oven! If you don’t have a broil setting on your oven (should just be it’s own button that says “broil”) then you could optionally cook them on a hot skillet enough to get the broiled effect.
Looks delicious, can’t wait to make my own. Quick question, So we don’t need to add any oil or vinegar? Sorry, that’s just how they come when I buy them ????????♀️. Thanks ????
Where are you from? You don’t have access to fresh/raw bell pepper? We use this as a per-requisite for our Roasted Red Pepper Pasta!
Lovely! so simple and so delicious. Will definitely make these to have on hand in the fridge!
Thanks! Totally a great little add on to anything really!