Disclosure: This post may contain affiliate links. I may earn a small commission for my endorsement, recommendation, testimonial, and/or link to any products or services from this website.
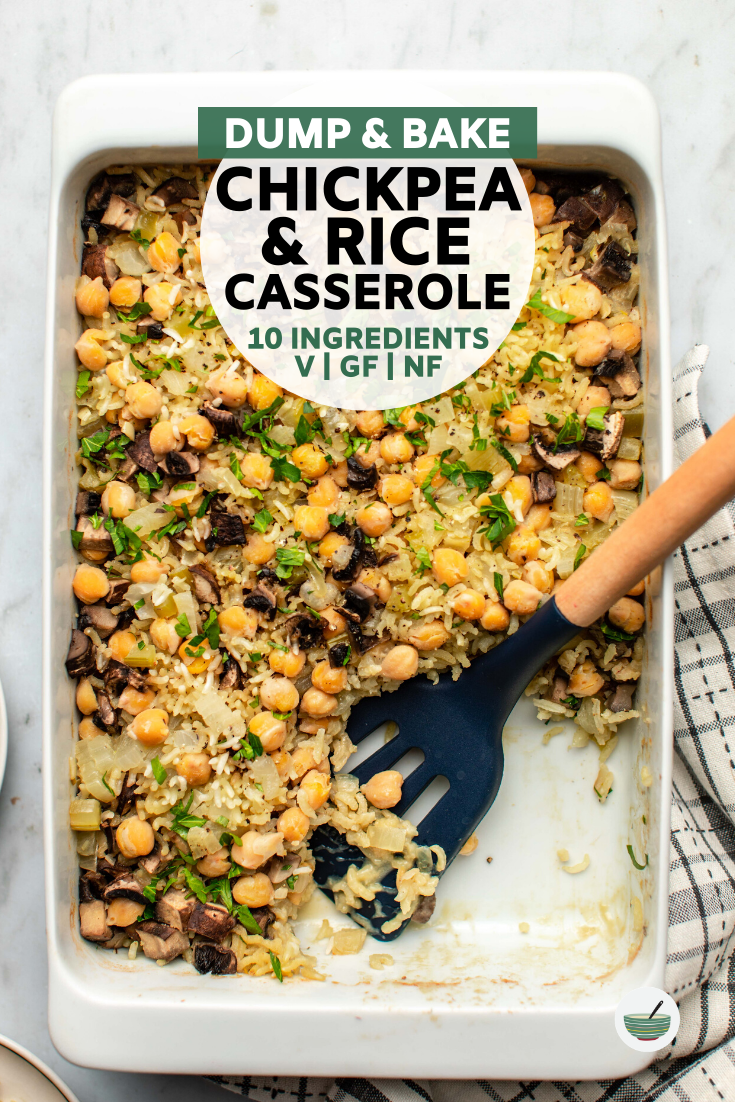
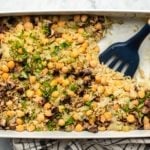
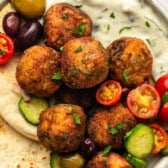
This dump-and-bake Chickpea & Rice Casserole is easy AND delicious! Made from only 10 plant-based ingredients, it delivers big flavor with minimal effort.
Dump and bake casseroles have pretty much become a staple for From My Bowl. I love to make them almost as much as you love to eat them!
But really though – what’s not to love about throwing everything in a casserole dish, covering it, and then baking it in the oven?! You get maximum flavor with minimal prep-time, hands-on time, and kitchen cleanup.
INGREDIENTS FOR CHICKPEA RICE CASSEROLE
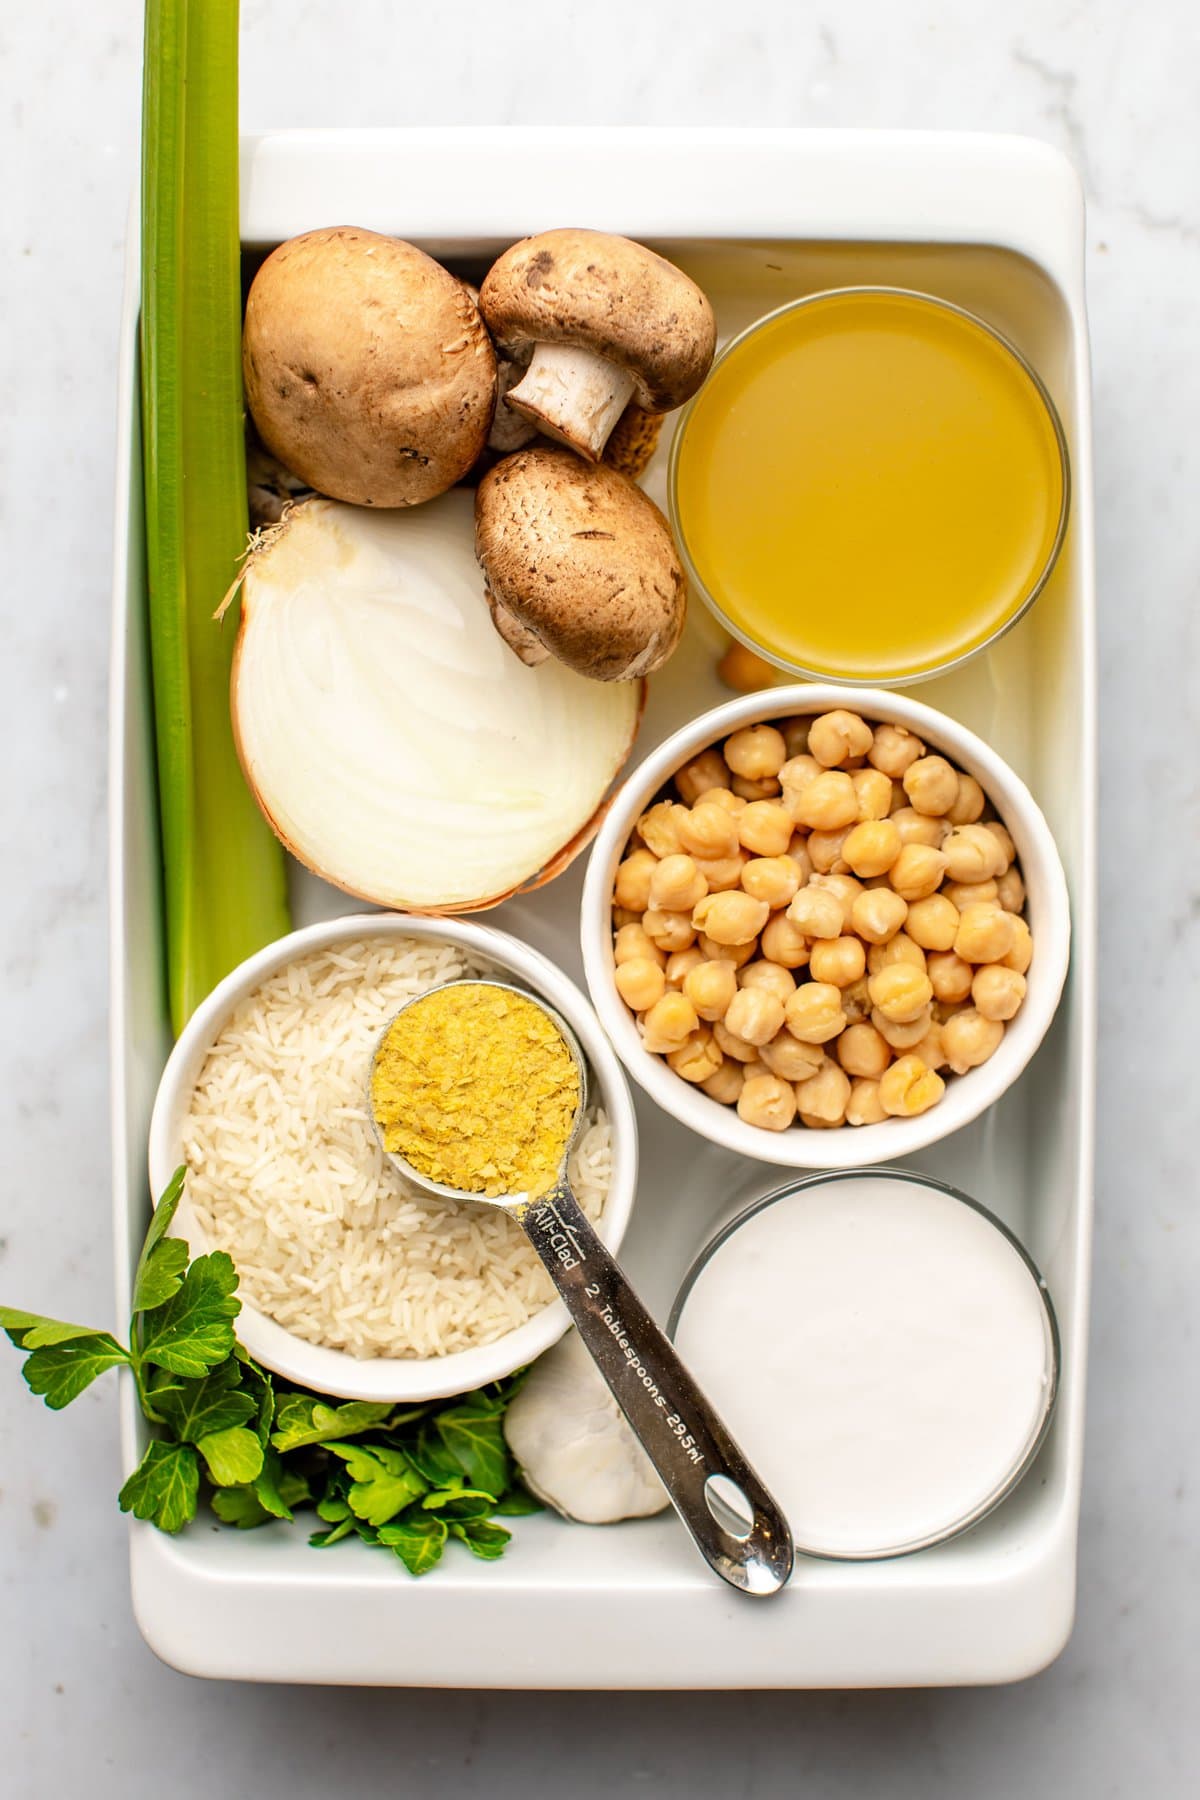
This casserole is made from only 10 plant-based ingredients that you probably already have in your pantry! Here are some of the key components:
- White Rice: for fragrant flavor and fluffiness, I’d recommend jasmine or basmati rice. White rice has a different cooking time than other grains, so if you’d like to use brown rice please see the recipe notes!
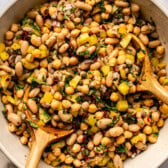
- Chickpeas: for plant-based protein and fiber. If you’re using canned beans, make sure to drain and rinse them first!
- Broth and Coconut Milk: to add flavor and creaminess to our casserole, I found it best to use a combination of vegan chicken-flavored stock and coconut milk.
- Flavorful Veggies: a.k.a. onion, garlic, celery, and mushrooms!
This casserole is essentially a riff off of the classic Chicken & Rice Casserole, which is normally made with chicken, rice, and a few different cans of pre-made soup. The broth, coconut milk, and vegetables combine to replace the soup cans, which aren’t traditionally vegan. Swap the animal protein for some chickpeas and we’re good to go!
HOW TO MAKE CHICKPEA RICE CASSEROLE
- Add the broth, coconut milk, and nutritional yeast to a pot and bring to a boil
- Layer the rice, chickpeas, and vegetables in a casserole dish
- Pour the boiling liquid into the casserole dish, then
- Cover and bake until the rice is fluffy!
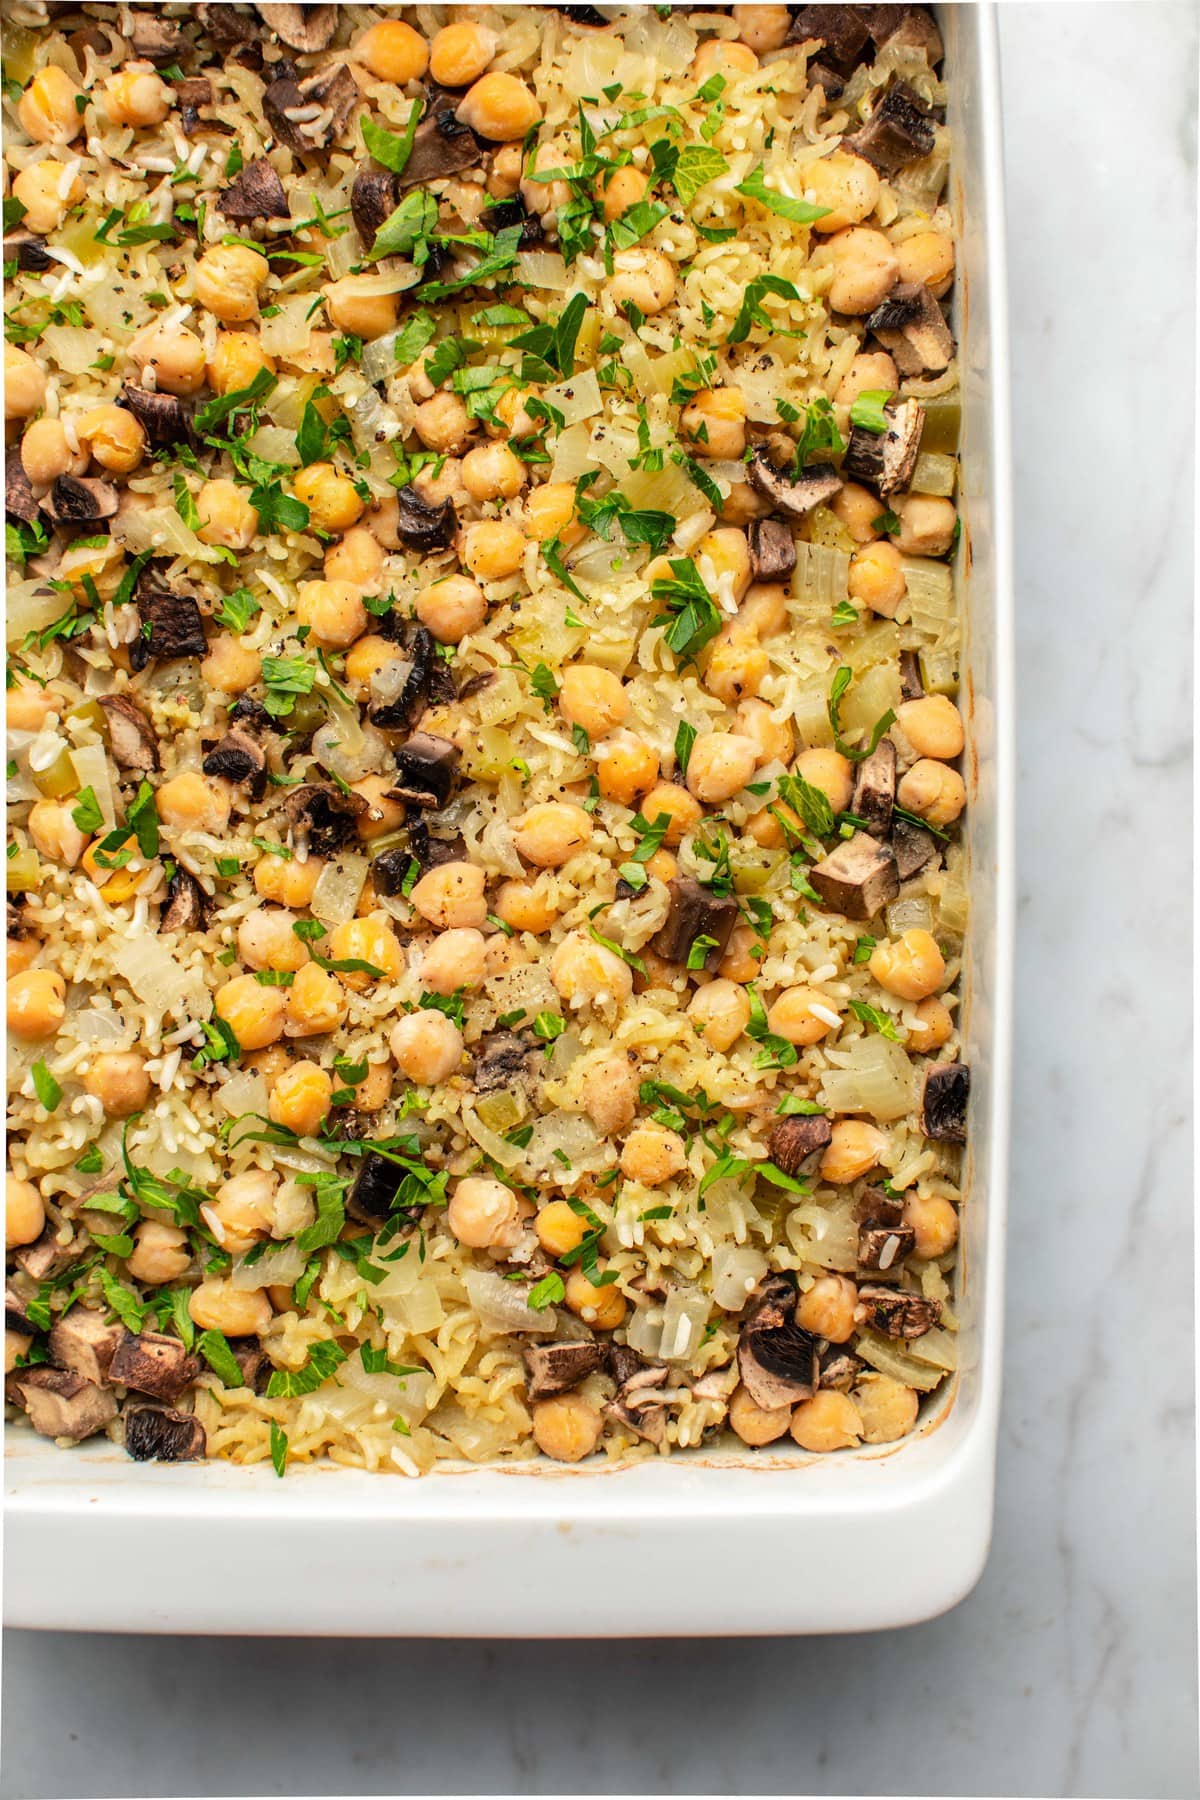
Not only is this a totally hands-off cook time, but the rice and chickpeas get infused with extra flavor while everthing bakes away in the oven! Once the rice has cooked for 45 minutes, remove the dish from the oven and let sit for 5 minutes before serving.
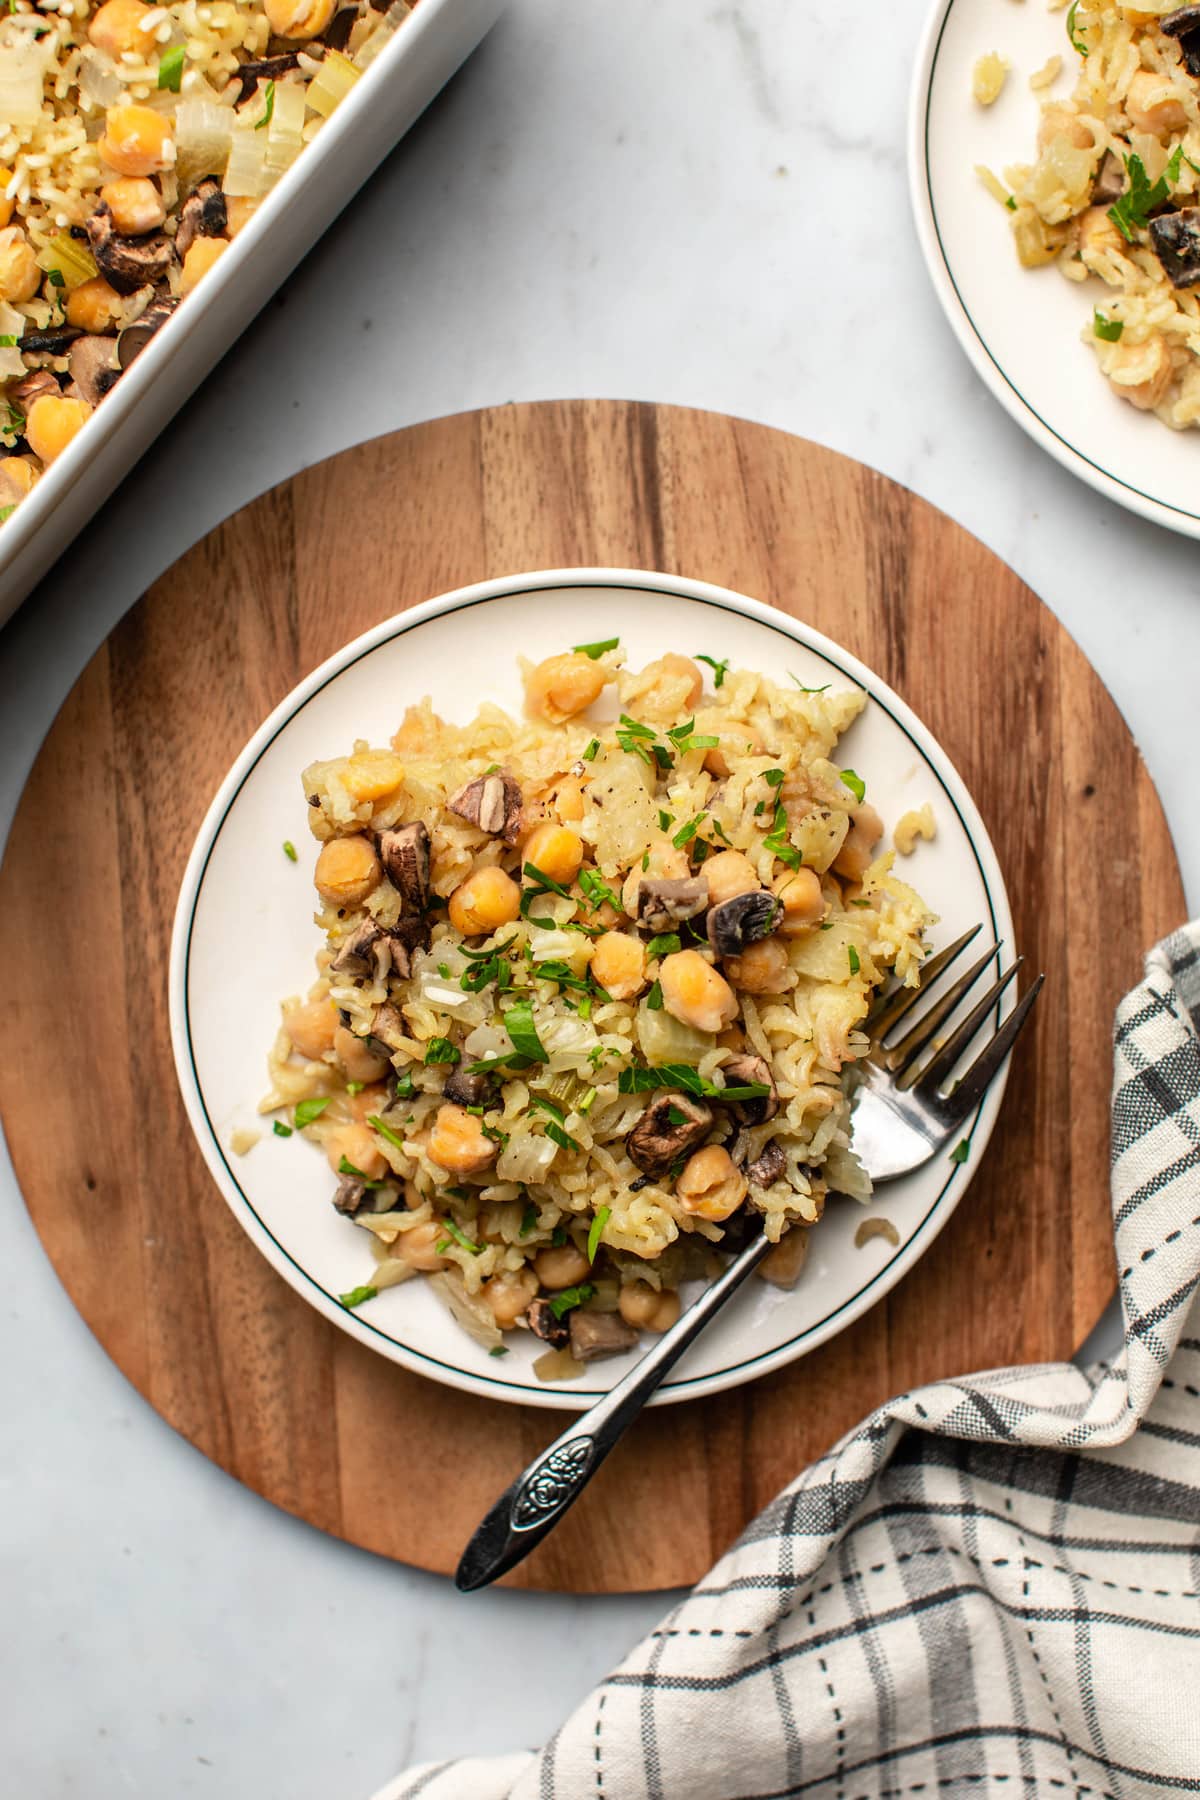
I love this Chickpea & Rice Casserole because it’s the perfect comfort food – it’s creamy, cozy, and also packed with veggies. I like to top mine with a little freshly ground black pepper, but it would also be good with some extra dairy-free cheese or maybe even a drizzle of Vegan Ranch.
If you’re looking for more dump-and-bake casserole recipes, you’ll also love this Buffalo Cauliflower Casserole, this Southwestern Black Bean Casserole, and this Cheesy Broccoli Rice Casserole!
Finally, if you make this recipe and decide to share it on Facebook or Instagram, don’t forget to tag me @FromMyBowl + #FromMyBowl! I love seeing your delicious recreations 🙂
PrintVegan Chickpea & Rice Casserole
This dump-and-bake Chickpea & Rice Casserole is easy AND delicious! Made from only 10 plant-based ingredients, it delivers big flavor with minimal effort.
- Prep Time: 10 Minutes
- Cook Time: 45 Minutes
- Total Time: 55 minutes
- Yield: 4 to 6 servings 1x
- Category: Main
- Method: Oven
- Cuisine: American
Ingredients
- 1 1/2 cups (350 ml) vegan chicken-flavored stock (or sub vegetable broth)
- 3/4 cup (174 ml) full-fat coconut milk
- 2 tablespoons nutritional yeast
- 1 cup (185 g) uncooked white jasmine rice
- 2 cups (400 g) chickpeas, cooked
- ½ yellow onion, diced
- 2-3 cloves of garlic, minced
- 1 rib of celery, finely diced
- 5 oz cremini mushrooms (about 5 medium), fine dice
- 2 tablespoons chopped parsley
Instructions
- Preheat the oven to 375F and set a 9×13″ or similar pan.
- Add the stock, coconut milk, and nutritional yeast to a medium pot and bring to a boil over high heat. While the liquid heats, add the rice, chickpeas, onion, garlic, celery, and mushrooms to the casserole dish. Mix them around and spread evenly across the bottom of the casserole with a spatula.
- Once the liquid comes to a boil, carefully pour it over the casserole and cover with a layer of parchment paper (optional) followed by a layer of aluminum foil. Place in the middle rack of the oven and bake for 45 minutes.
- Remove the casserole from the oven and let sit for 5 minutes, then uncover. Top with parsley and serve warm; leftovers will last in the fridge for up to 5 days.
Notes
- Brown Rice: if you wish to use brown rice instead of white, preheat the oven to 400F instead and bake for 60 minutes instead of 45. I have not tested this recipe with any other grain substitutions
This is my new go to recipe. It’s comforting, easy and healthy. I swapped out soy milk for the coconut milk and added a bag of spinach. Yum!
Yum! Happy you like this one 🙂
Do you have nutrition facts for this recipe? I’ve been making this for years and would like to accurately track it.
Here’s a rough breakdown for each serving if you divided the recipe by 4:
Calories: ~485 kcal
Protein: ~16 g
Carbohydrates: ~76 g
Fiber: ~9 g
Fat: ~13–14 g
Saturated Fat: ~7–8 g
Sugar: ~3–4 g
Sodium: ~400–550 mg
Is it totally necessary to boil the liquids first if it’s going into the oven anyways? Could I just bake for longer?
yes it is! it helps start off the cooking process and it makes for the best rice 🙂
I made this with low-fat coconut milk instead of regular and the dish ended up having an unpleasant smell and taste. Does full fat coconut milk really make that much of a difference? I followed the recipe otherwise, and just can’t understand why the taste was so off.
It could be that your coconut milk went rancid!
5 Stars. Spot on. Great flavor. Super easy to make. I garnished with Coconut Aminos. Major delish! Tastes like healthy authentic Chinese food. Going into my regular rotation.
So happy you like this one, Kelley!
I would like to try this with quinoa instead of rice. Has anyone done that? Or with cauliflower rice? Low carb family.
I just posted a broccoli quinoa casserole that is similar: https://frommybowl.com/broccoli-quinoa-casserole/
I added curry and a drizzle of maple syrup. It is delicious!
So glad!
Turned out great. Followed exactly then added some extras
Greased dish with coconut oil
1 can chickpeas and 1 can black beans
Fresh spinach and parsley in with the rest of the veggies
Rosemary, thyme, chia seeds, flax seed, black sativa seeds and paprika stirred into the dish with the other ingredients
Boiled a little bit of extra liquid. Added Daiya chipotle cheese, balsamic vinegar, turmeric and S&P once liquid was done cooking
Topped with sliced olives before serving
I may add the olives into the dish next time. Capers would be yummy too. Thanks so much for sharing your recipe. It was delicious 😋
Happy you enjoyed, those extras sound great!
When you write in the recipe ingredients “2 c. chickpeas, cooked” do you mean “2 c. cooked chickpeas”? There’s a huge difference between the two. If you measure 2 c. of raw chickpeas and cook them, you’ll end up with at least 4 c. of cooked beans.
I mean 2 cups of already cooked chickpeas!
Hi this looks super yummy! Thank you for sharing. Have you tried freezing it? I am looking for vegetarian or vegan meals I can freeze for later. Thank you!
This can totally be frozen and reheated later!
Thank you so much!
I made this for a potuck as it is vegan and GF, however I was disappointed in the flavor – it needs something added as it definitely wasn’t a wow. It was just too plain. Texture, cook time, etc was good – if I make again I would experiment with adding something – maybe pesto would give it a boost . . .
Can this be made in a slow cooker?
I haven’t done that myself so I cannot say for sure!
Would love to try but how much is in one serving
It depends on the person, but usually 1/4 to 1/6 of the casserole dish 🙂
Can you do this with canned chickpeas?
yes, it’s meant to be made with cooked chickpeas, even ones from a can!
This was an amazing dish. I had a big party and everyone loved it. I couldn’t believe how much they ate. There was barely enough left the next day.
I think a little bit of salt could be added, however I added salt at the end, but I feel like you could also put cooked chicken in. etc. Definitely a keeper super easy. Great vegan gluten-free dish will definitely make again.
I’m so happy everyone enjoyed!
This sounds like what I was looking for, but wondered about adding frozen spinach into the mix for the hit of greens. This feels like a recipe you can add and subtract as you will, maybe less mushrooms, and add some other veg, yes?
Yes, you can simply add the spinach to the existing recipe and it should be great!
Waaay too onion forward. They were still crunchy at the end. I would sautee them first or use onion powder instead.
Looks delish ! Can it be made ahead of time and baked right before needed ? Thanks!
I think that will work just fine if its a few hours in advance or the night before!
Hello! Instead of using parchment paper and tin foil, could I use the lid of my casserole dish to bake instead ?
Yes, you can opt for a casserole dish lid instead of disposable covers!
Wow, delicious! Very creamy and just the right amount of veggies with some great protein from the garbanzo beans. Really love this recipe and it’s gentle on my tummy. Hit with the family too!! Thanks! 🙂
I’m so happy you and your family enjoyed, Sydney!
This is my new favorite meal. Instead of white rice, I used a brown + wild rice blend, added salt and pepper, cooked it for the suggested hour at 400. It came out perfectly!
sounds delicious!
Can this be made with cashew milk instead? I’m not a fan of coconut.
yes!
I am making this for my daughter-in-law and wondered if tofu can be added and if I need to add some heat, she likes things spicy, what would you recommend? I’m not vegan and not a spicy girl so your suggestions would be so helpful. I like this recipe because it looks simple enough for me to make with my non vegan history and pantry.
some chili flakes will do the trick!! And yes, tofu would be a lovely addition!