Disclosure: This post may contain affiliate links. I may earn a small commission for my endorsement, recommendation, testimonial, and/or link to any products or services from this website.
These Almond Butter Bars are an easy, no-bake dessert made with just 7 simple ingredients.Think healthy dessert bars that are as indulgent as they come, yet still Vegan, Gluten-Free, Grain-free, and Paleo friendly.
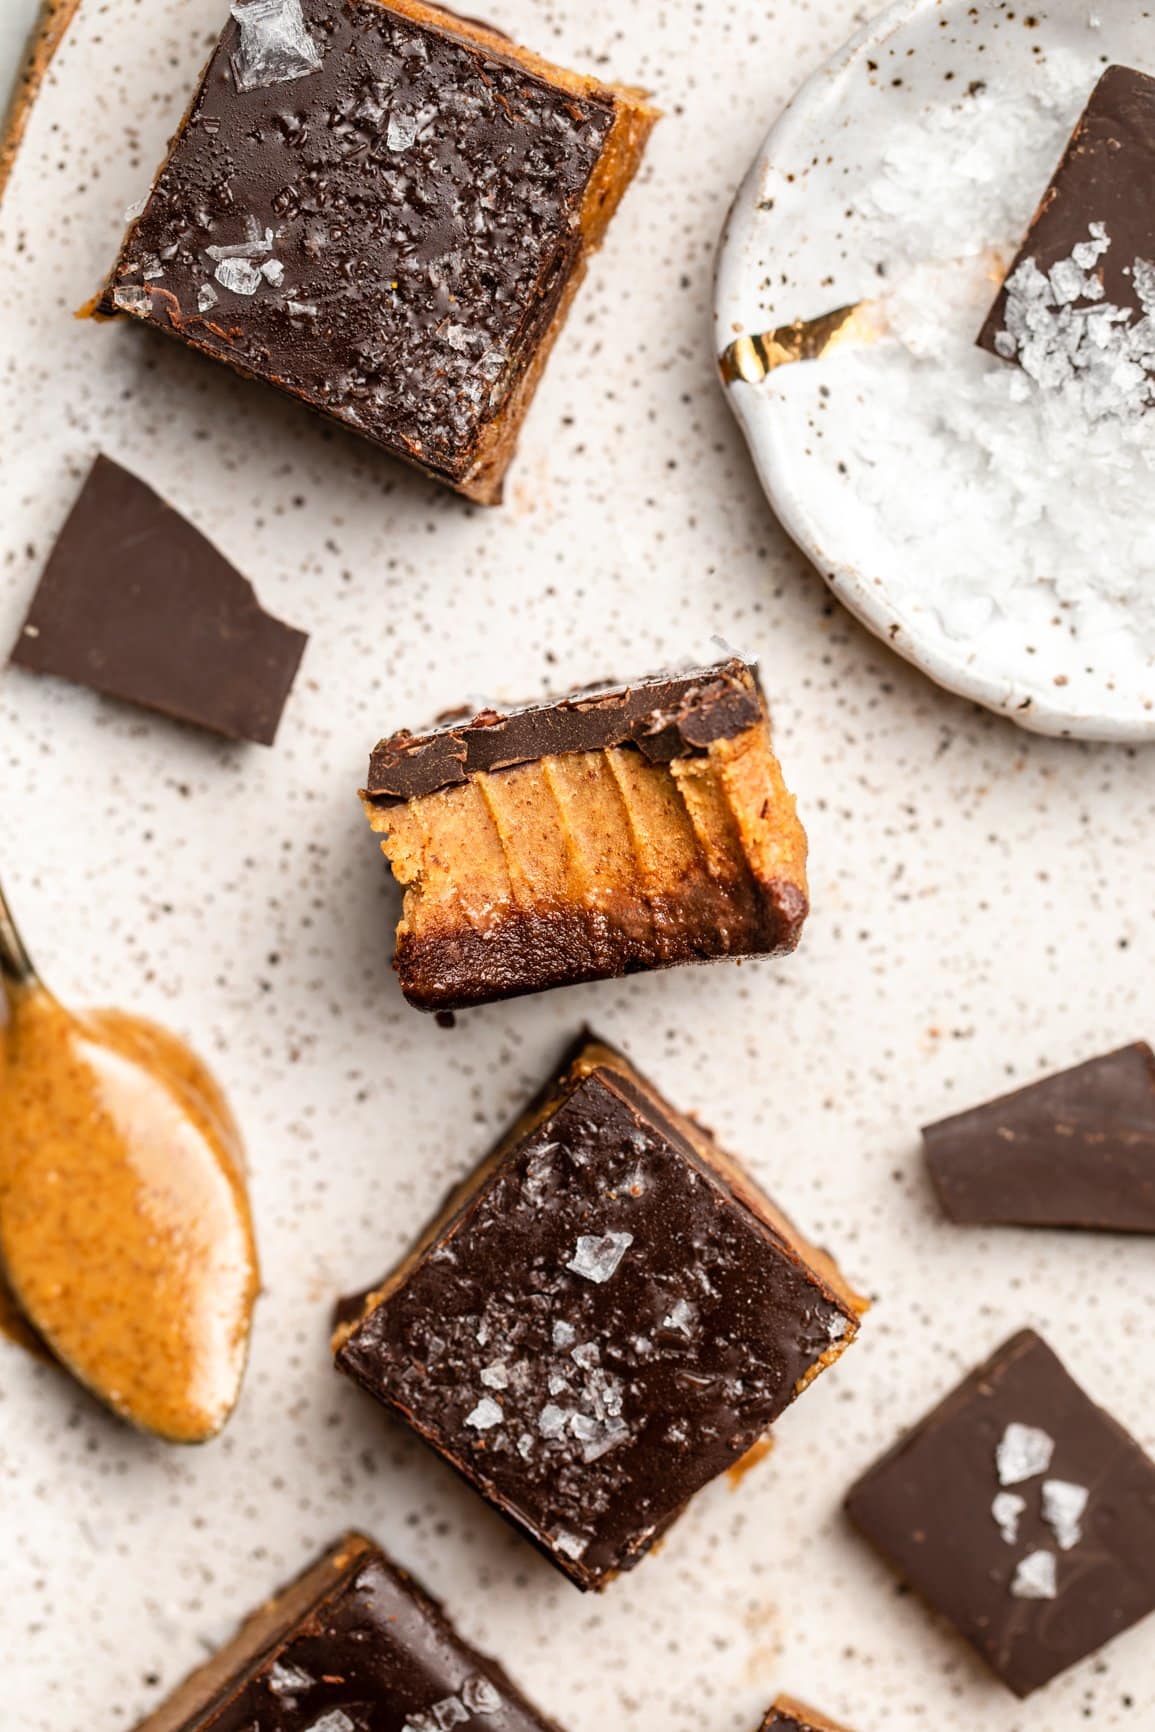
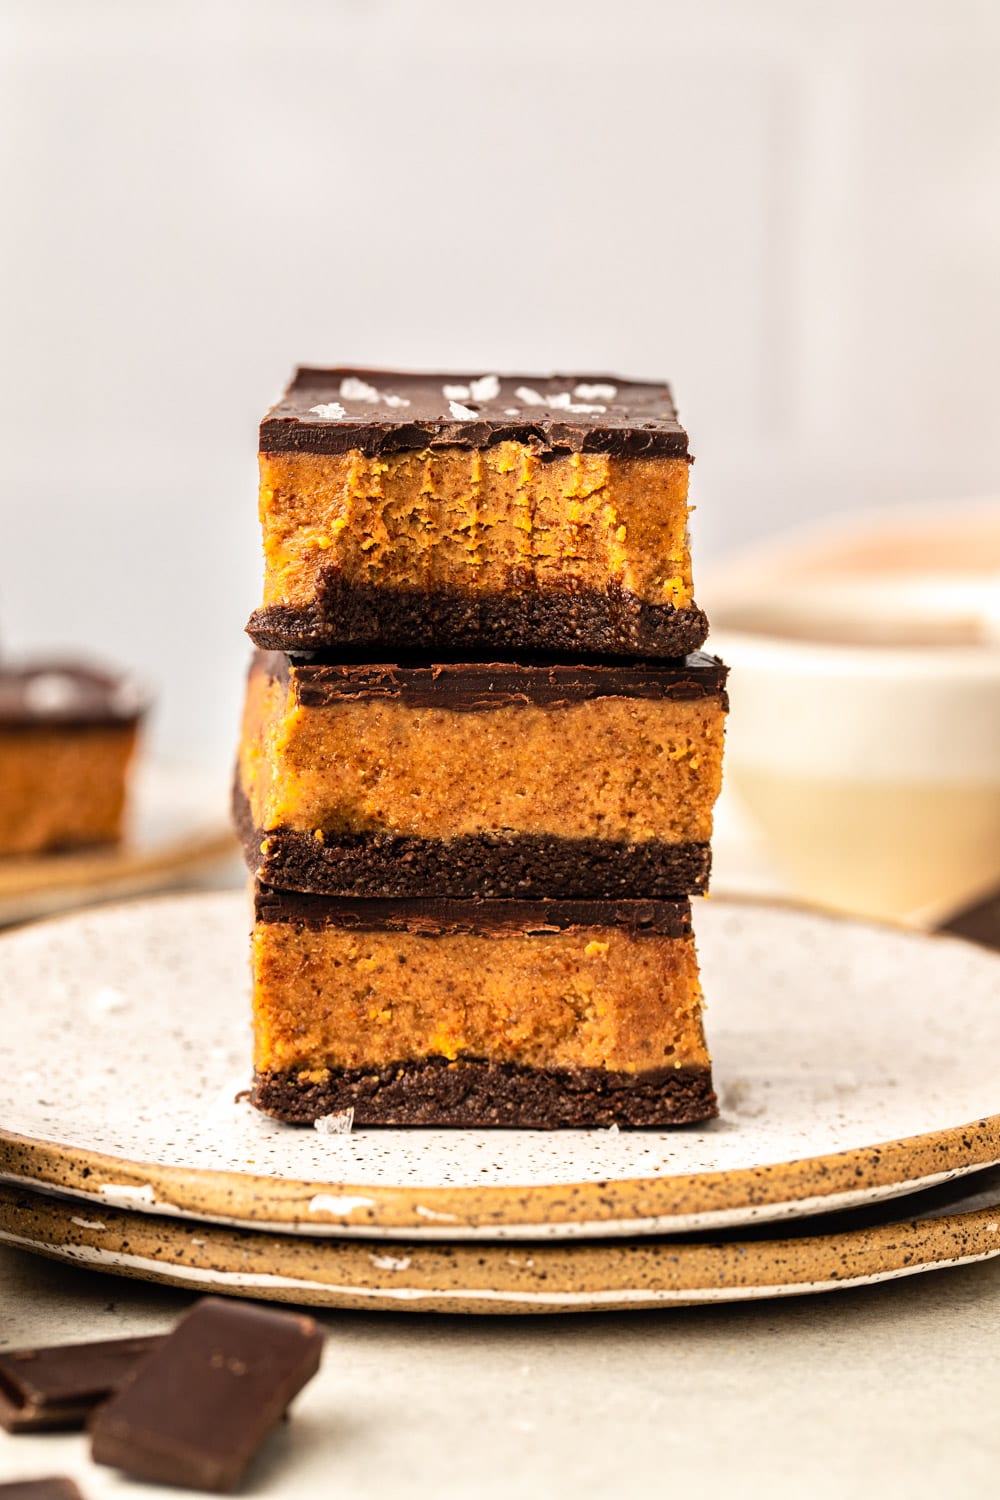
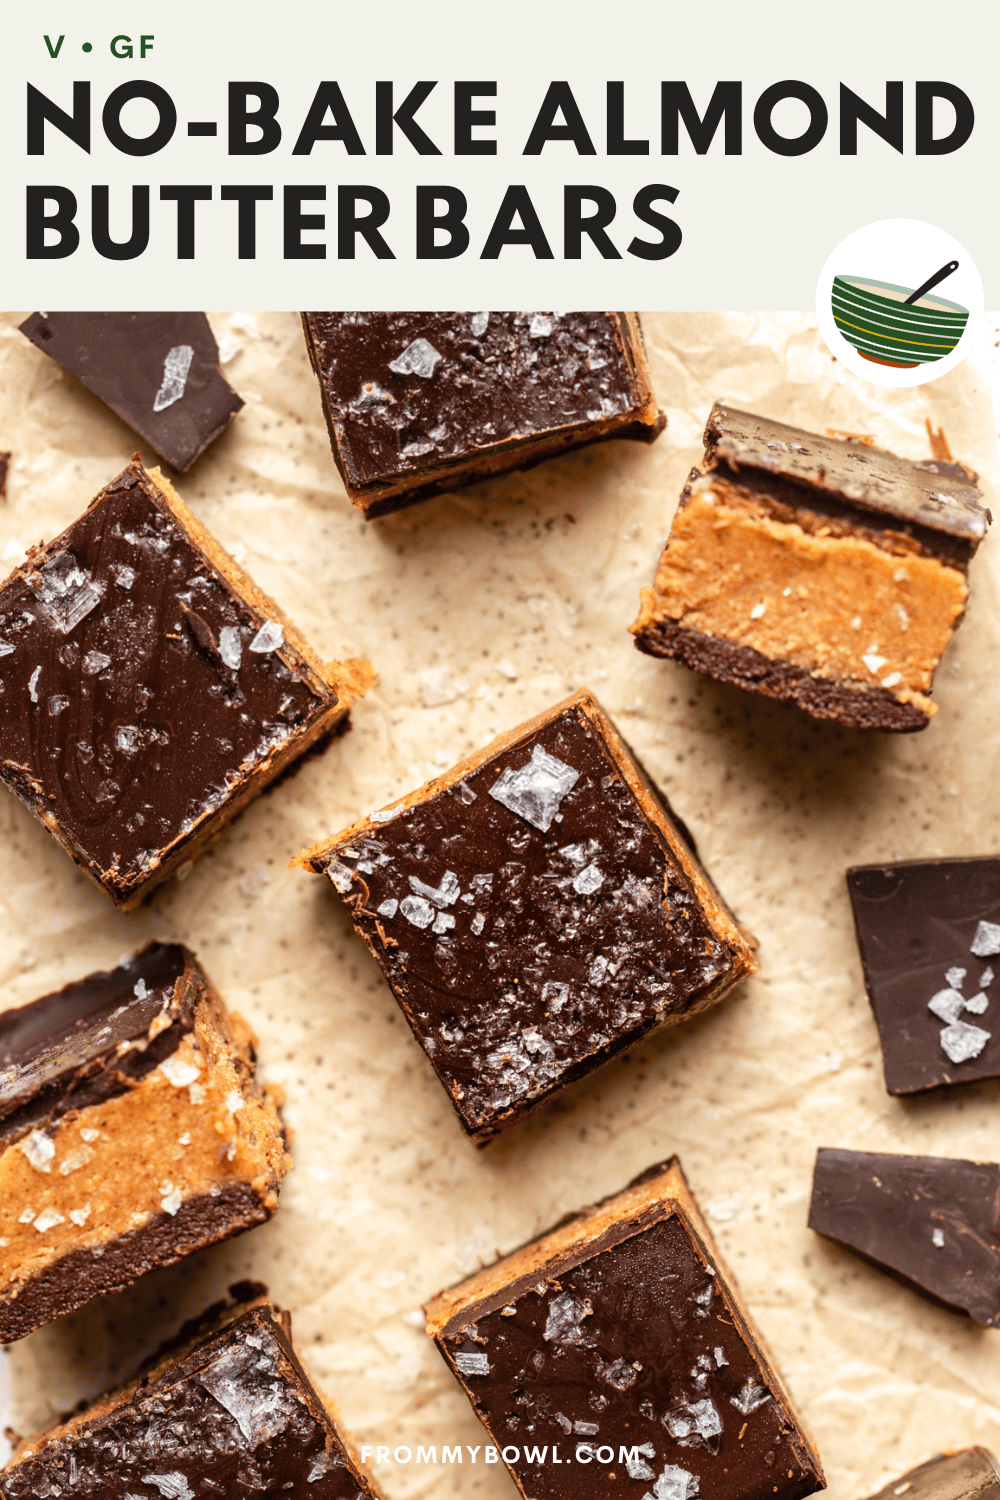
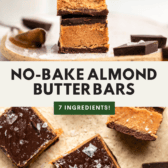
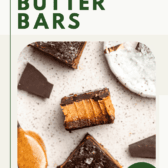
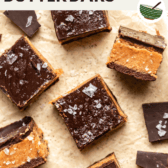
These No-Bake Chocolate Almond Butter Bars are a dream come true! A thick and creamy almond butter layer sandwiched between a chocolate shortbread cookie base and a top layer of dark chocolate garnished with a pinch of sea salt. They’re as next level as they sound and can be yours with just a few healthy ingredients and 1 hour!
Table of Contents
No-Bake Dessert Bars Everyone Will Love
If you’re looking for a healthy dessert that doesn’t require turning on the oven, you’ve come to the right place! These almond butter cookie bars start with a melt-in-your-mouth shortbread cookie base that’s covered in a fudgy almond filling, then topped off with a final layer of chocolate generously sprinkled with (optional, albeit strongly recommended) crunchy Maldon salt.
They’re delicious any time of year – Valentine’s day, summer get-togethers, the winter holiday season, or regular ol’ week days when you’re craving an indulgent pre-lunch and/or post-lunch snack.
Long story short, this sweet treat needs to be added to your must-make list ASAP! And if you’re planning on sharing, I might suggest a double batch.
Ingredients for Almond Butter Bars
You will need just 7 wholesome ingredients to make this homemade candy bar, many of which are likely in your pantry right now!
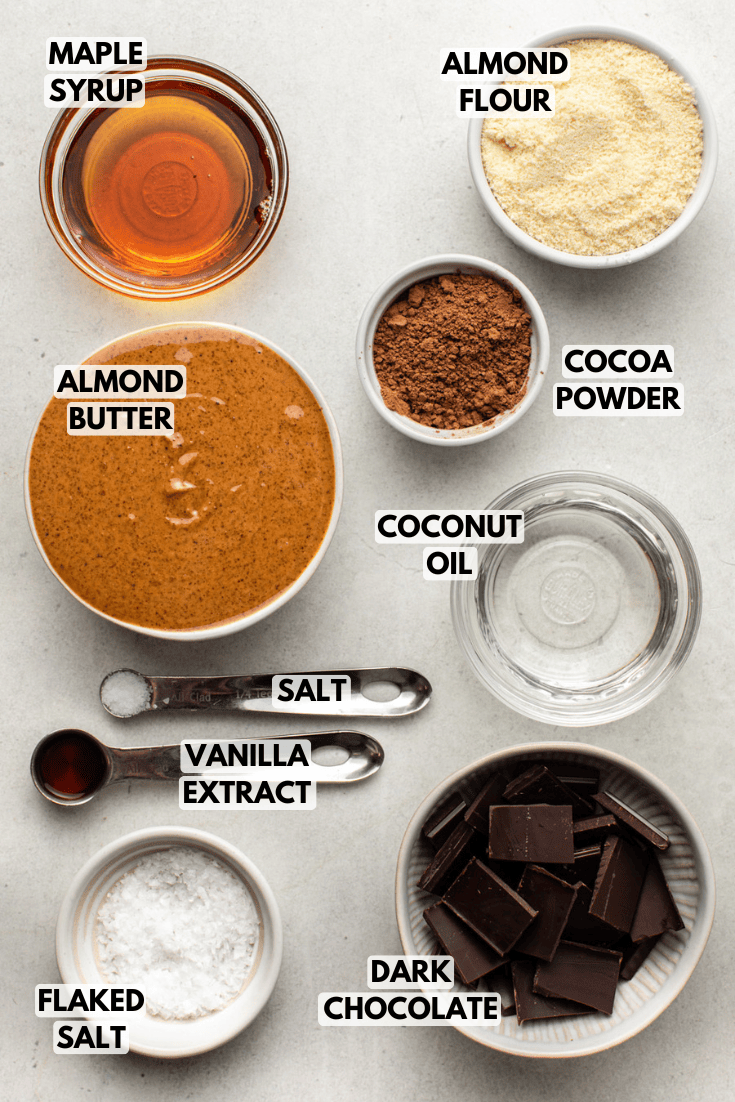
- Almond flour: The base ingredient for the buttery shortbread base.
- Cacao powder: Adds a rich chocolate flavor to the base. If you find cacao powder to be bitter, try Dutch-processed cocoa powder.
- Pure maple syrup: Adds a subtle, refined sugar-free sweetness to both the shortbread and the almond butter mixture.
- Almond butter: The star of the show. For best results, I recommend a natural, runny almond butter. Save that thick, end-of-the-jar almond butter for making overnight oats instead!
- Refined coconut oil: Helps to firm up the fudge layer. I recommend using refined coconut oil because it is flavorless – if you use virgin or raw coconut oil, these bars will have a coconut flavor.
- Vanilla extract: Who doesn’t love the addition of pure vanilla extract?
- Dairy-free dark chocolate: I like to use a strong 88% dark chocolate. If you prefer a sweeter chocolate, use a bar with a lower cacao percentage (semi-sweet chocolate would be great!).
How to Make Almond Butter Bars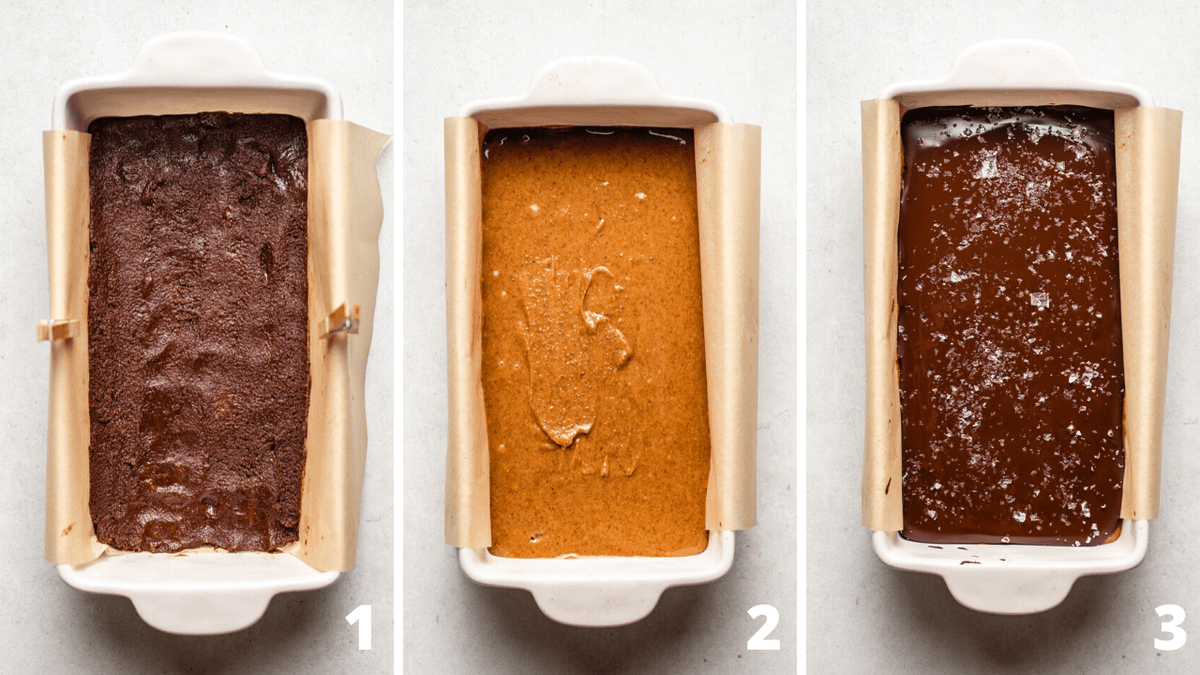
- First, line a 8×3″ loaf pan with parchment paper.
- Mix together the base layer ingredients until well combined and stick together when pinched. Press into the bottom of the parchment lined pan, then freeze while you prepare the filling.
- In a separate large bowl, whisk together the filling ingredients. Pour over the chilled base layer and smooth into an even layer with a spatula. Return the pan to the freezer while you prepare the chocolate layer.
- Melt the dark chocolate in a microwave-safe bowl until completely melted. Pour over the almond butter filling and spread evenly.
- Sprinkle with a pinch of salt, freeze for a final 30 minutes, then using a sharp knife, slice into individual-sized bars. Serve slightly chilled. Enjoy!
Caitlin’s Cooking Tips
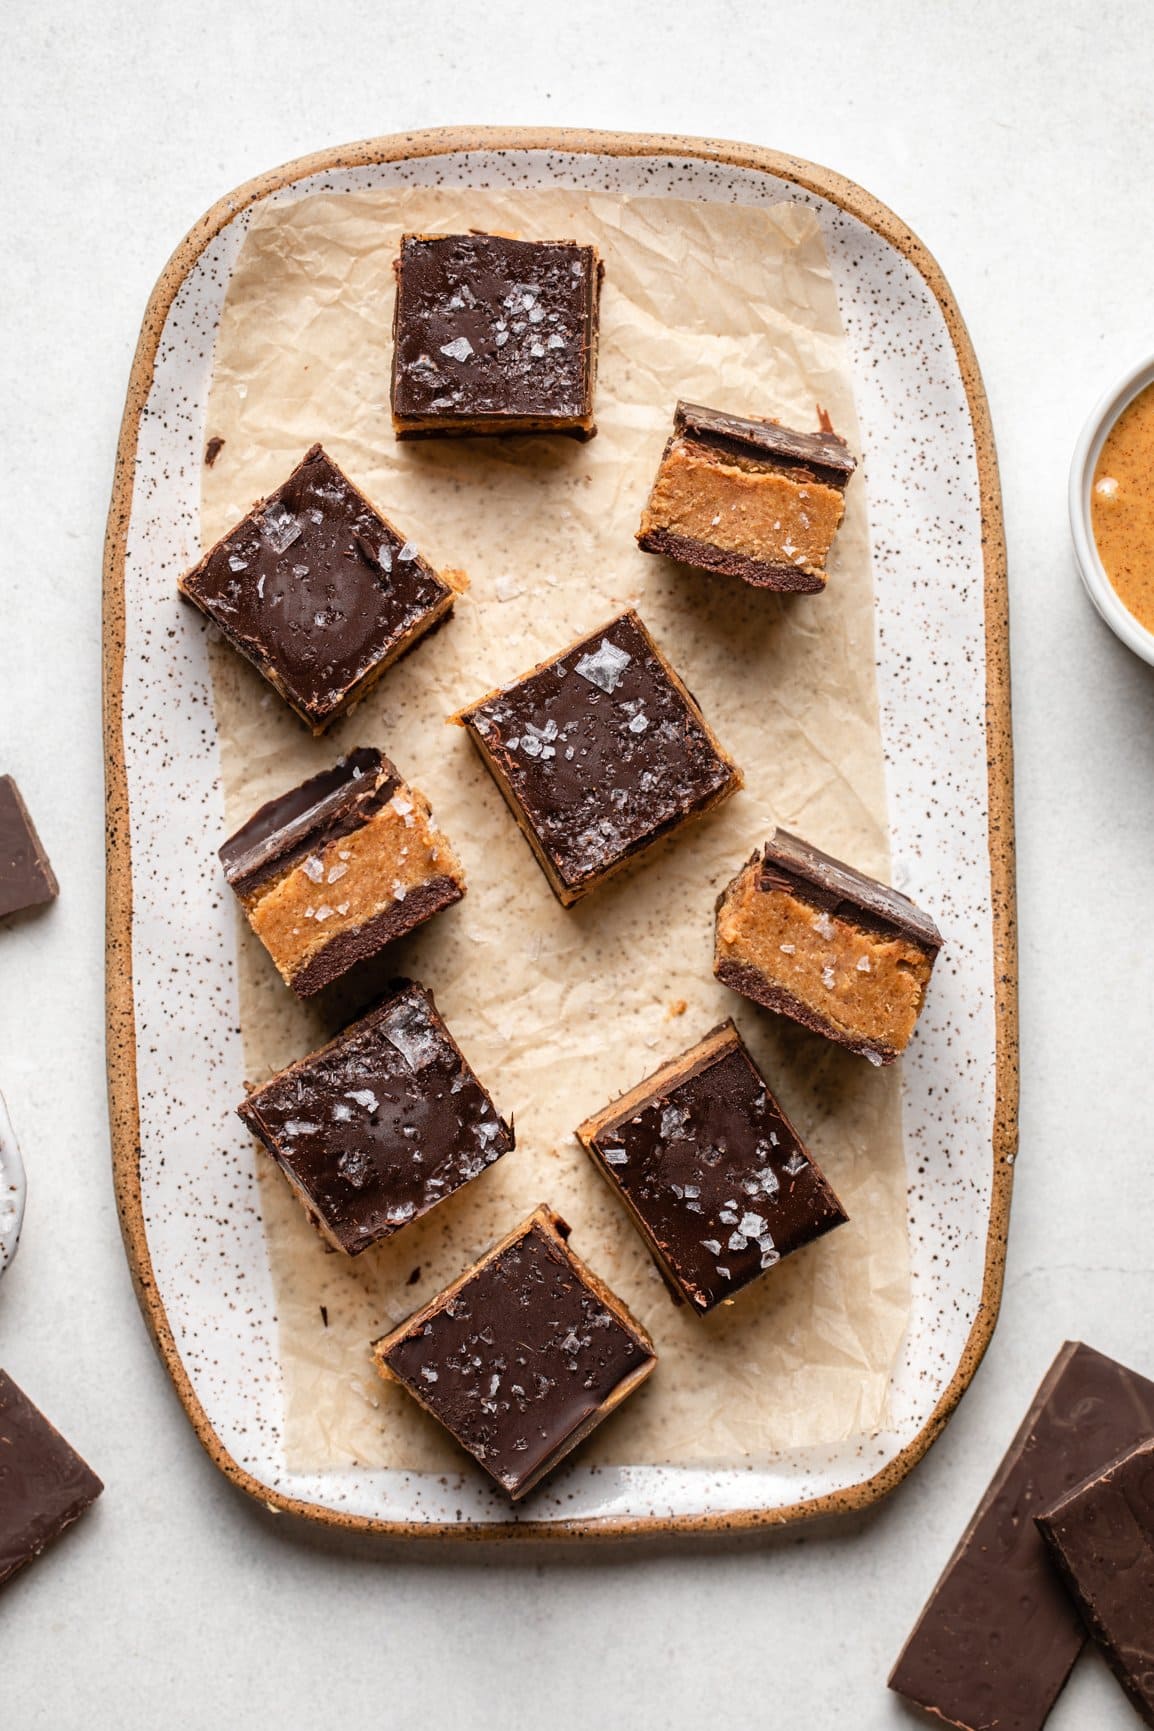
- For the cleanest slices, use a sharp, clean knife. Additionally, I personally like to run the knife under hot water and wipe it off between cuts for cleaner cuts. To prevent the chocolate layer from cracking, I have also found it easiest to “score” the top chocolate layer first. Then, once you have made clean cuts through the chocolate layer, it is easier to cut cleanly all the way through the bars.
- Avoid using dark chocolate chips. I highly recommend using a classic chocolate bar over chocolate chips in these homemade almond butter bars. The reason being chocolate chips are made with food-grade wax and do not melt as smoothly.
- Serve your bars while chilled. They’ll soften too much when left at room temperature for too long. Keep them in an airtight container in the refrigerator or freezer until ready to serve!
Serving Suggestions
You’ll be hard pressed to find an occasion where these creamy vegan almond butter bars aren’t welcome. They’re one of the best snacks to enjoy for dessert, but no one will judge if you serve up a slice for breakfast or a delicious afternoon pick-me-up.
Pair with a tall glass of your favorite non-dairy milk, a sweet Peach Bubble Tea, or a warm mug of coffee or tea. They’d even be delicious served for Valentine’s day with a cozy Beet Latte or Christmas with a Vegan Hot Chocolate!
If you’re looking for more vegan dessert recipes, you’ll also love these Gooey S’mores Bars, these Vegan Snickers Bars, and these Cashew Butter Vegan Blondies. Or if you’re trying to use up that jar of almond butter, you can’t go wrong with these Almond Butter Brownies or these Healthy Rice Crispy Treats.
How to Store Almond Butter Bars
Leftover dessert bars will keep for up to 10 days in the refrigerator or up to 2 months in the freezer. Frozen almond butter bars will be firmer. If you prefer your bars to have a more fudgy texture, transfer bars to the refrigerator to soften up for 1-2 hours before serving.
Substitutions and Variations
- Oil-free option: Replace the refined coconut oil with coconut butter. The bars will still taste great, but will have a distinct coconut flavor and are slightly more difficult to spread until smooth.
- Maple syrup: Use any liquid sweetener of choice. Agave would also work well.
- Almond butter: Swap in your favorite nut butter of choice. Peanut butter, cashew butter, hazelnut butter, and sunflower seed butter all work well.
Recipe FAQs
I have not tested a substitution for the almond flour. Changing this recipe to use alternative flours such as oat flour, coconut flour, or whole wheat flour will drastically change the end result and is not recommended. If you prefer a recipe made without any flours at all, try these Fudgy Almond Butter Brownies, these No Bake Peanut Butter Chocolate Cookies, or these Fudgy Peanut Butter Brownies.
Yes! These no-bake bars are 100% gluten-free and vegan as written.
Instead of melting the chocolate directly in a saucepan over the stove, I’d recommend melting the chocolate using a double boiler. To make, place a medium bowl over top of a small pot filled with water and place the chocolate in the bowl. Turn on the stove and let the steam from the boiling water gently melt the chocolate until completely smooth.
No need! This easy paleo dessert recipe is 100% no-bake and firms up perfectly in the freezer.
Enjoy! If you make this recipe and decide to share it on Facebook or Instagram, don’t forget to tag me @FromMyBowl + #FromMyBowl! I would also love it if you could leave a comment below with a recipe rating! Thank you for the support 😊
Chocolate Almond Butter Bars
Ingredients
For the Chocolate Base Layer:
- 3/4 cup almond flour
- 3 tablespoons cocoa or cacao powder
- Pinch of salt
- 3 tablespoons grade A maple syrup at room temperature
For the Almond Butter Filling:
- 1 cup almond butter unsalted
- 1/4 cup grade A maple syrup at room temperature
- 1/4 cup refined coconut oil* melted and cooled
- 1/2 teaspoon vanilla extract
- 1/4 teaspoon fine sea salt omit if nut butter is salted
For the Chocolate Top:
- 3 ounces high-quality dairy-free dark chocolate* chopped
- 1 teaspoon refined coconut oil Optional; this makes the chocolate easier to pour
- Flaky salt for garnish
Instructions
- Prep: Line a 8″x3″ loaf pan with parchment paper. Make sure there is extra paper hanging over two sides of the pan, to make the bars easier to remove (see blog post photos for reference).
- Base Layer: Whisk the almond flour, cacao powder, and a pinch of salt together in a medium bowl. Pour in the maple syrup, then begin mixing with a spatula. Mix until all of the flour has absorbed the maple syrup and the dough sticks together when pinched; you may need to switch to your hands at some point. Transfer the base layer to the lined pan and use a damp spatula or fingertips to evenly press the dough into the base; place in the freezer while you prepare the filling.
- Almond Butter Layer: Use a spatula to mix the almond butter, maple syrup, vanilla, and salt together in a separate medium bowl. Add the melted coconut oil once combined and mix until completely incorporated – the filling will begin to stick to the sides of the bowl, but still be runny. Pour this mixture into the lined pan over the base layer, using a spatula to smooth out the top. Return the pan to the freezer.
- Chocolate Layer: Add the dark chocolate and coconut oil (if using) to a microwave-safe bowl and microwave for 60 seconds; remove from the oven and use a clean and dry spatula to stir the chocolate and oil together until all pieces of chocolate have completely melted. Pour the melted chocolate mixture over the almond butter mixture. You can use a spatula to spread it around but it should still be quite runny, so you can also gently shake the pan back and forth to help it spread evenly. Sprinkle Maldon salt over the melted chocolate, then place in the freezer for at least 30 minutes, or until the bars have hardened.
- Slice: Run a sharp knife along the un-lined edges of the pan, then grab the two “flaps” of parchment paper to remove the bars and transfer to a cutting board. Use a sharp, clean knife to slice the bars into 12-18 even pieces, or as desired. I like to run the knife under hot water and wipe it off between cuts for cleaner cuts. To prevent the chocolate layer from cracking I have found it easiest to use a knife to “score” the top chocolate layer first; once you have made shallow grooves in the chocolate it is easier to cut all the way through the bar.
- Serve: As desired; these bars will soften over time at room temperature and are best served slightly chilled. Store leftovers in an airtight container in the fridge for up to 10 days for a fudgy texture, or in the freezer for up to 2 months for a firmer bar.
Recipe Notes
- Coconut Oil: I recommend using refined coconut oil because it is flavorless – if you use virgin or raw coconut oil these bars will have a coconut flavor to them. To keep this recipe oil-free you can substitute the coconut oil with coconut butter. The bars still taste great this way, but they have a distinct coconut flavor and the almond butter filling is a little harder to spread evenly.
- Chocolate: I recommend using a chocolate bar over chocolate chips in this recipe because chocolate chips are made with food-grade wax and do not melt as smoothly. I used a strong 88% dark chocolate, but if you prefer your bars to be sweeter you can use a bar with a lower cacao percentage.
- Other Substitutions: I have not tested any substitutions for almond flour. Maple syrup can be replaced with any other liquid sweetener of choice. Almond butter can also be replaced for any nut or seed butter of choice – the thicker the butter, the thicker the bars will be


I have made this dessert twice already!
The first time I followed the receipe to the teeeee!!! It came out great and so yum!
I tried it today again but replaced the almond flour with coconut flour & grounded almonds because I ran out of the latter (and a small pack costs 11 euros!)… the “dough” was perfect and tasted soooo yummy. I also used vegan chocolate chips instead of chunky chocolate but still came out great! I have been stealing a few bars every time I go to the kitchen (oops 😀hahahah).
Thank you for such a wonderful receipe!
So happy you enjoy it, Ellie!
Made twice, once with almond butter and then with peanut butter. The latter tastes just like Reece’s, absolutely lethal. Very easy too, great recipe.
Happy you loved it, Luke!
Sounds so yummy but sweeter than I generally like. Would it work if I left out the maple syrup in the almond butter layer? Do I need to substitute something else for it?
Hi Elena! You could leave the maple syrup out, but the bars will not be very sweet at all – the texture should be ok though. Personally I’d recommend just cutting it in half, but you can omit entirely if you’d really prefer that! Maybe add the maple syrup to the almond butter 1 tbsp at a time and stop when it reaches your desired sweetness?
I’ve made these bars at least 5 times and have recommended the recipe to several friends, vegan or not! Everyone loves it. Thank you!!! So delicious
Wow! Thank you so much for the reco. We’re happy you all love it, Zoe! ♥
These were even better than I had hoped! Great recipe.
Thank you!
Can I sub any portion of the maple syrup for dates?
Thanks!
I dont think that would work, you could try making a date paste with some water, but again that would change the final texture
These were quick to make and so yummy! I used regular (all-purpose) flour, toasted in the oven for 5 minutes to make it safe to eat, and added a splash of almond milk to moisten (since it’s drier than almond flour). I also halved the middle/filling portion of the recipe because I didn’t want to part with a whole cup of almond butter. I love the result! Extra-chocolatey 🙂
Yum! There’s no such thing as too much chocolate 😉
These are insanely delicious. About to make my second batch!!!
Loved these bars! Very much like fudge but with almond and chocolate plus vanilla flavors. Yummy and really pretty easy to make. Not sure how long they will last in my fridge, but I’m going to try to discipline myself to one per day.
We wish you luck on the discipline! Thanks so much for making them!
Hi ! Do you have the nutritional facts for this dessert? They look so yummy 🙂
Hey there! Out of personal philosophy we don’t calculate calories or nutritional info but you can use Cronometer to find out that info on any recipe!
These were so yummy and a lot easier to make than I was expecting. The perfect dessert to have throughout the week!!
Glad you liked it and found it easy!
These are so delicious and were a hit with my friends (both vegan and non vegan)! They didn’t take long to make and I love how you can make it a day or two ahead of time and just store them in the freezer. I doubled the batch because I was using a larger pan and wanted more. I will definitely make many more batches of these.
And in the freezer they’ll last quite a while! That is if you can leave them alone for that long.
Oh my goodness, these look absolutely marvellous, Caitlin! I feel like a snack right now so I’m definitely drooling over these pictures. Thanks for the recipe!
Thank you!!