
Disclosure: This post may contain affiliate links. I may earn a small commission for my endorsement, recommendation, testimonial, and/or link to any products or services from this website.
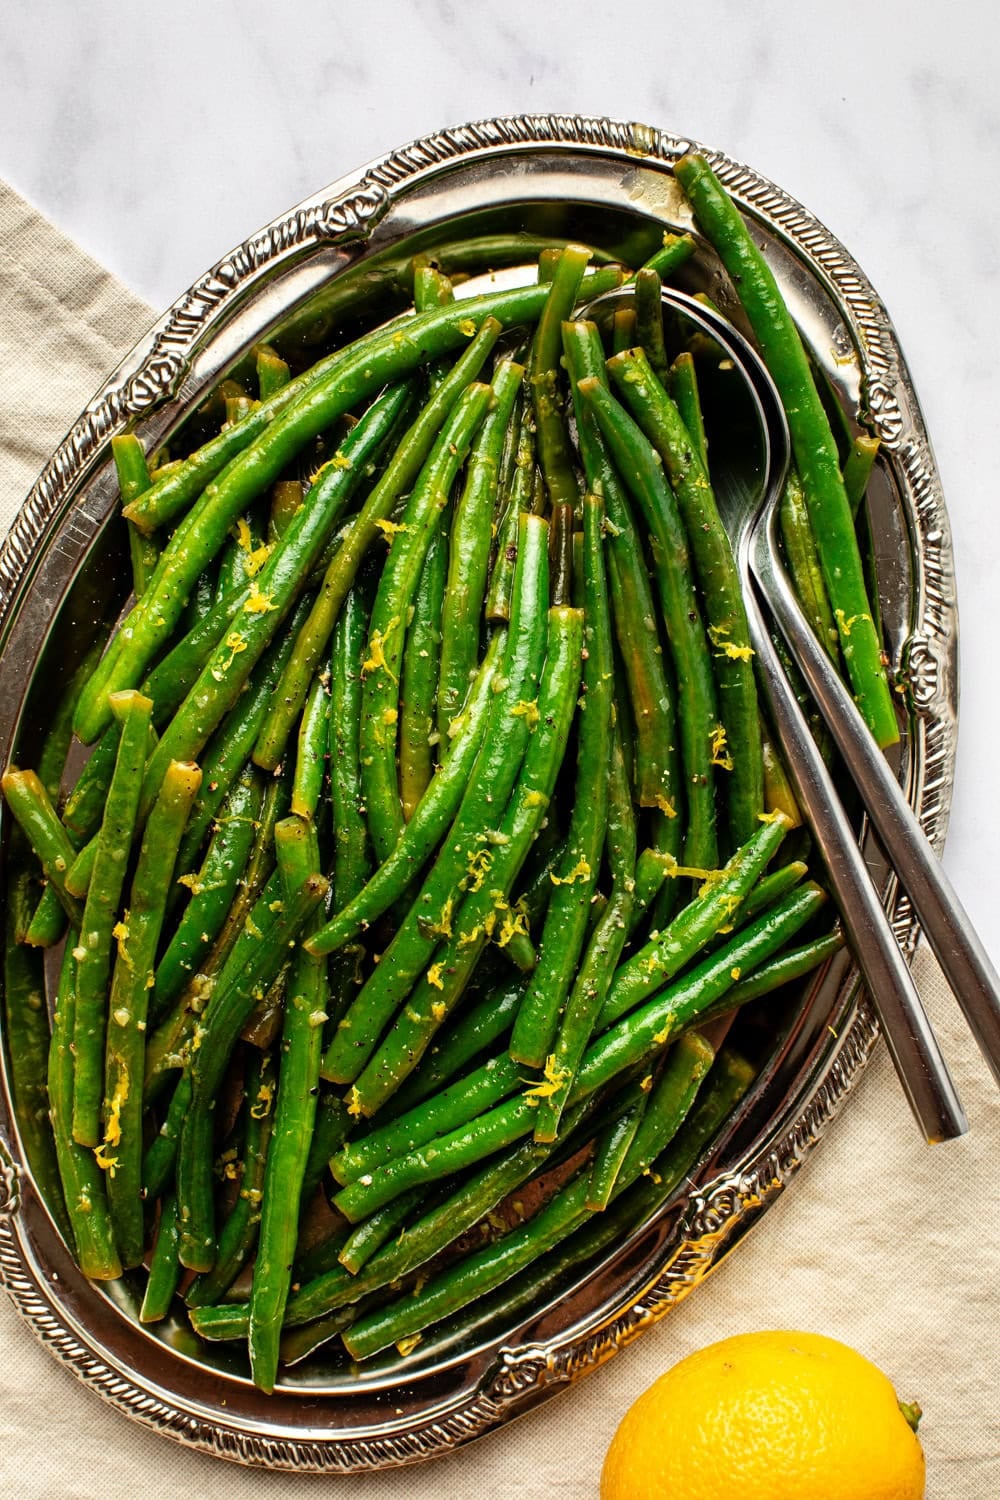
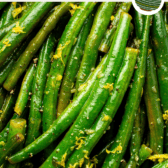
These One-Pan Lemon Green Beans are coated in warm garlic oil and dressed up with lemon juice, lemon zest, and a pinch of pepper. It’s a light, bright, and simple summer side dish made with only 5 ingredients in 15 minutes! Vegan and Gluten-Free.
These 15-minute Lemon Green Beans with Garlic are the perfect side dish for any warm-weather meal. Instead of blanching, fresh green beans are sautéed with crispy garlic and olive oil, steamed in lemon juice, and then tossed with lemon zest for a one-pan meal with bright and garlicky flavors in every bite. One taste and you’ll want them on repeat all summer long!
Table of Contents
Why You’ll Love This Recipe:
I look forward to fresh summer green beans all year long. While my 15-Minute Garlic Green Beans are amazing year-round, I made these Garlic Lemon Green Beans with summer in mind. They’re bright, garlicky, and, like any great green bean side dish, incredibly easy to make.
- No Boiling Required! Most green bean side dishes start by boiling the beans, but not mine. This recipe uses a smart sauté, steam, and sauté method. It’s not only faster but also leaves you with fewer dishes to clean up and keeps the beans tender.
- Minimal Oil: A lot of sautéed green beans are coated in melted butter. Yes, butter is delicious, but it can mask their natural sweetness. This recipe calls for just 1 to 2 tablespoons of olive oil to let those crisp, juicy green beans shine.
- Simple Ingredients, Big Flavor: This side dish is all about celebrating fresh summer produce, AKA one of my favorite things. All you need are the staples to bring it together: green beans, lemon, and garlic!
Ingredients for Lemon Green Beans
This recipe dresses up fresh green beans with 4 simple ingredients to infuse them with lemony and garlicky flavors. I recommend using thin green beans or French green beans (haricots verts) that are bright green, firm, and free of any wrinkles or brown spots. Remember: the thinner the beans, the quicker they’ll cook and the sweeter they’ll taste.
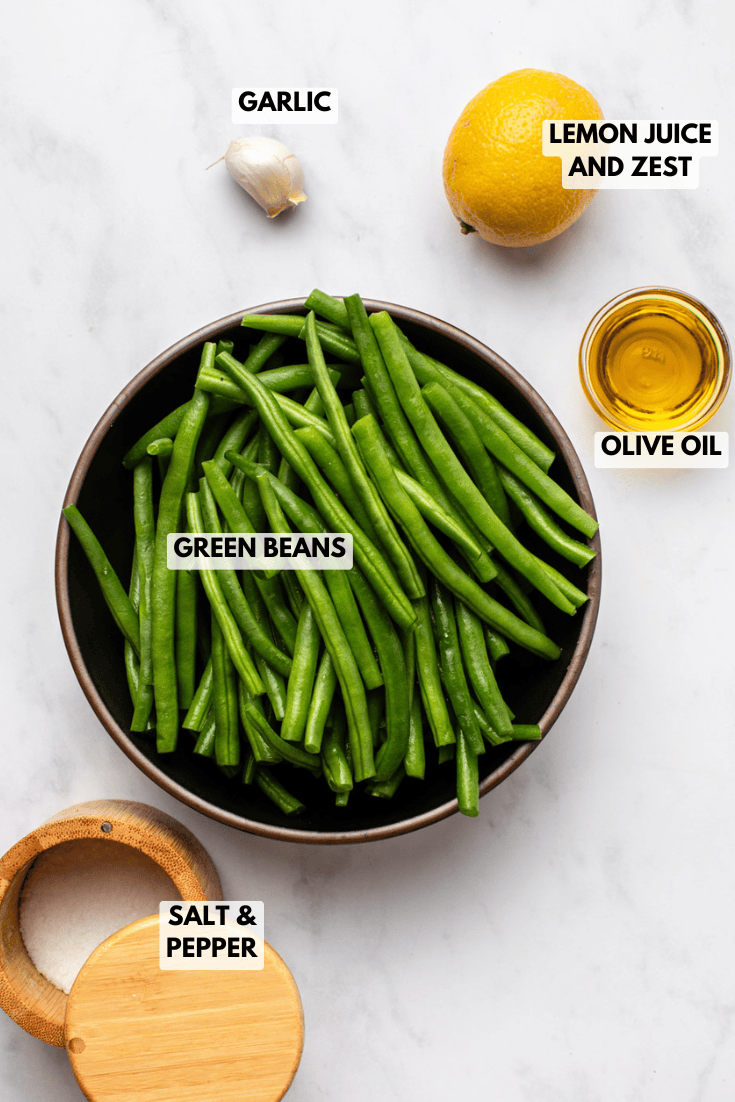
- Presentation Tip: Keep the green beans whole and long for an elegant look, or slice them in half if you’d prefer shorter segments.
How to Make Green Beans with Lemon and Garlic
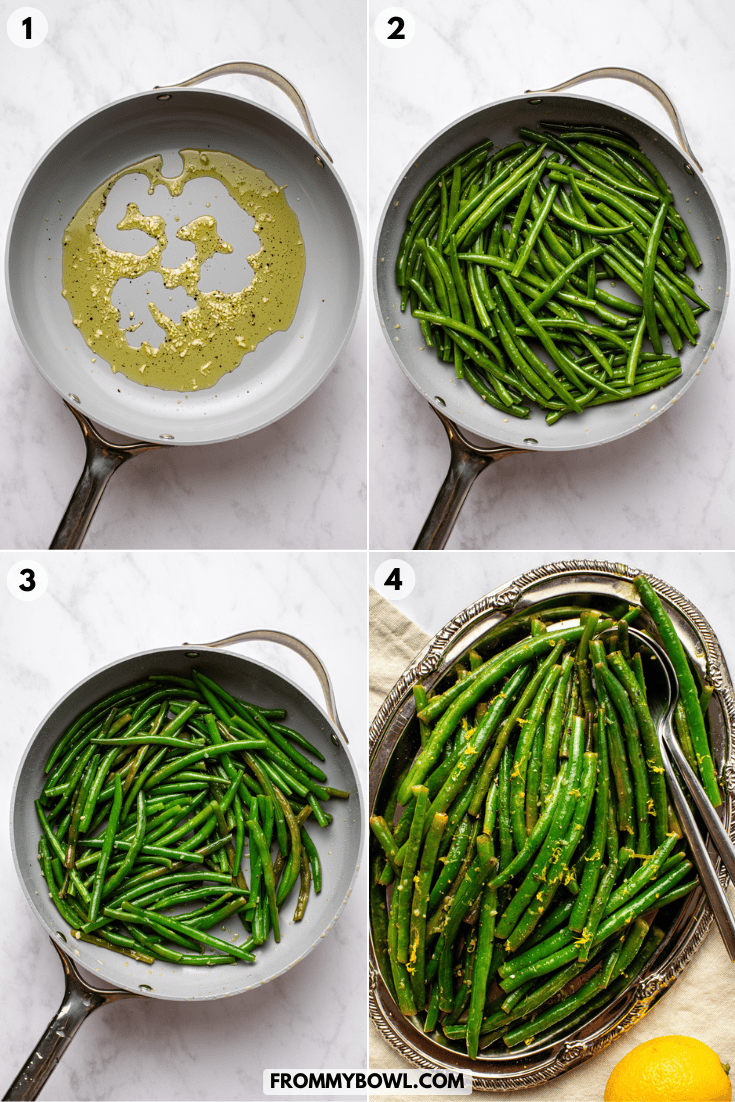
- Sauté the garlic along with a pinch of black pepper in an oiled skillet until fragrant.
- Add the green beans and toss them in the oil, garlic, and pepper.
- Pour the lemon juice over the beans and quickly toss to coat. Cover the skillet with a lid and steam.
- Mix the beans once more, then sprinkle salt over top. Continue sautéing until the beans are cooked to your liking.
- Remove the pan from the heat and garnish the beans with lemon zest, salt, pepper, and crushed nuts. Serve warm and enjoy!
Caitlin’s Cooking Tips
- How to wash and trim green beans: Place the beans in a colander, rinse them under cold running water, and lightly pat them dry on a clean kitchen towel. Line up a small handful of beans on a cutting board, press them against the flat edge of your knife, and slice off the ends (about 1/2 to 1 inch). Repeat with the other side.
- Steaming and sauté times: I like my thin green beans on the crunchy side, so I only steamed them for 5 minutes before finishing them with a 1- to 2-minute sauté. If your green beans are on the thicker side, they’ll take around 8 to 10 minutes to steam and 2 to 3 minutes to sauté.
- Make this side dish in a nonstick skillet. It works the best for the sauté, steam, and sauté method we’re using and requires less oil. A stainless steel pan will work, too! You’ll just need to use the full 2 tablespoons of oil to prevent the garlic and beans from sticking.
Serving Suggestions
I make these lemon green beans whenever I need a quick, vibrant side dish for a summer dinner. Any regular weeknight, you’ll find me eating them straight out of the skillet! But when friends or family are coming over, I’ll arrange the beans on a serving platter and garnish them with toasted pine nuts, sliced almonds, fresh herbs, or extra lemon zest.
For a summer dinner to remember, start the meal off with this Triple Tomato Basil Orzo Salad, then serve the garlicky green beans next to these Roasted Zucchini Sandwiches or these Grilled Pesto Tofu Sliders. And for dessert, this impressive Grilled Peach Cobbler!
If you’re looking for more easy summer side dishes, you’ll also love this Smashed Cucumber Salad with Edamame, this Easy Avocado Salsa, and this Roasted Garlic Sesame Broccoli!
And if you have extra green beans to use up, try them in this Garlic Green Bean Stir Fry with Crispy Tofu or this Healthy Green Bean Casserole.
How to Store Lemon Green Beans
The cooked and dressed green beans are best served hot out of the pan, but any leftovers can be stored in an airtight container in the refrigerator for up to 5 days.
To reheat, sauté the beans in a lightly oiled nonstick skillet over medium heat for about 5 minutes or until they’re heated through and slightly crisp. You can serve them as-is or zhuzh them up with a spritz of extra lemon juice or a pinch of salt right before serving.
Recipe FAQs
No, boiling or blanching the green beans is unnecessary because they’re steamed in the covered skillet.
I love the crispiness of fresh green beans, but frozen green beans do work if that’s what’s available to you. There’s no need to thaw them ahead of time, but you will need to steam them a little longer.
Of course! You can use the same cooking method with snap peas, broccoli florets, asparagus, or broccolini.
Enjoy! If you make this recipe and decide to share it on Facebook or Instagram, don’t forget to tag me @FromMyBowl + #FromMyBowl! I would also love it if you could leave a comment below with a recipe rating! Thank you for the support 😊
One-Pan Lemon Green Beans with Garlic
Ingredients
- 1 pound green beans* ends trimmed
- 2 tablespoons olive oil*
- 1 clove of garlic minced or crushed
- Juice and zest of 1 lemon divided (2-3 tablespoons lemon juice)
- Salt and black pepper to taste
- Optional garnishes: toasted pine nuts sliced almonds, and/or dairy-free parmesan
Instructions
- Prep the Beans: Wash the green beans well and trim the ends. I like to do this by lining up a small handful on my cutting board against the flat edge of my knife; trim the edge off and repeat with the other side. You can also slice your beans in half to make shorter segments if you prefer; I like to leave mine longer. Juice and zest the lemon, and set each off to the side in separate bowls.
- Aromatics: Warm the oil over medium heat in a large nonstick skillet or sauté pan with a lid. Once shimmering, add the garlic along with a pinch of black pepper (optional). Sauté for 45 to 60 seconds, until the garlic is fragrant, but before it starts to brown.
- Sauté the Beans: Add the green beans to the pan and toss well, until all of the beans are coated in the infused oil. Sauté for 1 to 2 minutes.
- Steam: Pour the lemon juice over the beans, quickly toss them, then cover with a lid. Steam for 5 minutes, covered, for thin green beans. If your beans are thicker I’d recommend steaming for 8 to 10 minutes, covered.
- Final Sauté: Uncover the green beans and mix well. Sprinkle with a generous pinch of salt and sauté for an additional 2 to 3 minutes, or until the green beans are cooked to your liking (I like mine a little crunchy!)
- Finishing Touches: Remove the pan from the heat and sprinkle with the lemon zest plus more salt and black pepper, if desired.
- Serve & Store: Garnish with nuts (if desired) and serve warm; store any leftovers in an airtight container in the refrigerator for up to 5 days.
Recipe Video
Recipe Notes
- Green Beans: I recommend using thin green beans or french green beans if you can find them. If your beans are on the thicker side you will need to steam and sauté them for a bit longer!
- Pans & Oil: If you’re not using a nonstick skillet, use enough oil to lightly coat the bottom of your pan. If you are using a nonstick skillet you can reduce the oil to 1 tablespoon if desired, but I recommend keeping it at 2 for the best flavor 🙂
Nutrition







Love that no boiling is required and I love when the green beans are crisp! Can’t wait to try this
Can’t wait for you to try, Rosani!
CAN WE DO THIS IN SMALL BATCHES USING AN AIR FRYER AND IF SO, AT WHAT TEMP AND HOW LONG
I haven’t tried this myself in the air fryer and I’d say these should be steamed rather than air fried for the best texture!